Making New Body Mounting Plates for the SoW
Written on April 29th, 2021 by George BecksteinMaking New Body Mounting Plates for the Shack on Wheels
There are a number of mounting points on GMC MotorHomes that secure the body to the frame.
Down the middle there are four “L”-shaped plates bolted to the frame with steel straps that clamp these plates down to the body. You would imagine these would be bolted through the aluminum ladder that supports the floor of the body, but no! Surprinsingly, these straps simply bolt to carriage bolts that go through the 1” plywood floor!
 The brackets mentioned above are part 3 in the parts manual diagram above
Beyond that, there are four rubber bushings with aluminum spacer plates, one at each corner of the body.
Obviously, when replacing the frame, all of these mounts have to be undone. Unfortunately, a rusty frame means rusty fasteners that don’t like to loosen. For the carriage bolts in the middle of the body, I didn’t even bother getting out my impact wrench. I just cut them off with my angle grinder (one of my most useful tools in persuading rusty bolts…)
I was a bit more optimistic about the bolts for the corner body mounts, but after trying to impact the nuts off the bolts just broke. The bolts were so rusted the threads were barely visible at the end of them!
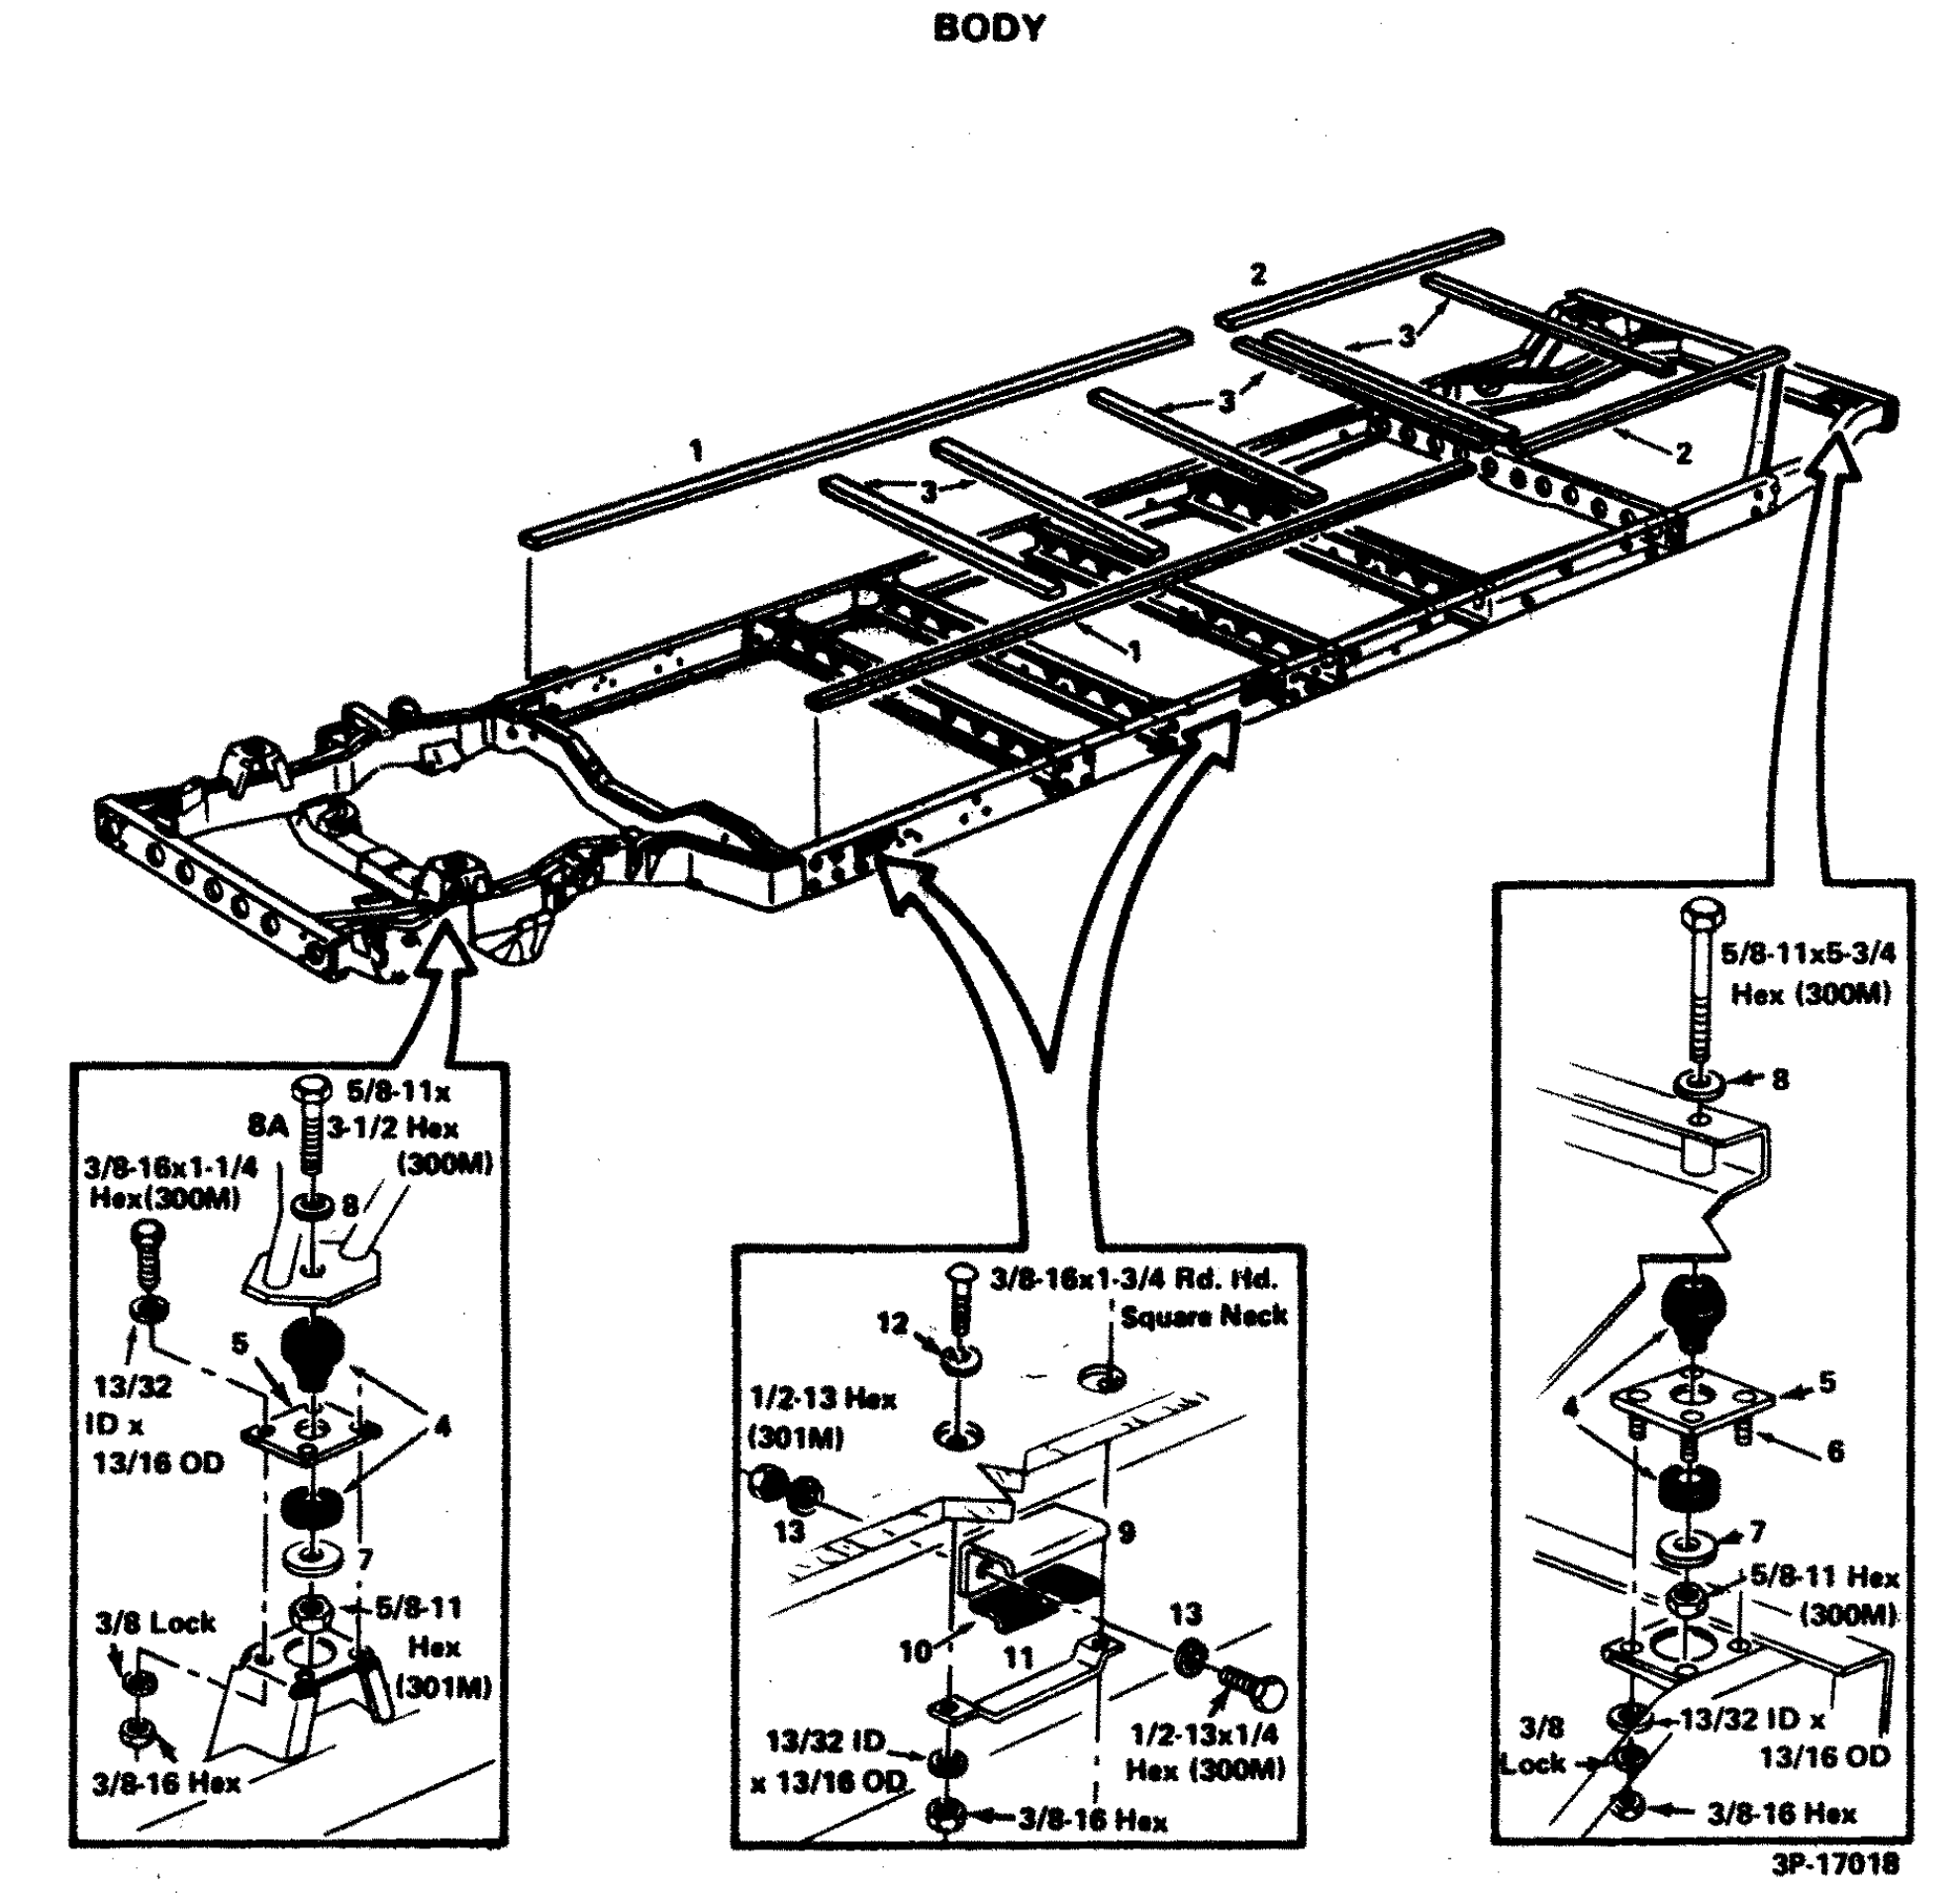 The body is mounted to the frame with rubber bushings (4) and aluminum spacers plates (5)
Normally this isn’t a huge problem. You just get new nuts and bolts.
If you look carefully in the above parts diagram, the four bolts (6) securing the spacer plate (5) in the rear look a bit funny – they appear to have no head!
In reality, these bolts are knurled-neck, press-fit carriage bolts! Thankfully, the front spacer plates are attached using standard nuts and bolts. I’m not sure the reason GM used these carriage bolts only in the rear, but I imagine there is a clearance or assembly issue if a normal hex-head bolt is used. It’s probably difficult to get a wrench up in there when the body is in place.
After decades of rust and galvanic corrosion, the steel press-fit bolts were securely “welded” in place in the aluminum spacer plate. I wasn’t able to press the bolts out and ended up damaging the spacer plate trying to drill them out.
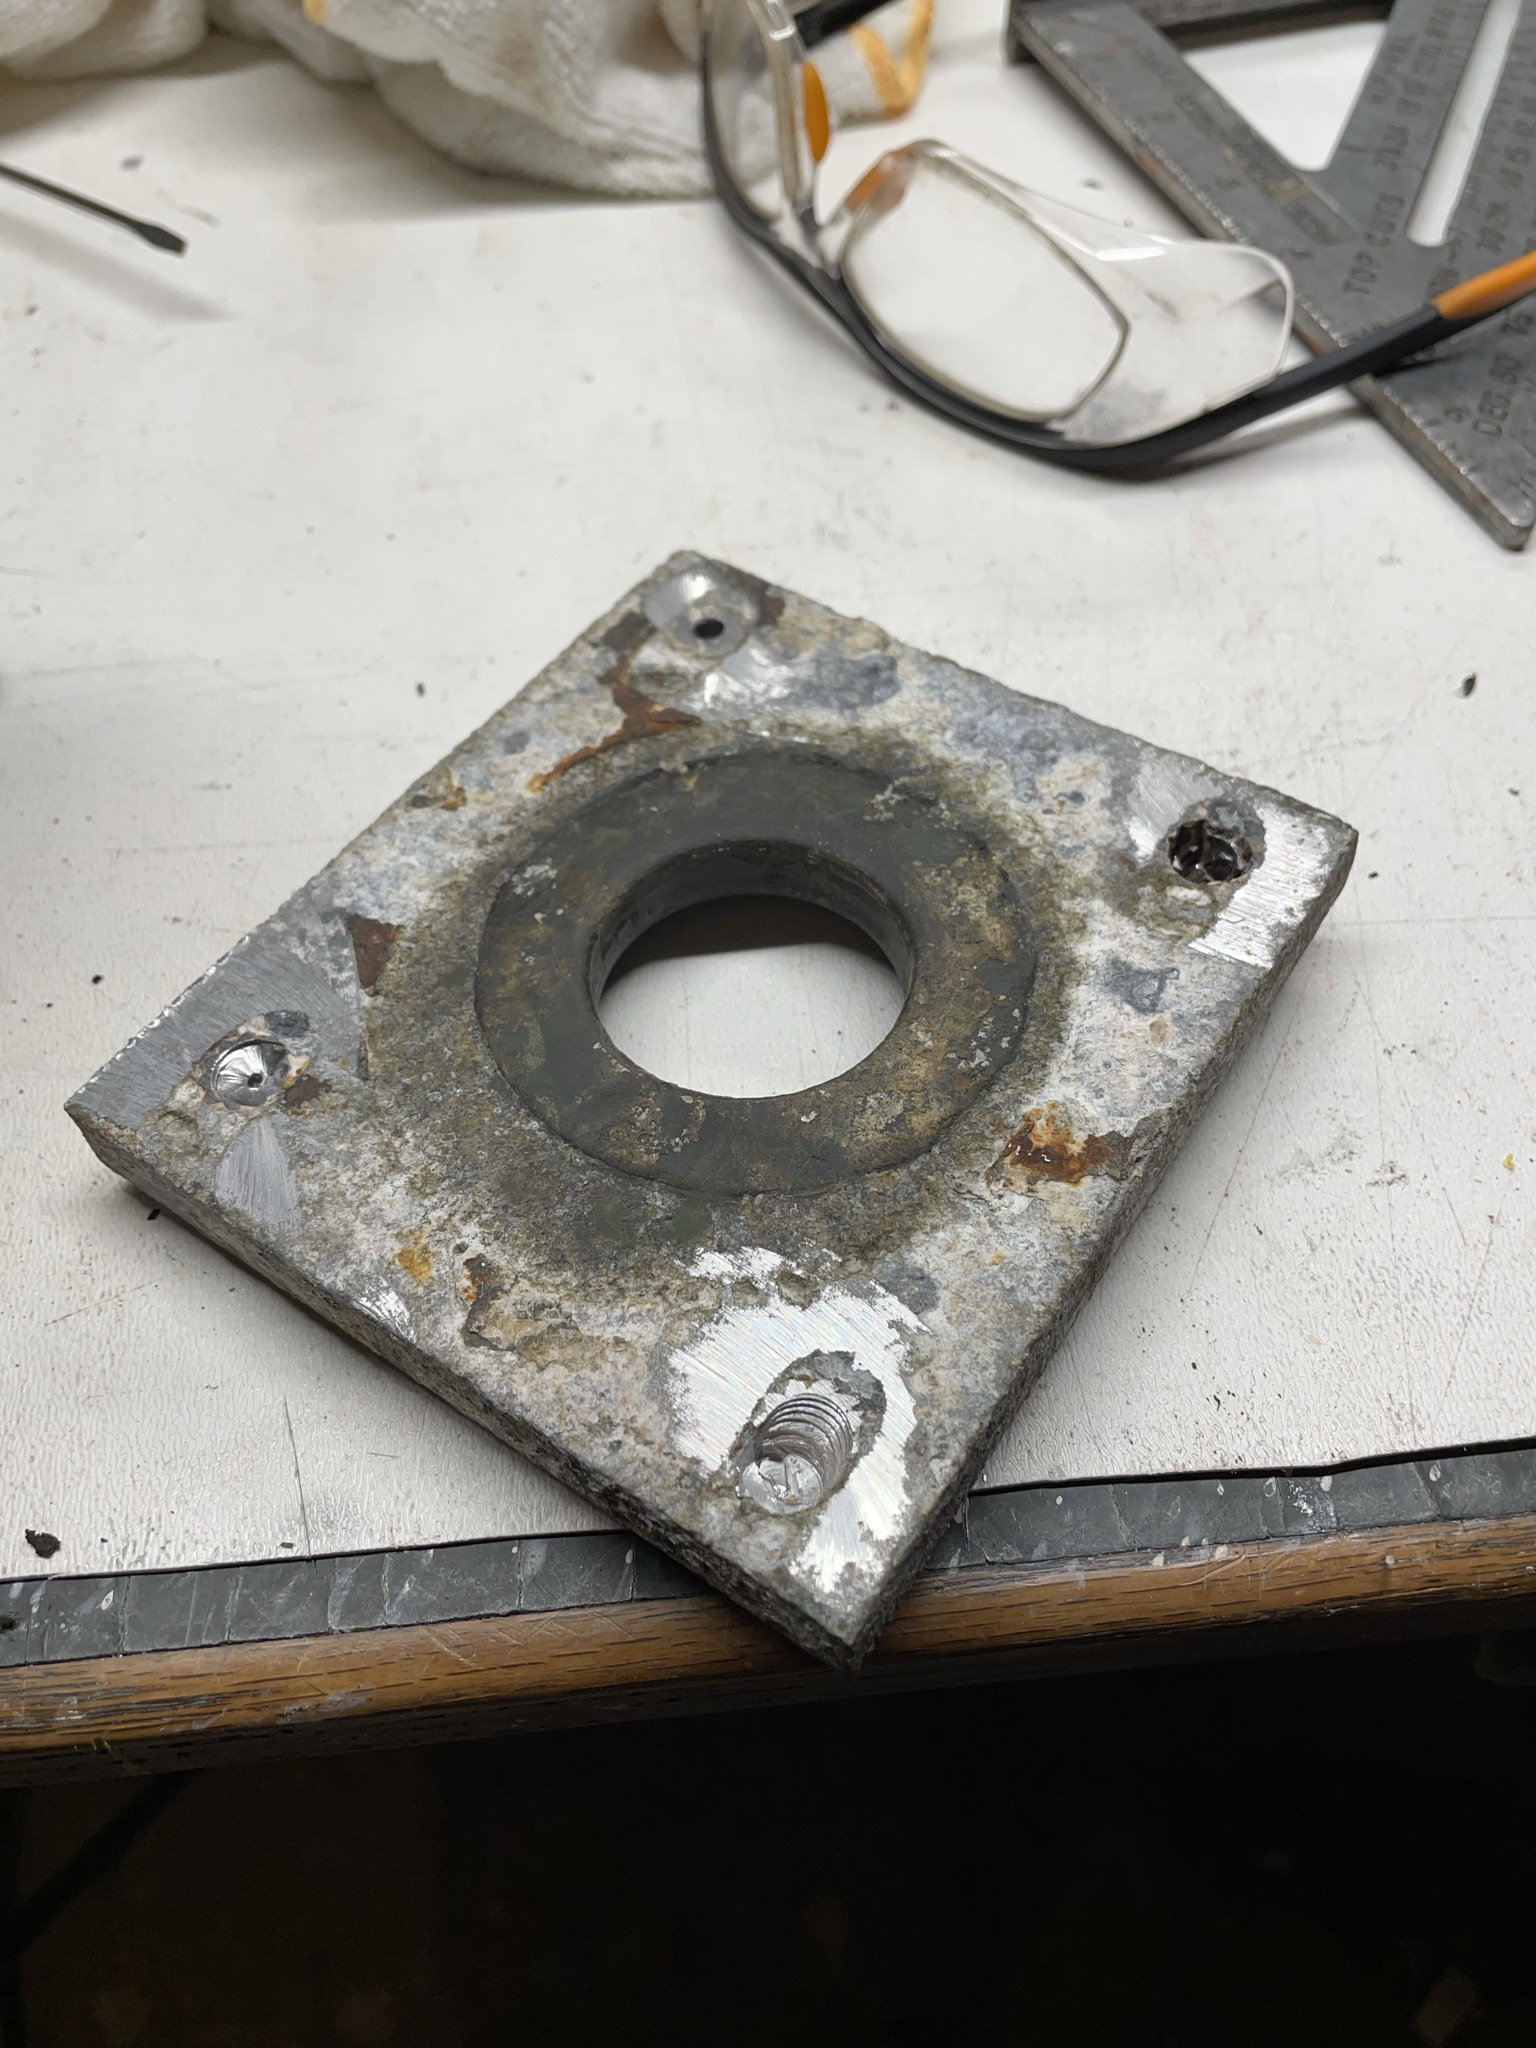 I should’ve used a drill press
So now what? Well, it’s not too complex of a part, so I decided to recreate the rear spacer plates.
Through GMC specialists, the rubber body mounts are actually available brand new. They aren’t cheap – I paid around $200 for a full set of four – but if there’s ever a time to replace them it’s once every 50 years when replacing the frame!
I’m a bit surprised these plates aren’t available – I can’t be the only one to break these bolts off when doing a frame replacement!
Regardless, I started by measuring the bolts and finding a suitable replacement. Thankfully, McMaster Carr had almost exactly what I needed, 1.5” long, 3/8-16 knurled neck carriage bolts (McMaster part number 98060A830).
Note that the knurled neck on these is a bit longer (5/8”) than the originals, so you may need an extra thick washer to take up the slack between the frame mount and the threads of the carriage bolt. For this purpose, I ordered McMaster 98025A031 (3/8” grade 8 washer, 0.11”-0.126” thick) but I haven’t used them yet. The plate is about 1/2” thick and off hand I’d estimate the frame mount steel to be about 14ga-16ga, so a regular washer may or may not work.
Next, I had to source the aluminum stock. After measuring the plates and a quick search online, I found a metal supplier that would cut some 1/2” aluminum plate to size for me for a decent price. It was surprisingly easy and cost effective to order from Midwest Steel and Aluminum. They were by far the cheapest source I could find for cut-to-size aluminum plate. It was around $35 for six plates, shipped! It did take a couple weeks, but I was really happy with the price and no MOQ.
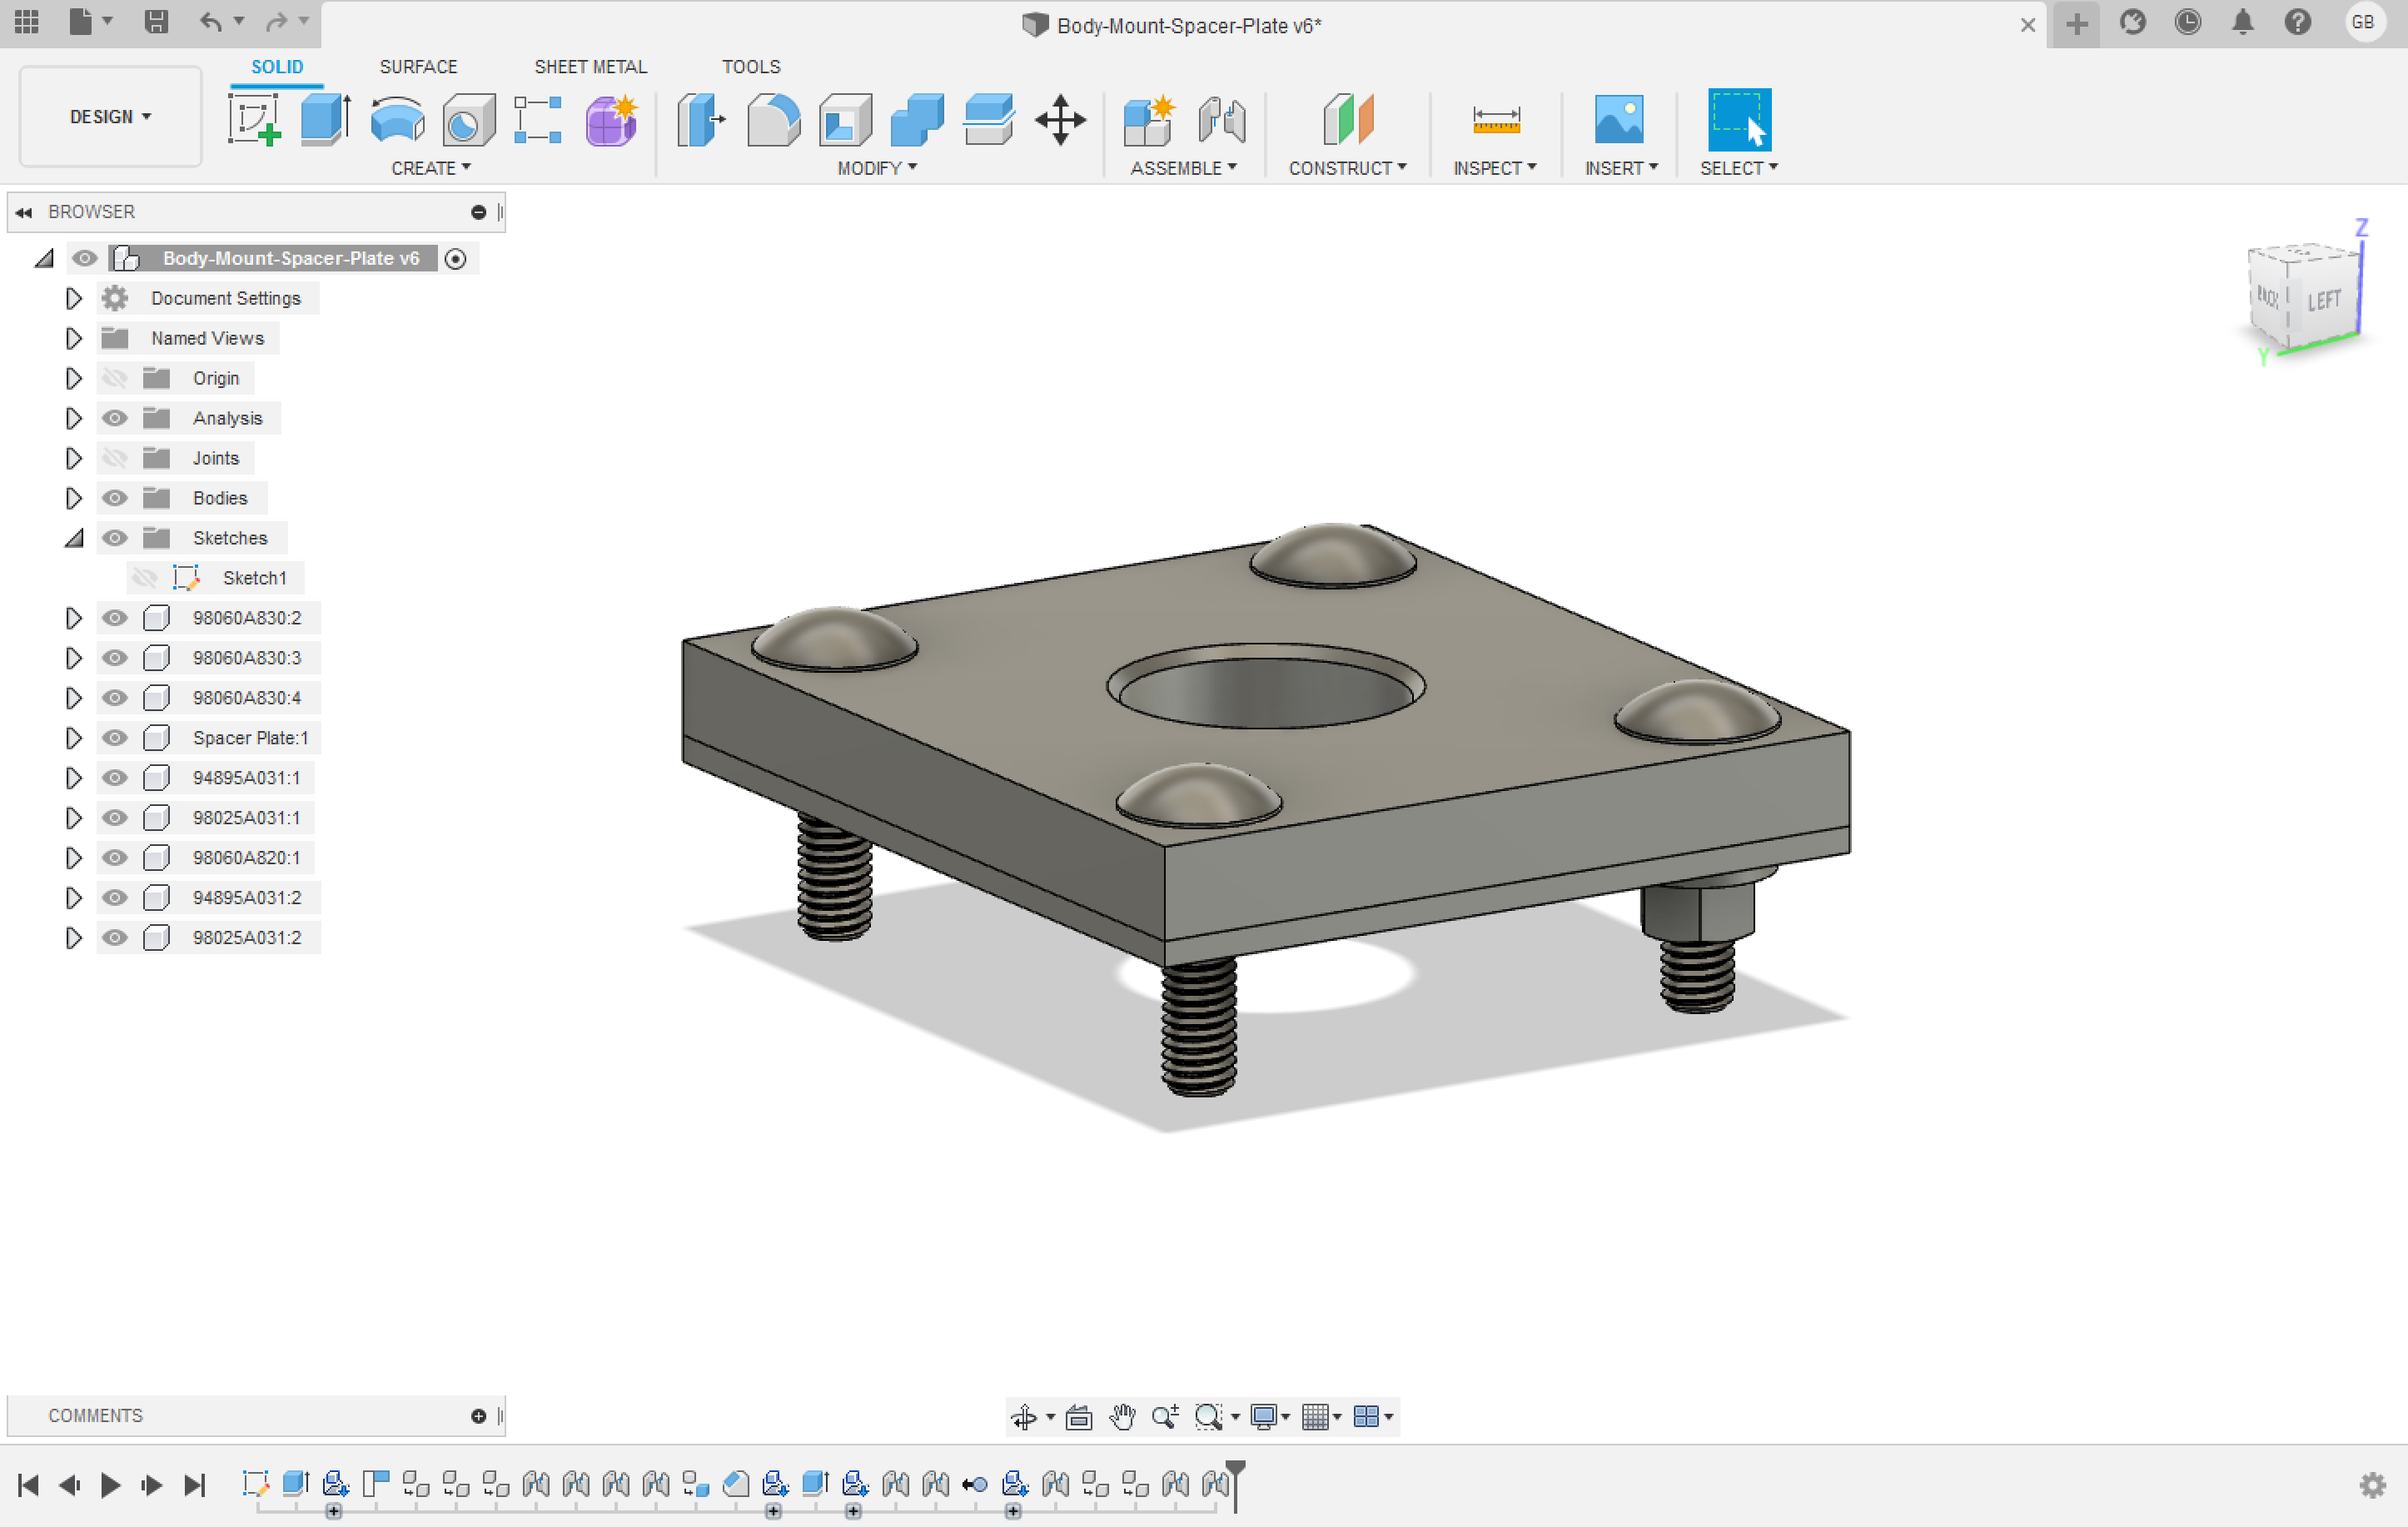 I mocked up the plate design with all the McMaster components in Fusion360
The knurled neck of the bolts extend an 1/8” beyond the plate so I also ordered some extra thick 3/8” washers (McMaster P/N 98025A031) to make sure the plates bolt up flat to the frame.
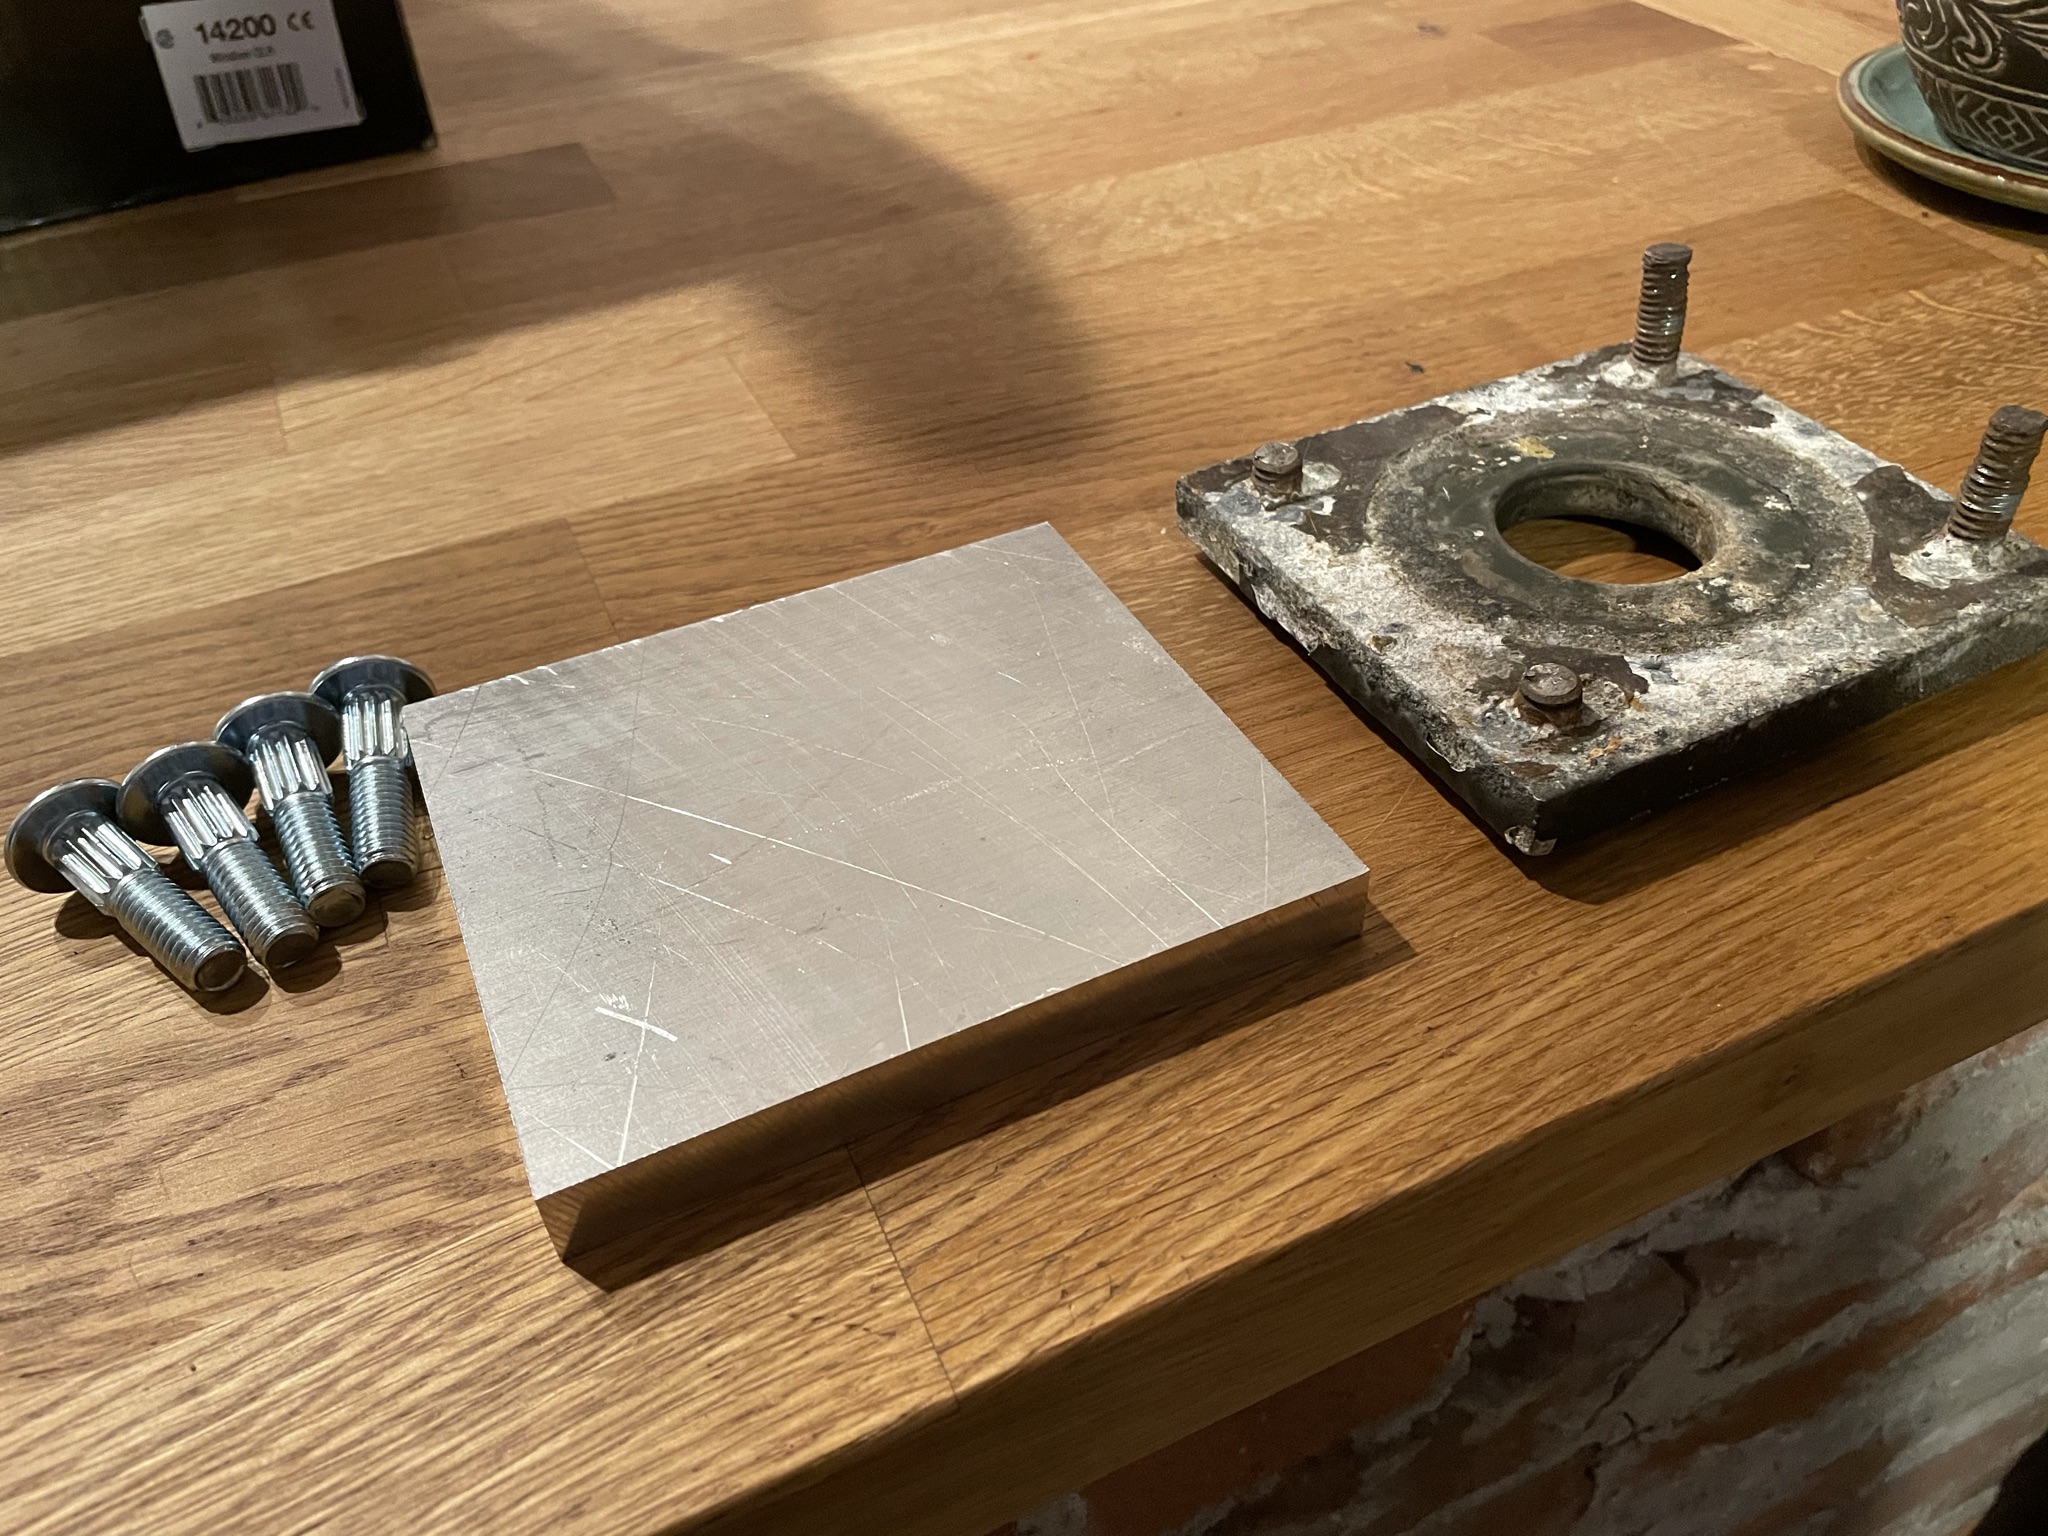 The ingredients for the new spacer plates
With the parts in hand, I had to put the holes in place. Luckily I knew just who to call!
A couple years ago, an old coworker of mine borrowed my engine crane to move a mill he has bought used. So I called in a favor :)
I had only ever used a mill once, and it was a fairly tame bench top unit. I wasn’t expecting the beast of a machine my friend had in his home shop!
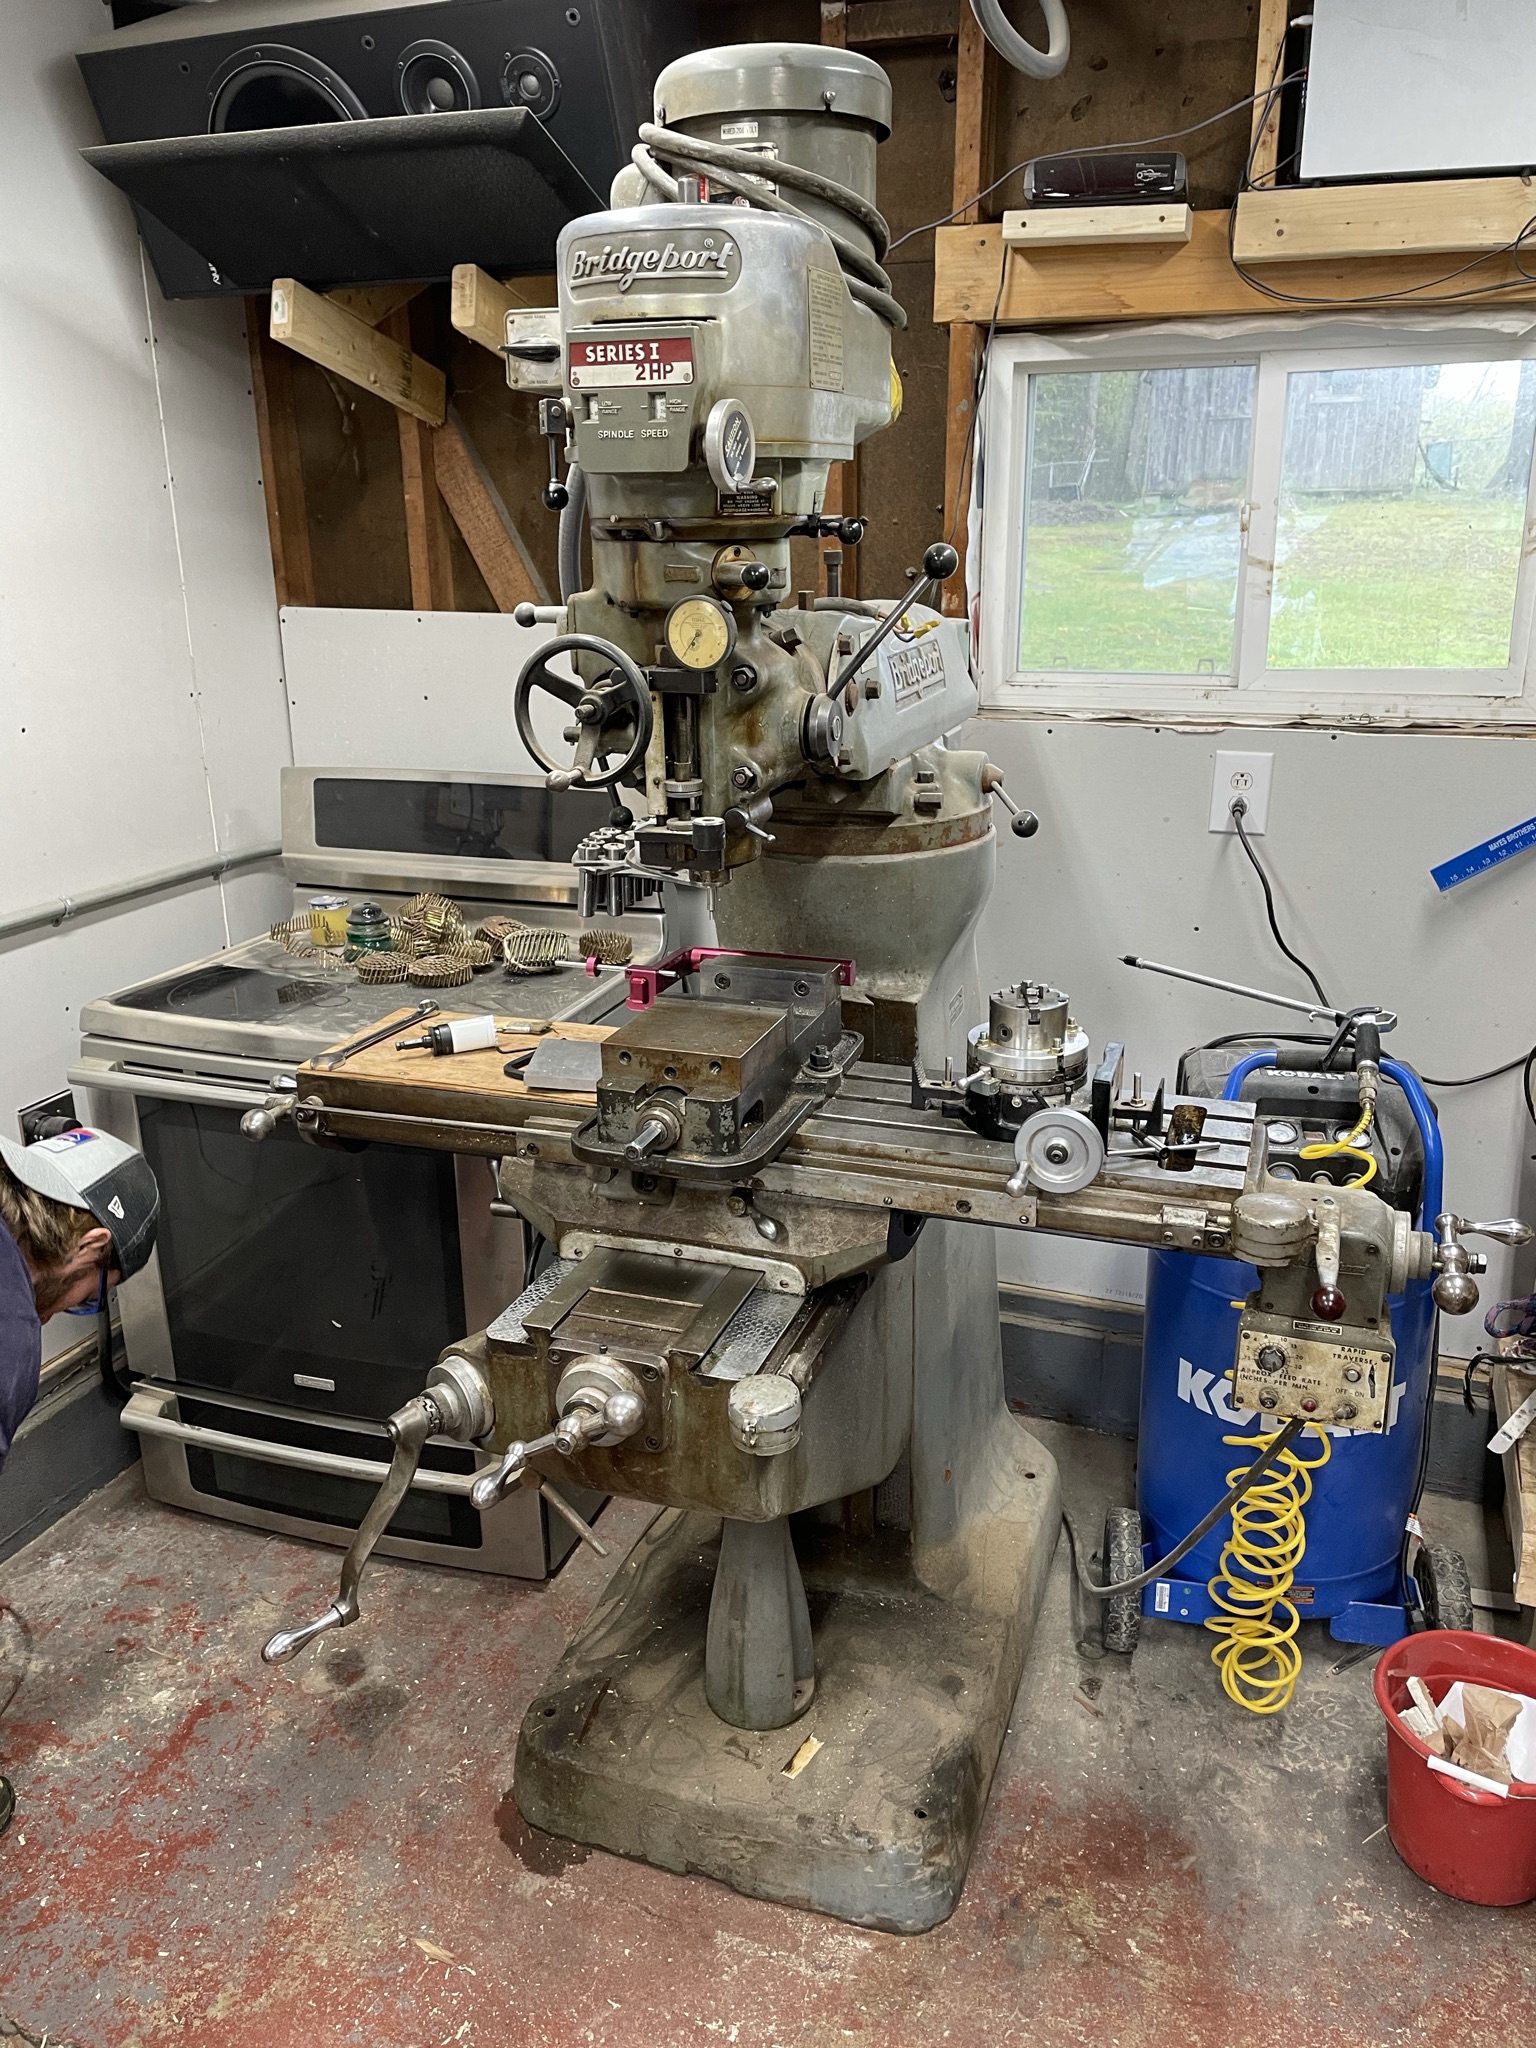 A huge 70’s-era Bridgeport mill. He got a hell of a deal on it too
The title picture is the drawing I made for our reference when recreating these plates. The bolts are spaced in a rectangle approximately 3” by 3.5”. There is a 1.5” hole in the middle that the rubber body mount fits into.
The 3/8” holes are no problem, any old drill index will have the right bit. But there are a few options for making the 1.5” hole in the middle.
At first we thought to use his rotary table, but it was too small to easily secure the plate to without creating extra fixtures. Too much work! I considered buying a huge, 1.5” drill bit for about $40 on Amazon but I doubt I would ever use it again.
I did have a bimetallic hole saw kit lying around. So we decided to try that out. After all, it is aluminum, which is relatively easy to machine when compared to steel.
When we fired up the mill with the hole saw mounted, it was apparent there was quite a bit of runout. Not ideal, but this isn’t a high-tolerance part. We did a test hole and it was bout 0.05” oversized with a very rough surface finish. The finish isn’t super important, but the hole was noticeably larger than the original plate. The original rubber bushing was a tight fit in the original spacer plate, but was uncomfortably loose in the new plate.
We decided at that point to just drill one plate to test the spacing of the bolts and defer the rest of the machining until I had bought the 1.5” drill bit for a more accurately-sized hole.
At that point, the day was over. I said goodbye to Jeremy and his cat Jack and headed home.
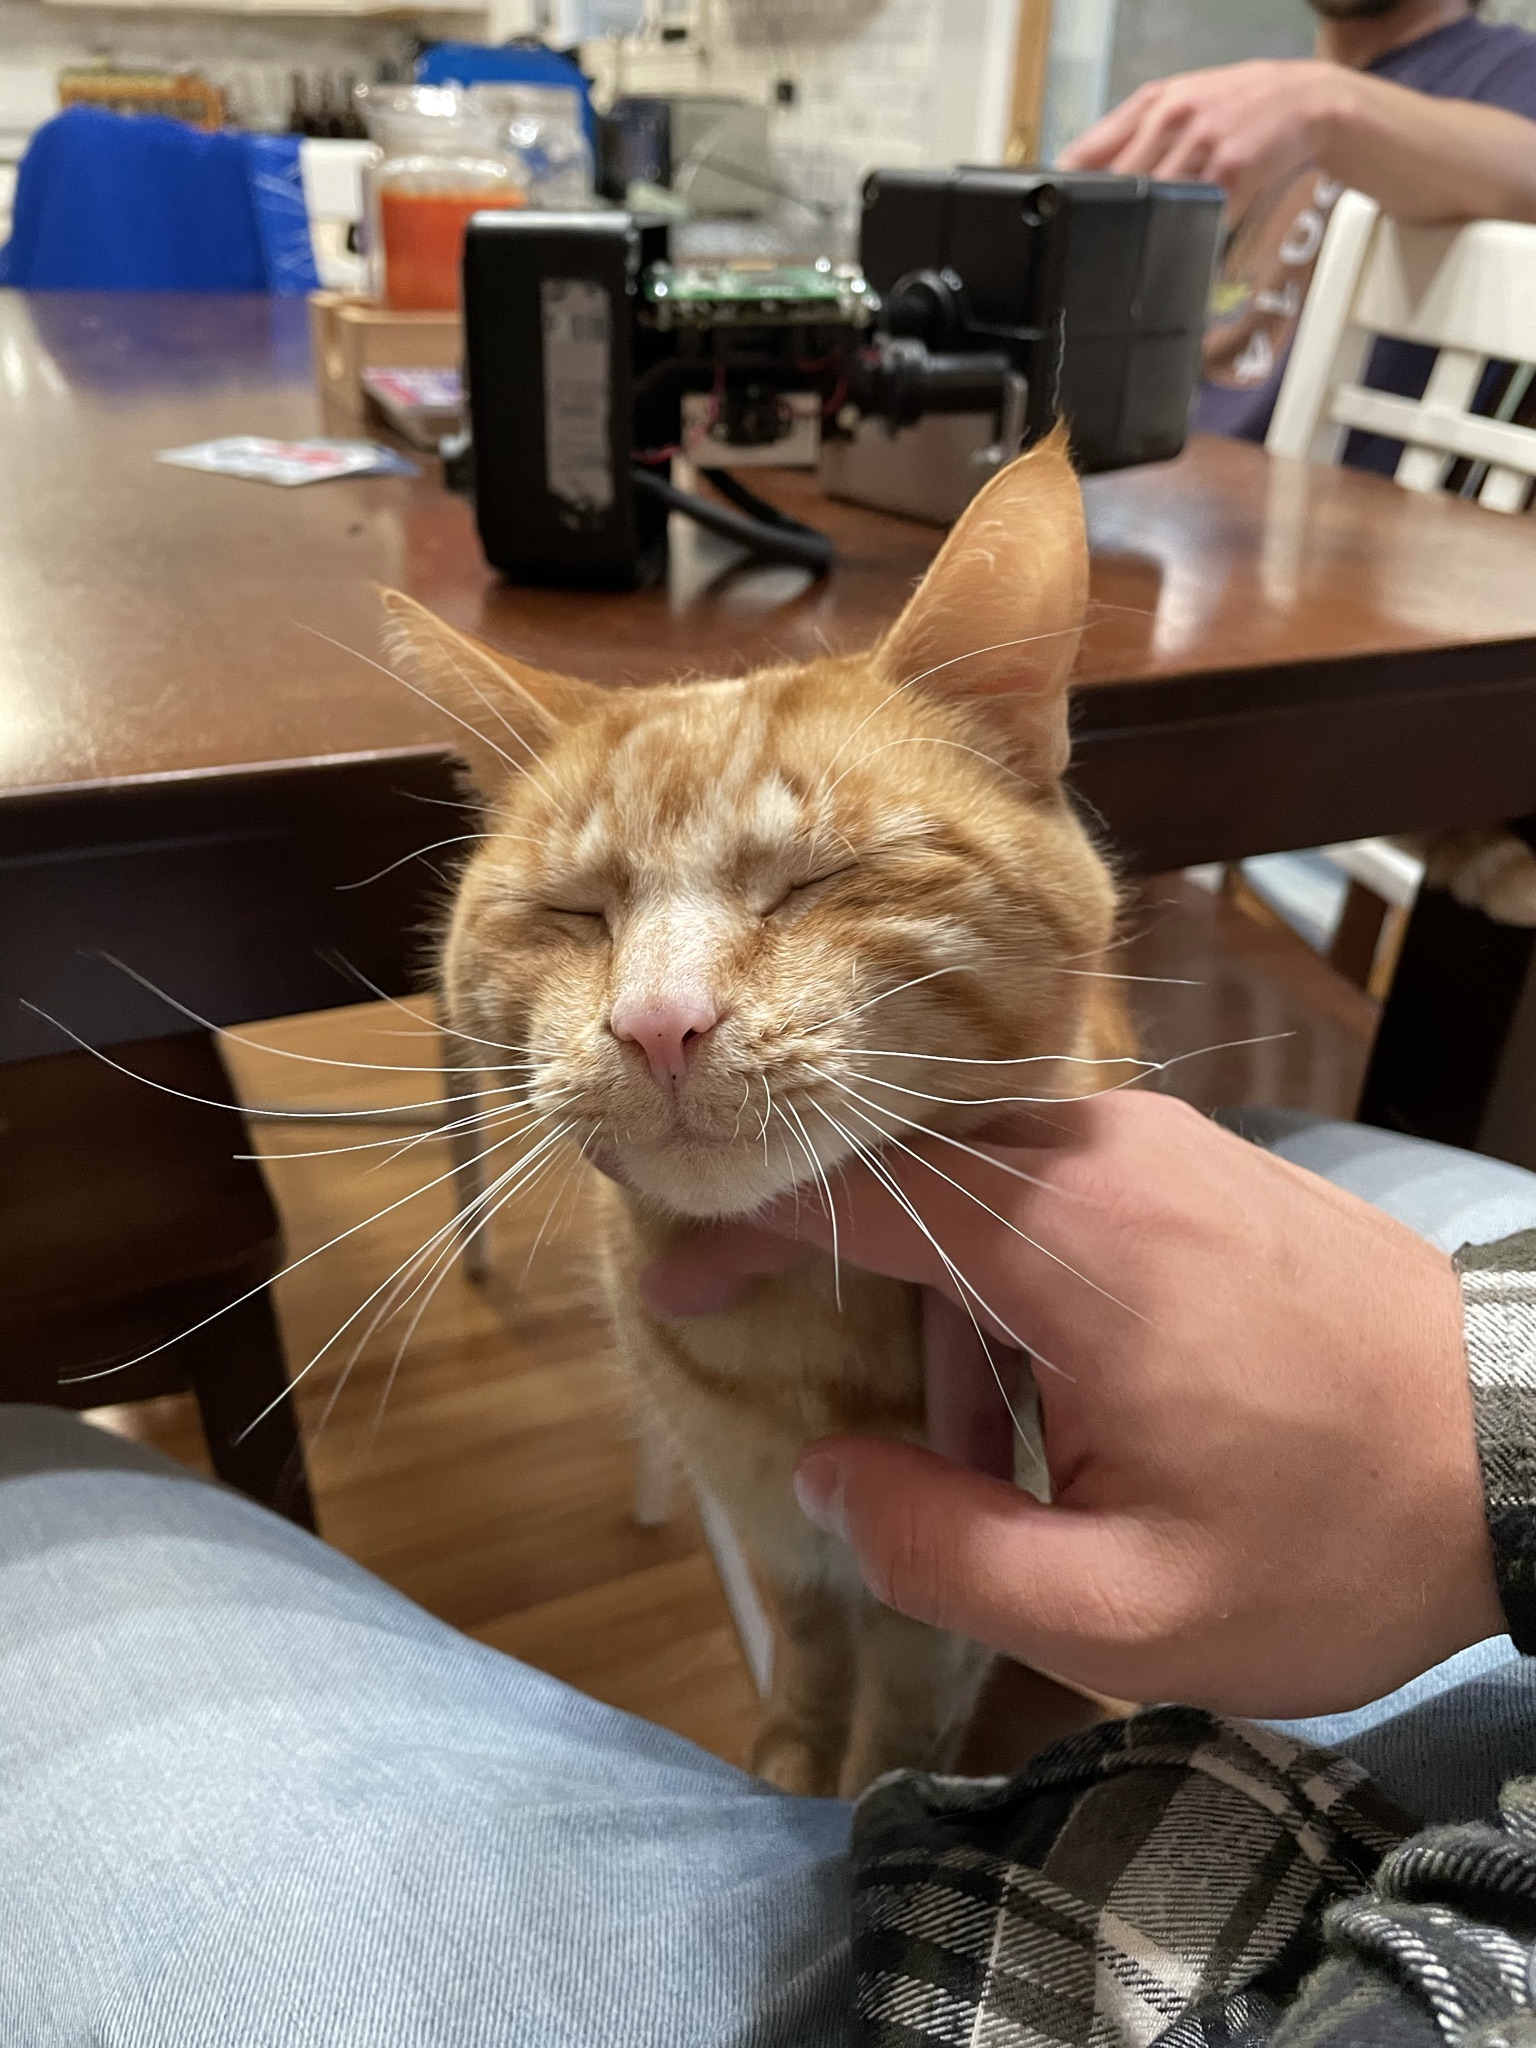 Jack the kitty cat
When I got back to my apartment, I used my 6-ton bench top hydraulic press to install the knurled carriage bolts. Using some sockets as spacers, they went in very easily.
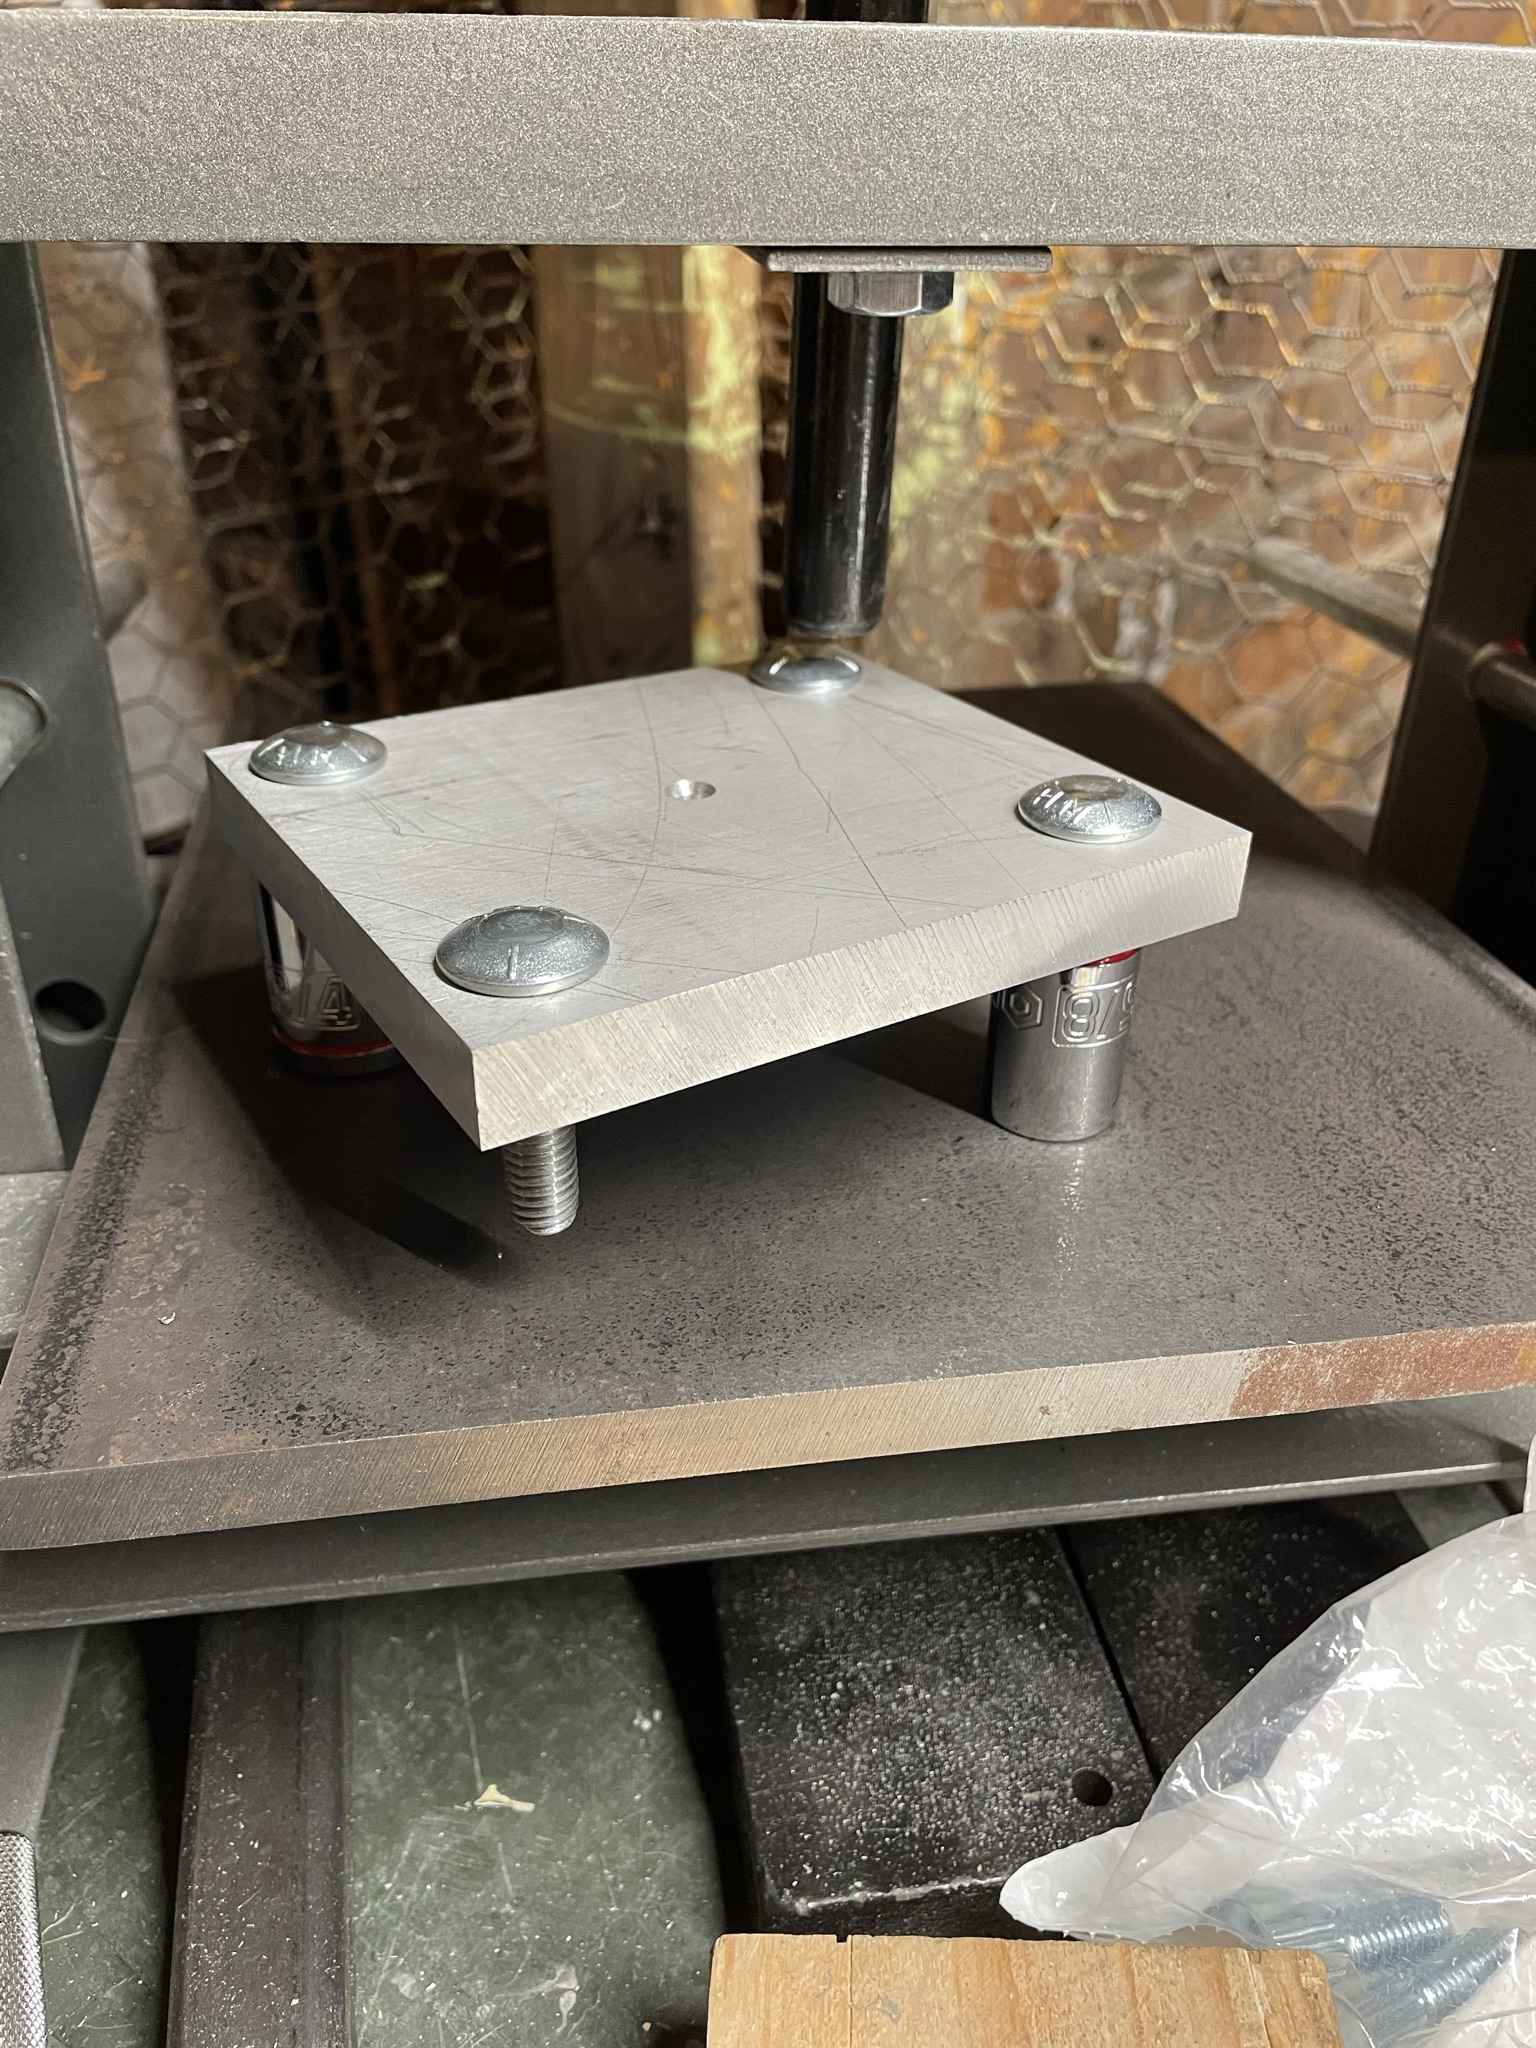 A satisfying press fit
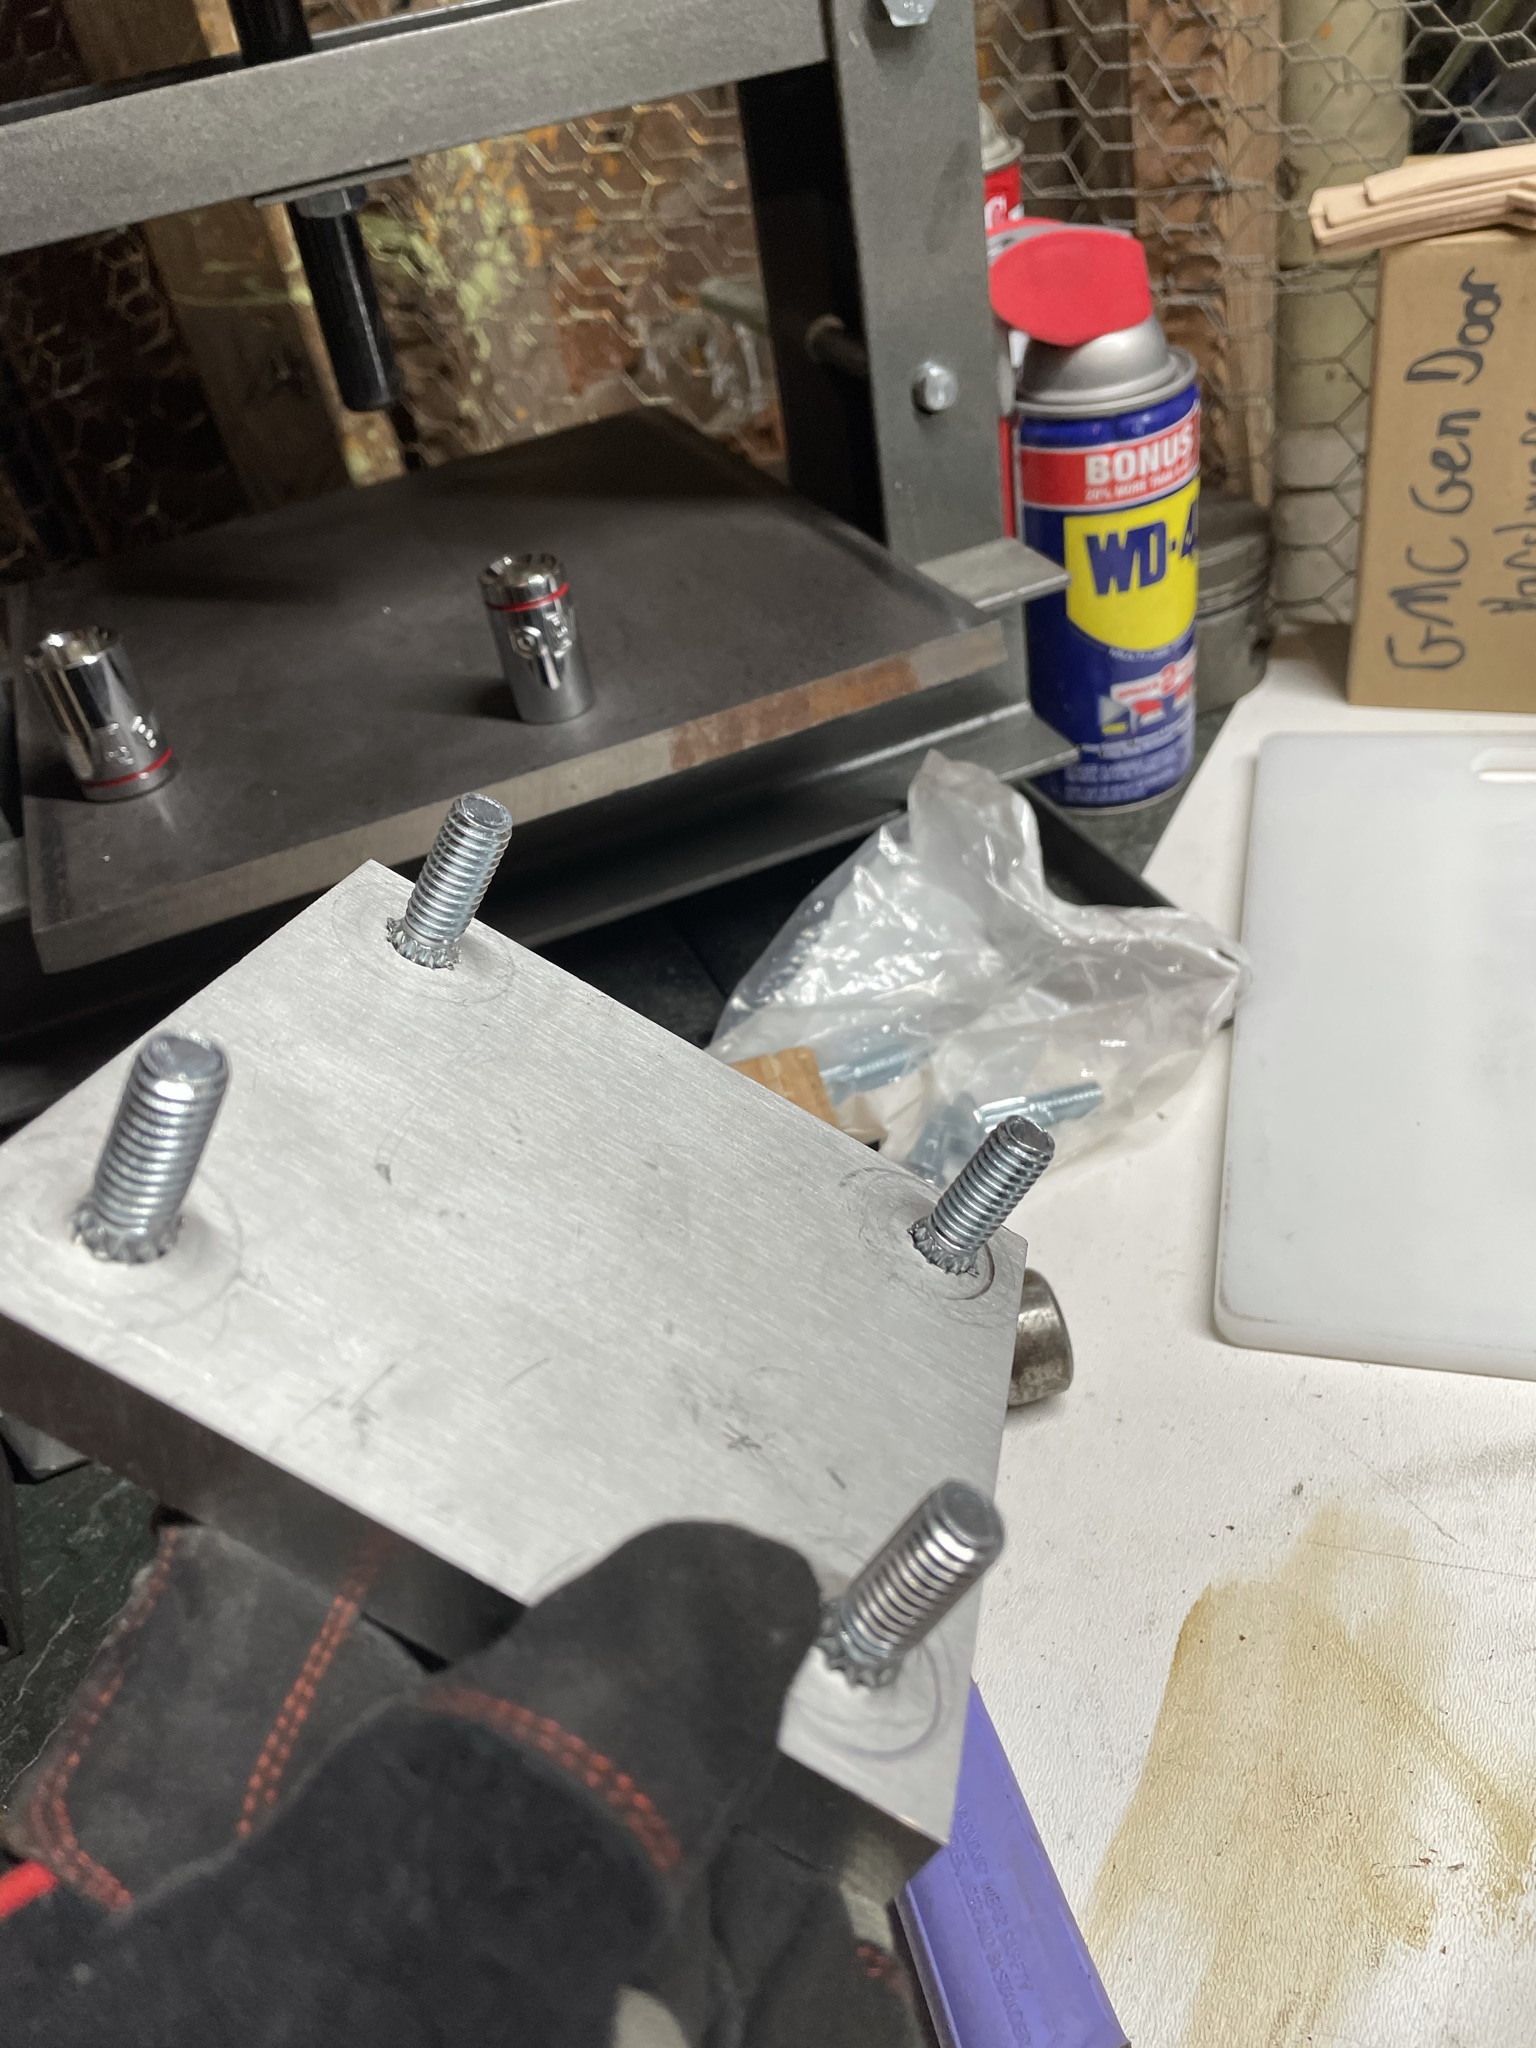 Looks original!
When I went to machine the plates, I forgot to bring the new rubber body mounts. I decided to test fit the new mounts into the hole we made with the hole saw. As it turns out, the new body mounts are slightly larger than the original ones and so the “oversized” hole was actually a nice tight fit!
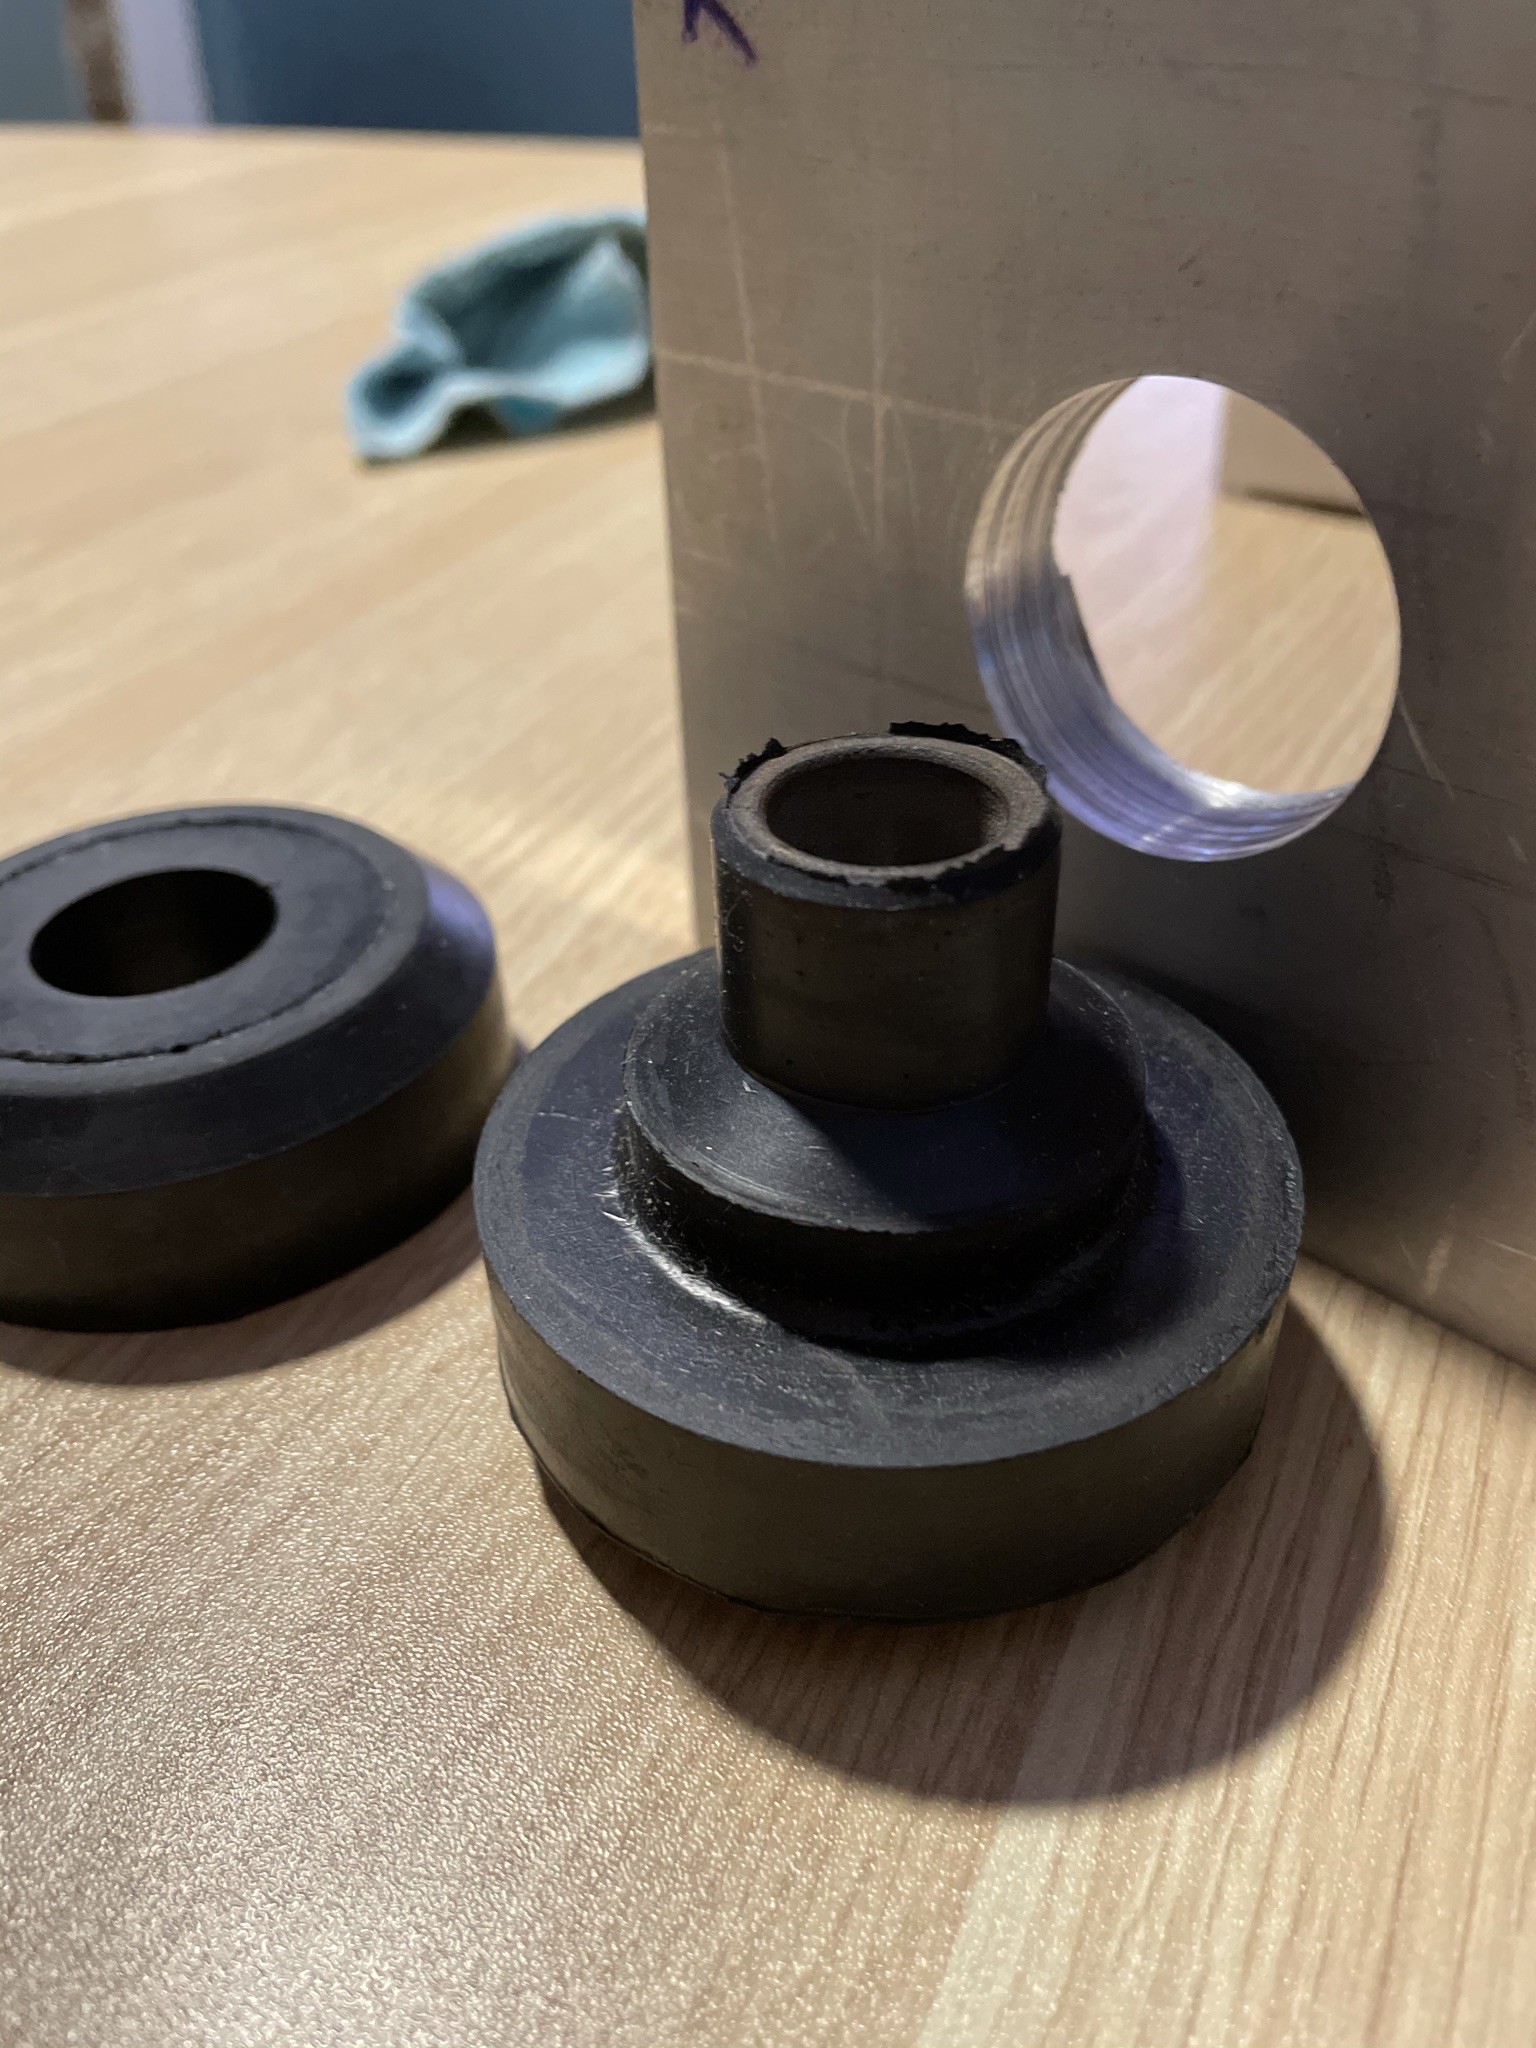 That saves me $40…
The next step is to verify the bolt spacing fits the mounting point on the frame and then we’ll drill the rest of the plates.
If you’re in need of a replacement plate, I bought extra materials and will offer any extras for sale so you don’t have to spend all this time recreating the part! Reach out to me through the contact info on this site.
Front Wheel Bearings
While I was out at my friend’s house, I met up with a member of the GMC MotorHome blacklist to borrow their special front wheel bearing puller tool… I will cover that experience in the next couple weeks…