GMC MotorHome Teardown Manual - Part One
Written on March 18th, 2024 by George Beckstein
Time to dig in.
Parts Coach Update
It was probably wishful thinking to imagine I would be able to write 1-2 blog posts a week. These things take me a while! Here I am, 1 month later, with a much-delayed update for y’all. I hope to get better at posting regularly as I settle into the workflow of blogging.
Anyways, on with the update.
Interior Teardown Instruction Manual
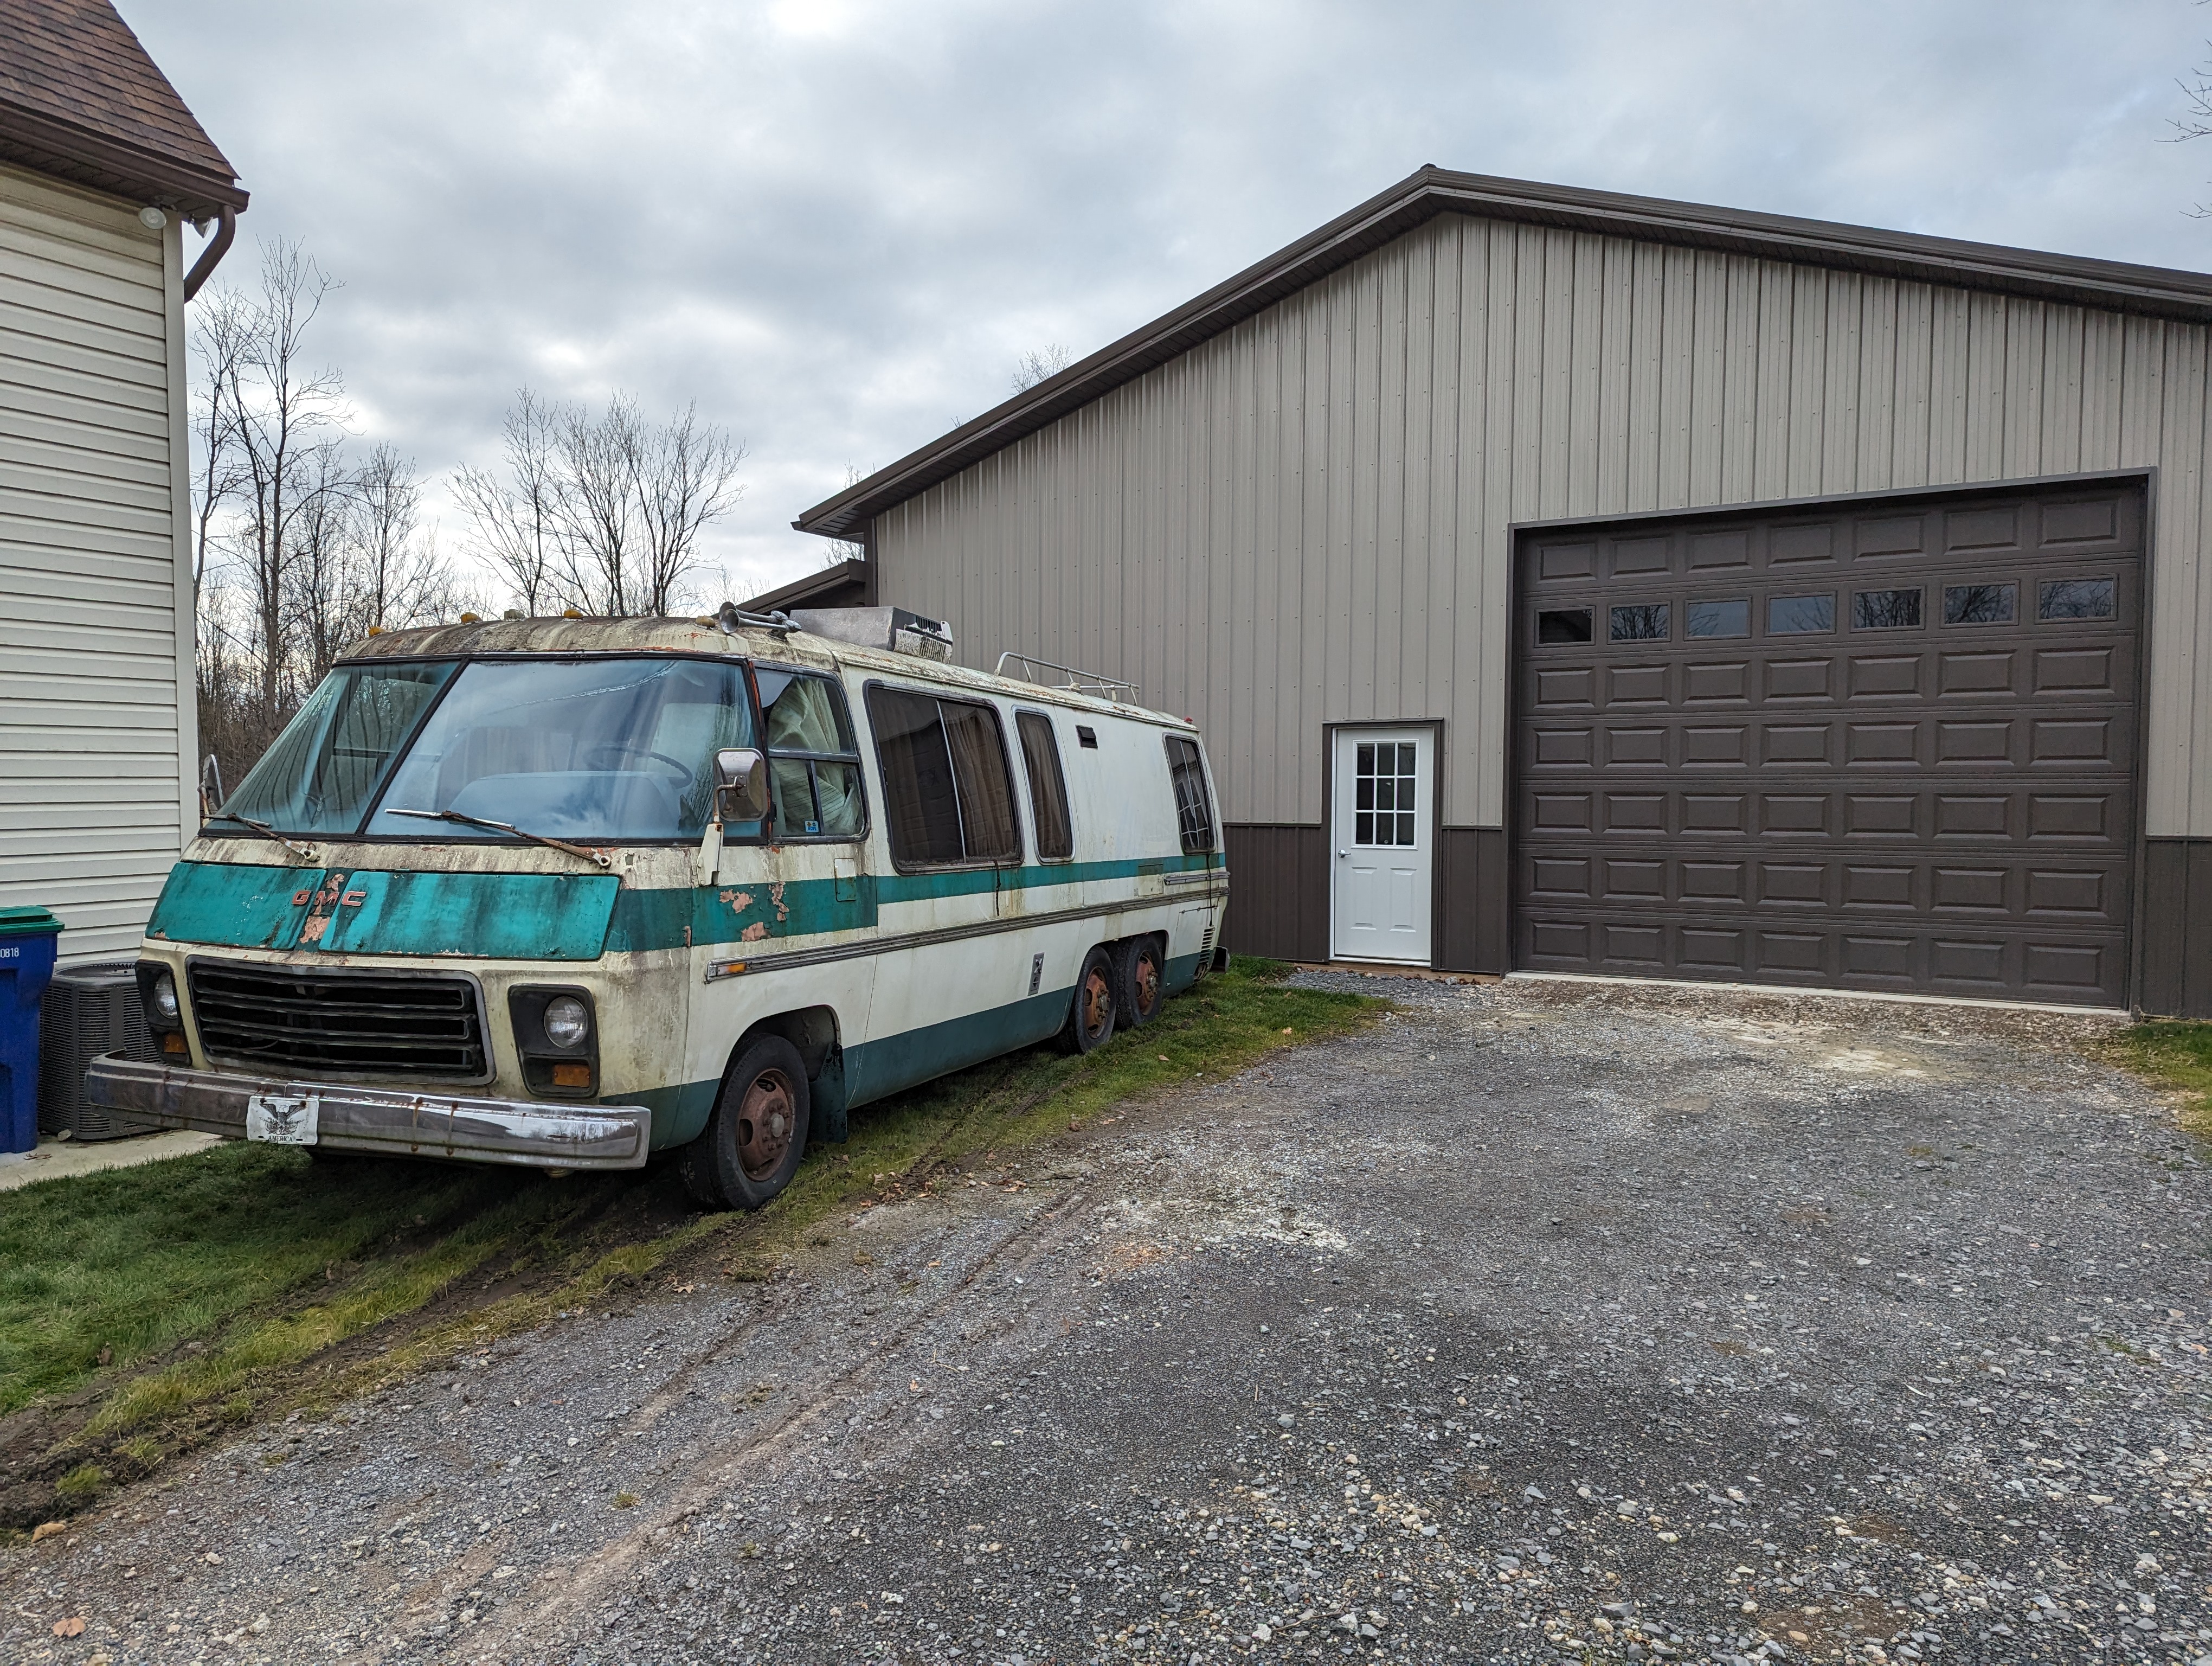
Andy and I have been busily plugging away the last few months (the last blog post left off in November of 2023) on carefully disassembling the parts coach. I plan to reuse as much as possible; anything not required to roll it onto a flatbed and get hauled to the scrap yard will be saved.
We decided to focus initially on removing the interior – this coach leaks like a sieve and we didn’t want the furniture to get any worse over the winter. Plus, clearing out the furnishings would make plenty of space for eventually removing the drivetrain and other integral bits we want to save.
There are plenty of pictures of people removing original interiors from their GMC; but I didn’t find any concise, organized information on how to properly remove the original interior without damage (or with minimal damage in most cases).
Another great resource, if not missing some detail, is the factory assembly manual.
So that’s the purpose of the next few blog posts: I will go over each major piece of furniture in the original GM interiors and provide details on how they are fastened into the coach.
Disclaimer
This post is largely for my own reference. As anyone who’s done a long-term restoration will know, details start to get foggy after a few years. As with anything, documentation is key.
The interior of the parts coach seems to be relatively in original, untouched condition. There are some obvious places where things have been reworked or removed and replaced. There may be a few deviations from a 100% factory original interior, but for most part I think this post will provide a good starting point for anyone trying to remove parts of their interior.
I will also note that there were many different interior layouts available. This coach was outfitted with Floor Plan 26’-3, which included a dinette/double bed and davo/bunk beds in the front and a side facing setee/double bed in the rear. However, most of the removal instructions will be similar.
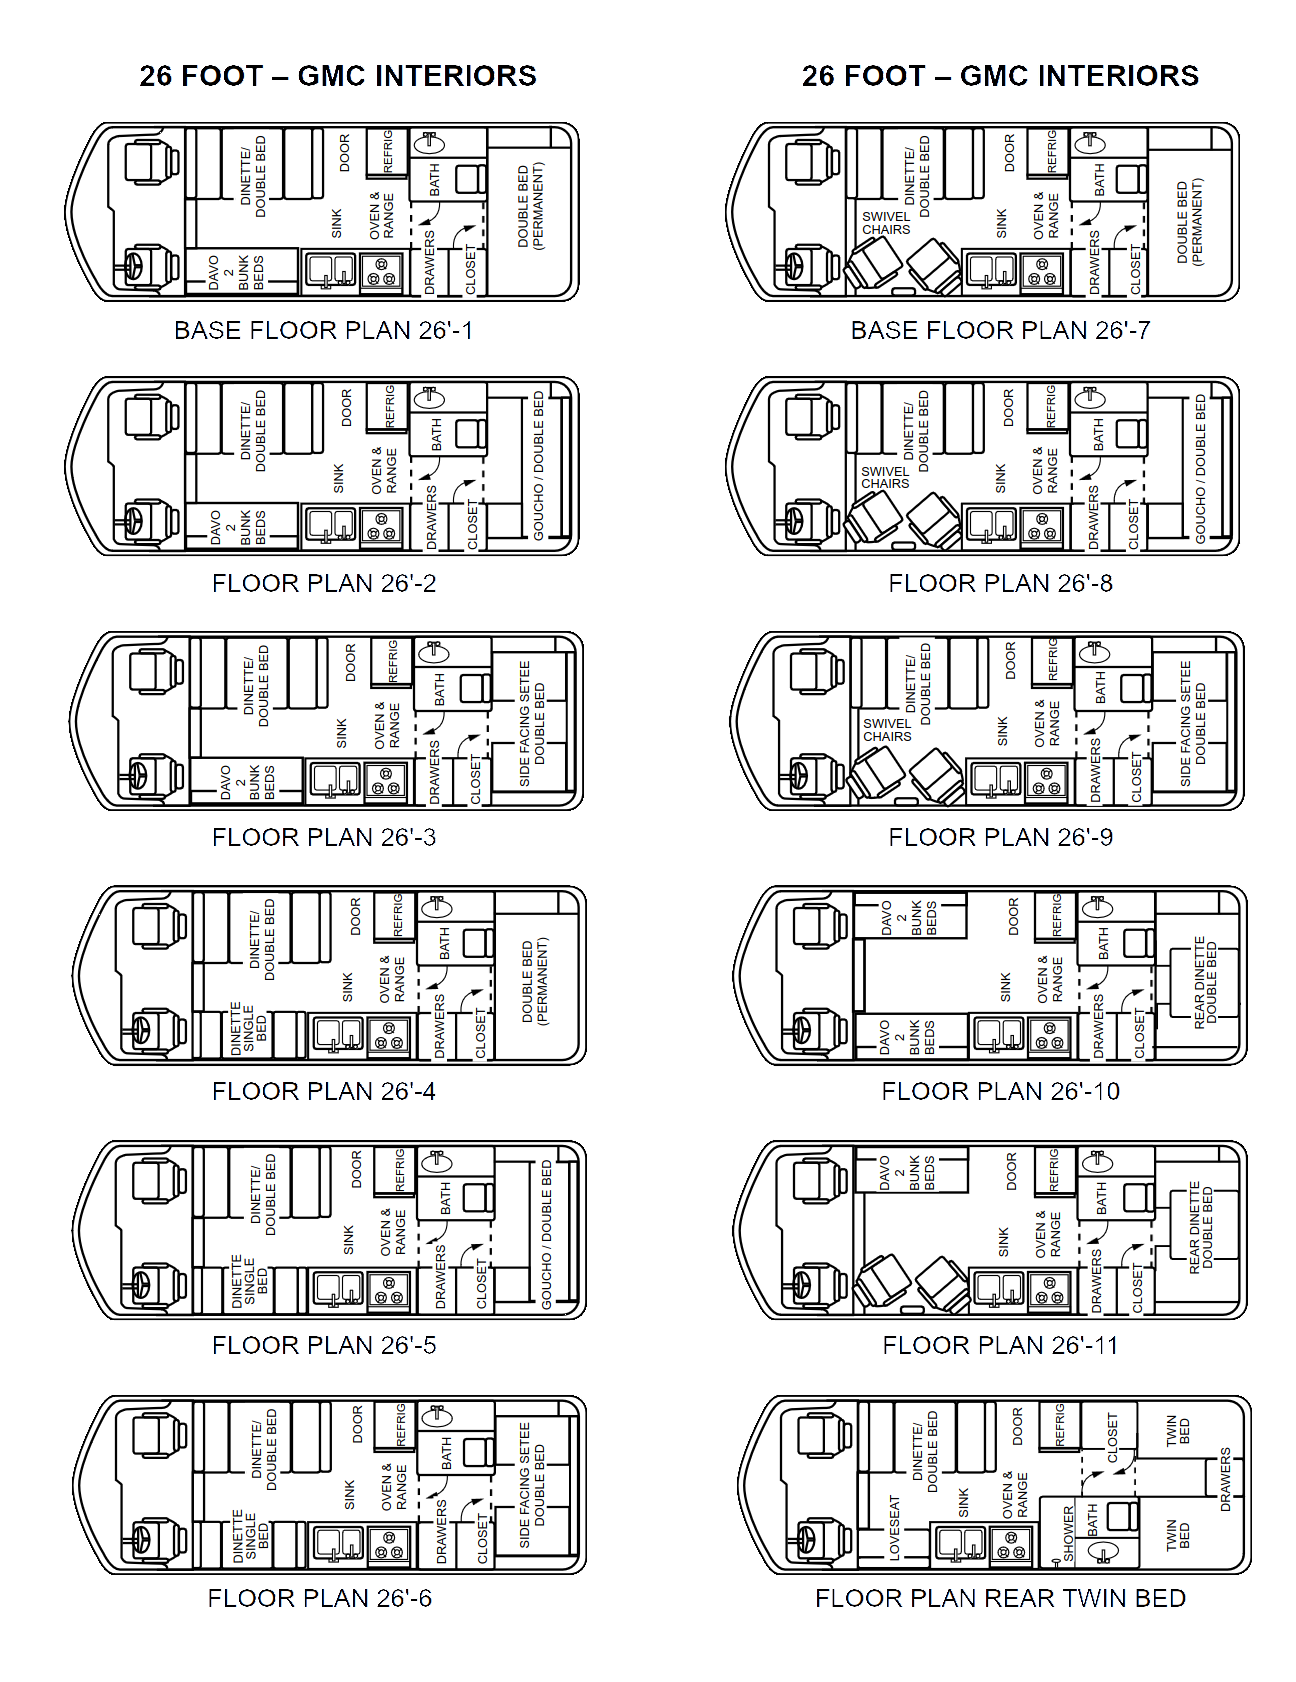 This parts coach came with the common “#3” floor plan. Other available floor plans can be seen in this document.
The sections will be organized by the order in which they were removed. This is generally the order I recommend removing things, but use your head.
If anything still seems difficult to move, check for additional hidden fasteners before resorting to brute strength. The original interiors were designed to be simple, lightweight, and above all, cost-effective. They are only sturdy when installed, so be careful or you might be repairing more than you anticipated!
Modules
By the way, if you haven’t read the GMC MotorHome parts book or factory service manual, you should know that everything in the interior is referred to as a “module”. Must have been some trendy 70’s engineering jargon.
Step 0: Prep The Rear Hatch
 The roof ladder and spare tire carrier have been removed, the hatch is next.
TLDR;
Start soaking the rear hatch (and tire carrier/roof ladder) fasteners with pentrating oil now
Tell Me More…
Do yourself a favor before starting anything else, plan on removing the rear hatch if you are removing either the bath module or closet module. This is the original way the factory loaded the interiors. It makes everything else easy to remove as well.
You will also have to remove the rear tire carrier and roof ladder, if equipped. These come off with a few (often rusty) bolts/screws.
 This picture seems like a dream compared to what we’re about to do…
While many pieces can be removed through the door in one piece, it’s definitely a tight squeeze. Larger interior modules, including the bath module and the closet module, do not fit out the door in one piece. I won’t say it’s impossible (everything is possible), but it’s not practical nor safe to do. The bath module is extremely fragile fiberglass when removed, and much too large to fit out the door in one piece.
You might have heard horror stories of stripped screws and broken fiberglass when removing the rear hatch. Fortunately, you’re learning from my experience. Start soaking the rear hatch fasteners with pentrating oil now. Do this every day until you’re ready to remove the bath module/closet module. To keep the interior dry, don’t remove the hatch too early on.
This advice is especially true for coaches built in 73/74 (don’t quote me on the years, but that’s what I’ve heard).
On these years, coaches have threaded inserts molded into the fiberglass and machine screws were used to secure the hatch.
 Here’s one of the threaded inserts that someone had previously torn out.
On later years, the threaded inserts were omitted and simple self-tapping screws were drilled directly into the fiberglass to secure the hatch. Hence, the later coaches are less prone to stripping/breaking the rear hatch fasteners.
For now, just start soaking the fasteners. I will detail actually removing the rear hatch later on – there are still some interior pieces in the way that must be removed first.
Step 1: Removing Overhead Cabinets
The overhead cabinets are an obstacle, not only when removing the interior but also just in general.
Warning: Soapbox
The overhead cabinets are a tradeoff with not having storage space underneath the coach. The aspect that makes the GMC MotorHome so unique and maneuverable (its low ground height) also eliminates a lot of potential storage space.
The cabinets are not only the most head-bonkable thing in the coach, and they also cut the view of the glorious windows in half. They make the coach feel cramped. I am considering omitting the dinette overhead cabinet from my restoration and making up for the lost storage space with a roof pod.
Back to Business
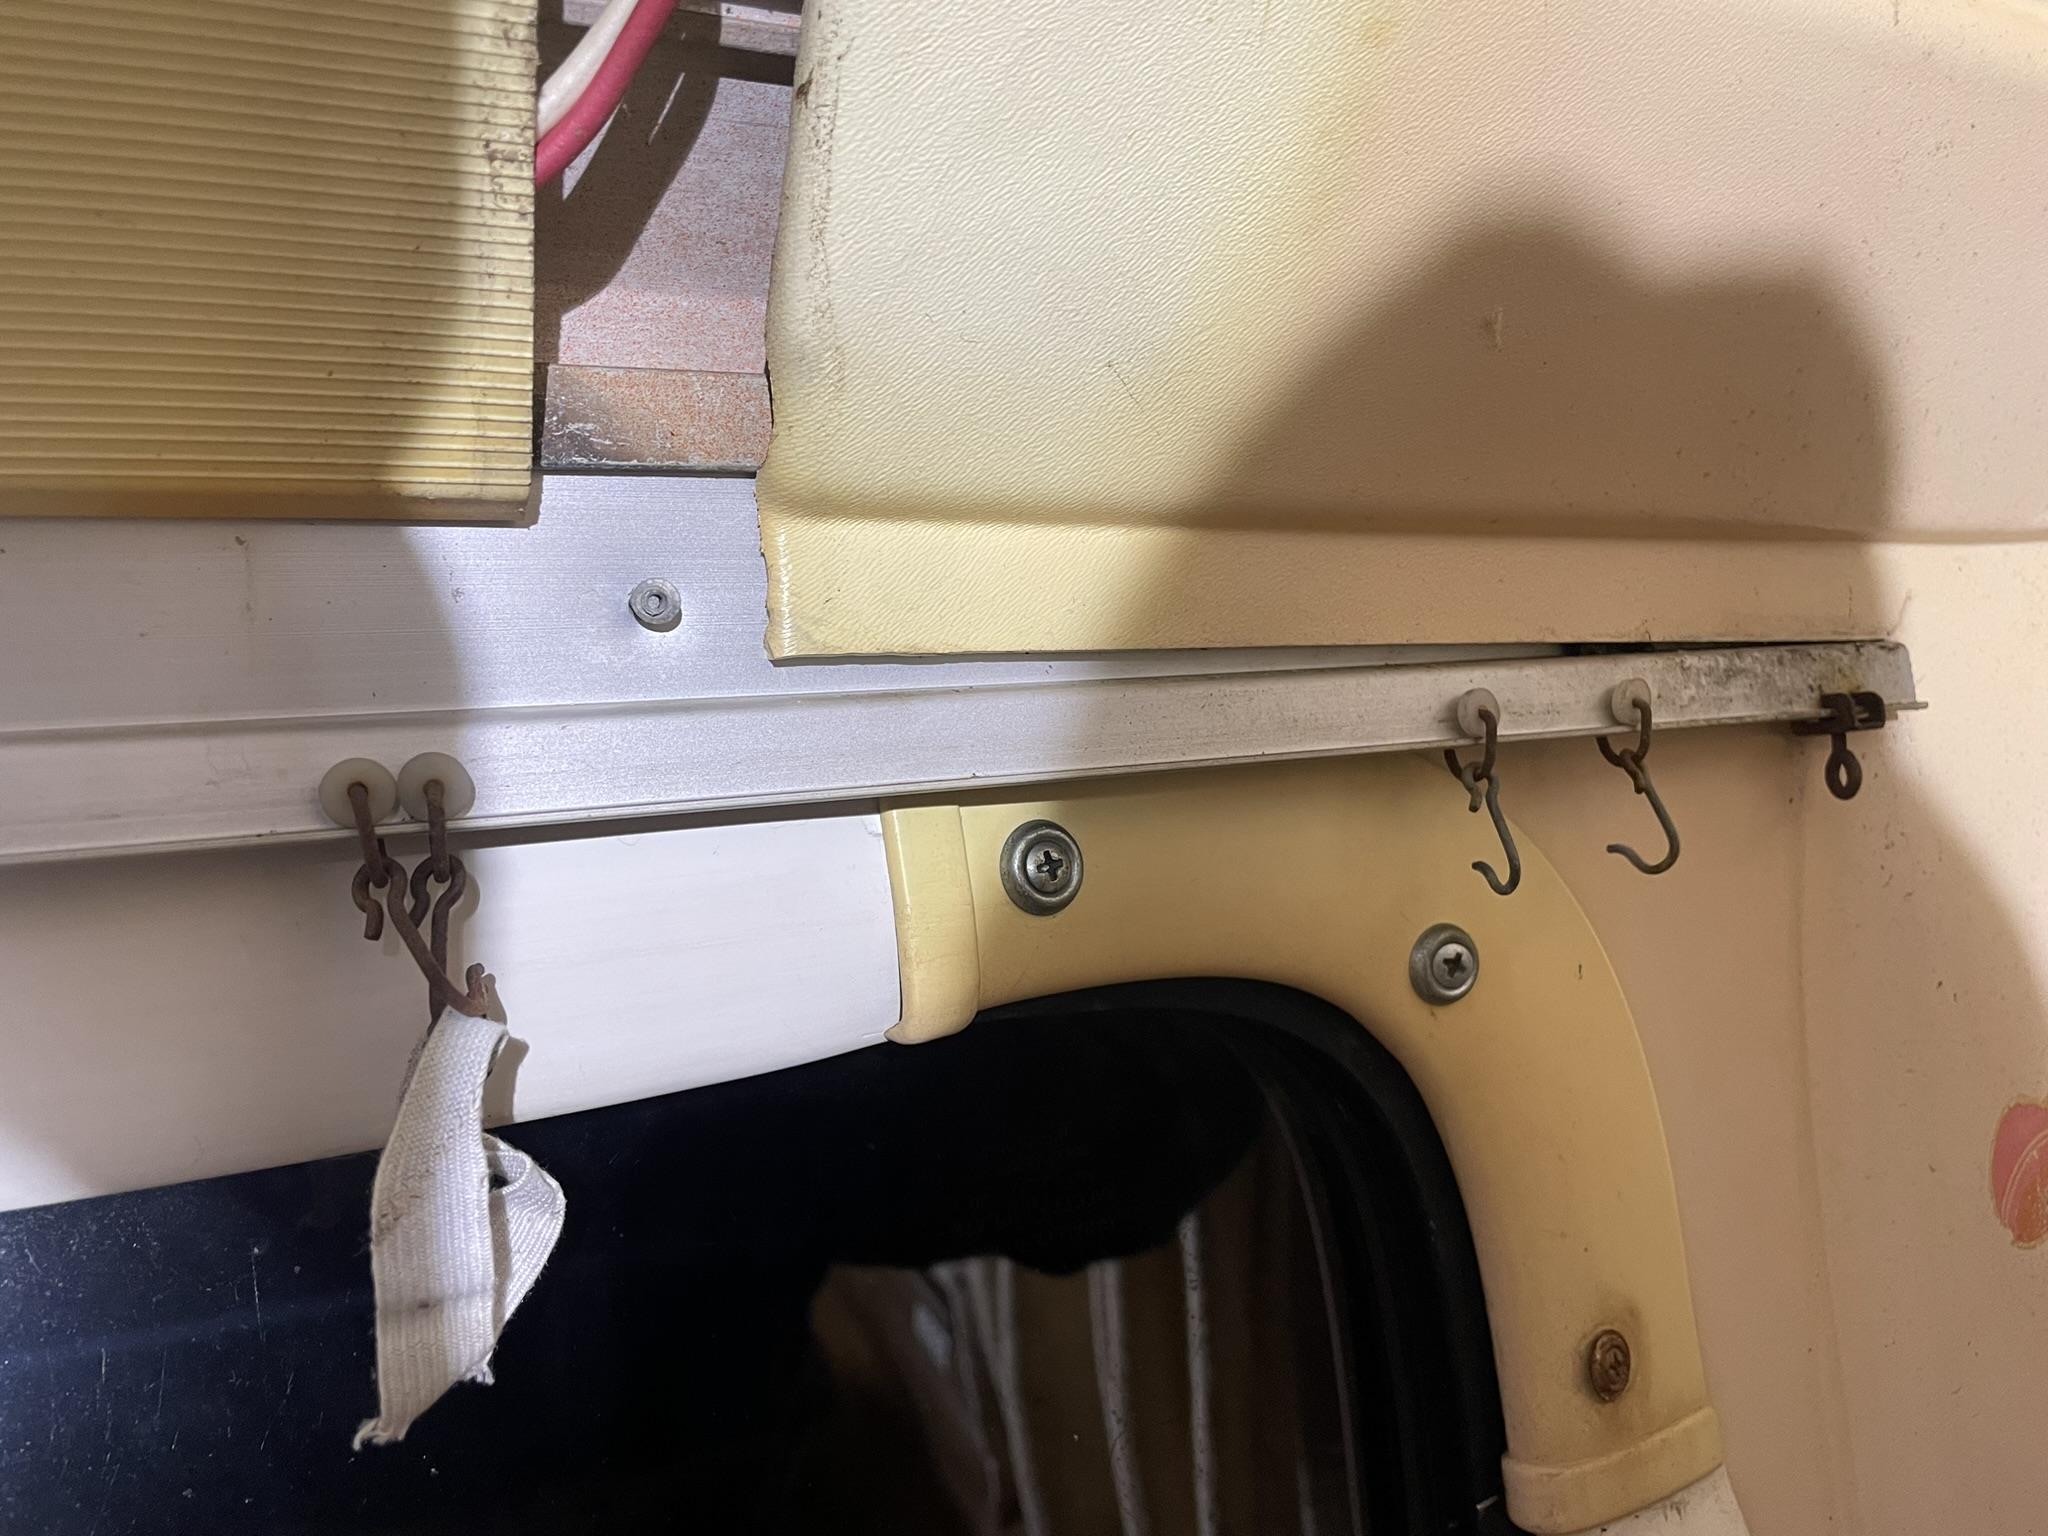
All of the overhead cabinets are largely screwed in the same way. There are 2-4 screws (depending on cabinet length) that secure the cabinet to the ceiling (straight up), and another 2-4 screws that secure the cabinet to the inner drip rail extrusion (diagonally to corner of roof/wall). If the cabinet butts up against another piece of furniture (eg: bath module, closet module, etc) there will likely be another screw securing it to that.
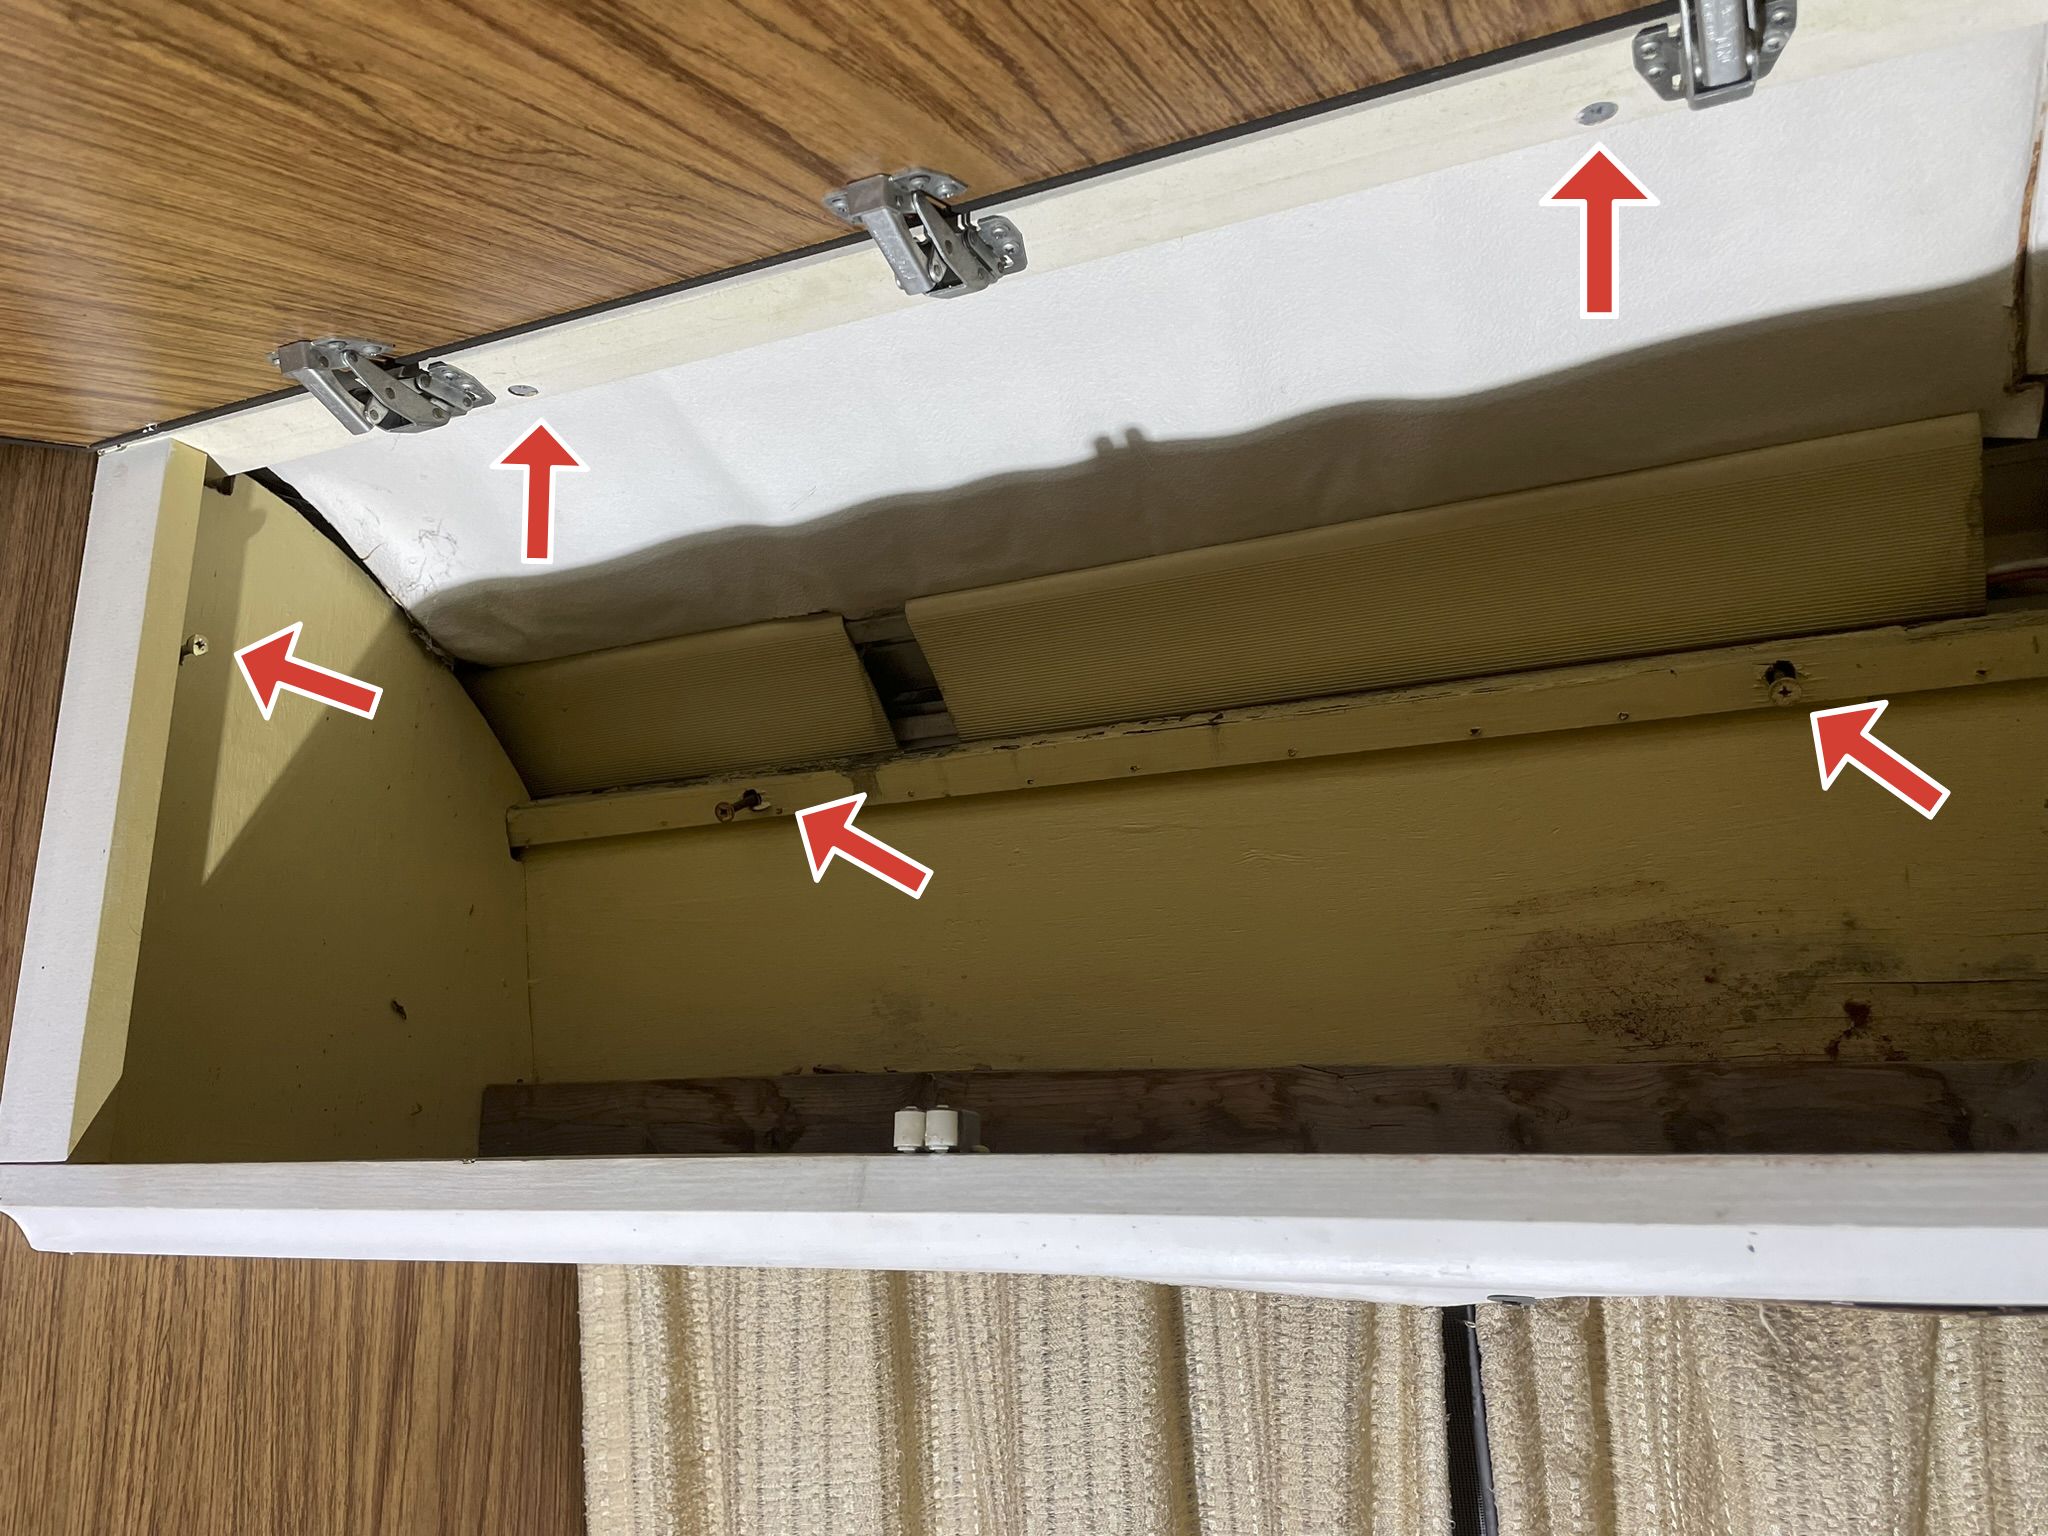 You can see the normal roof/drip rail screw locations in this picture of the dilapidated passenger rear overhead cabinet as well as the “extra” fastener attaching it to the adjacent bath module wall.
Before removing the fasteners, make sure to disconnect any wiring that may be hooked up to the overhead cabinet. Most of them had little reading lamps, or in the case of the kitchen overhead cabinet, a powered vent fan.
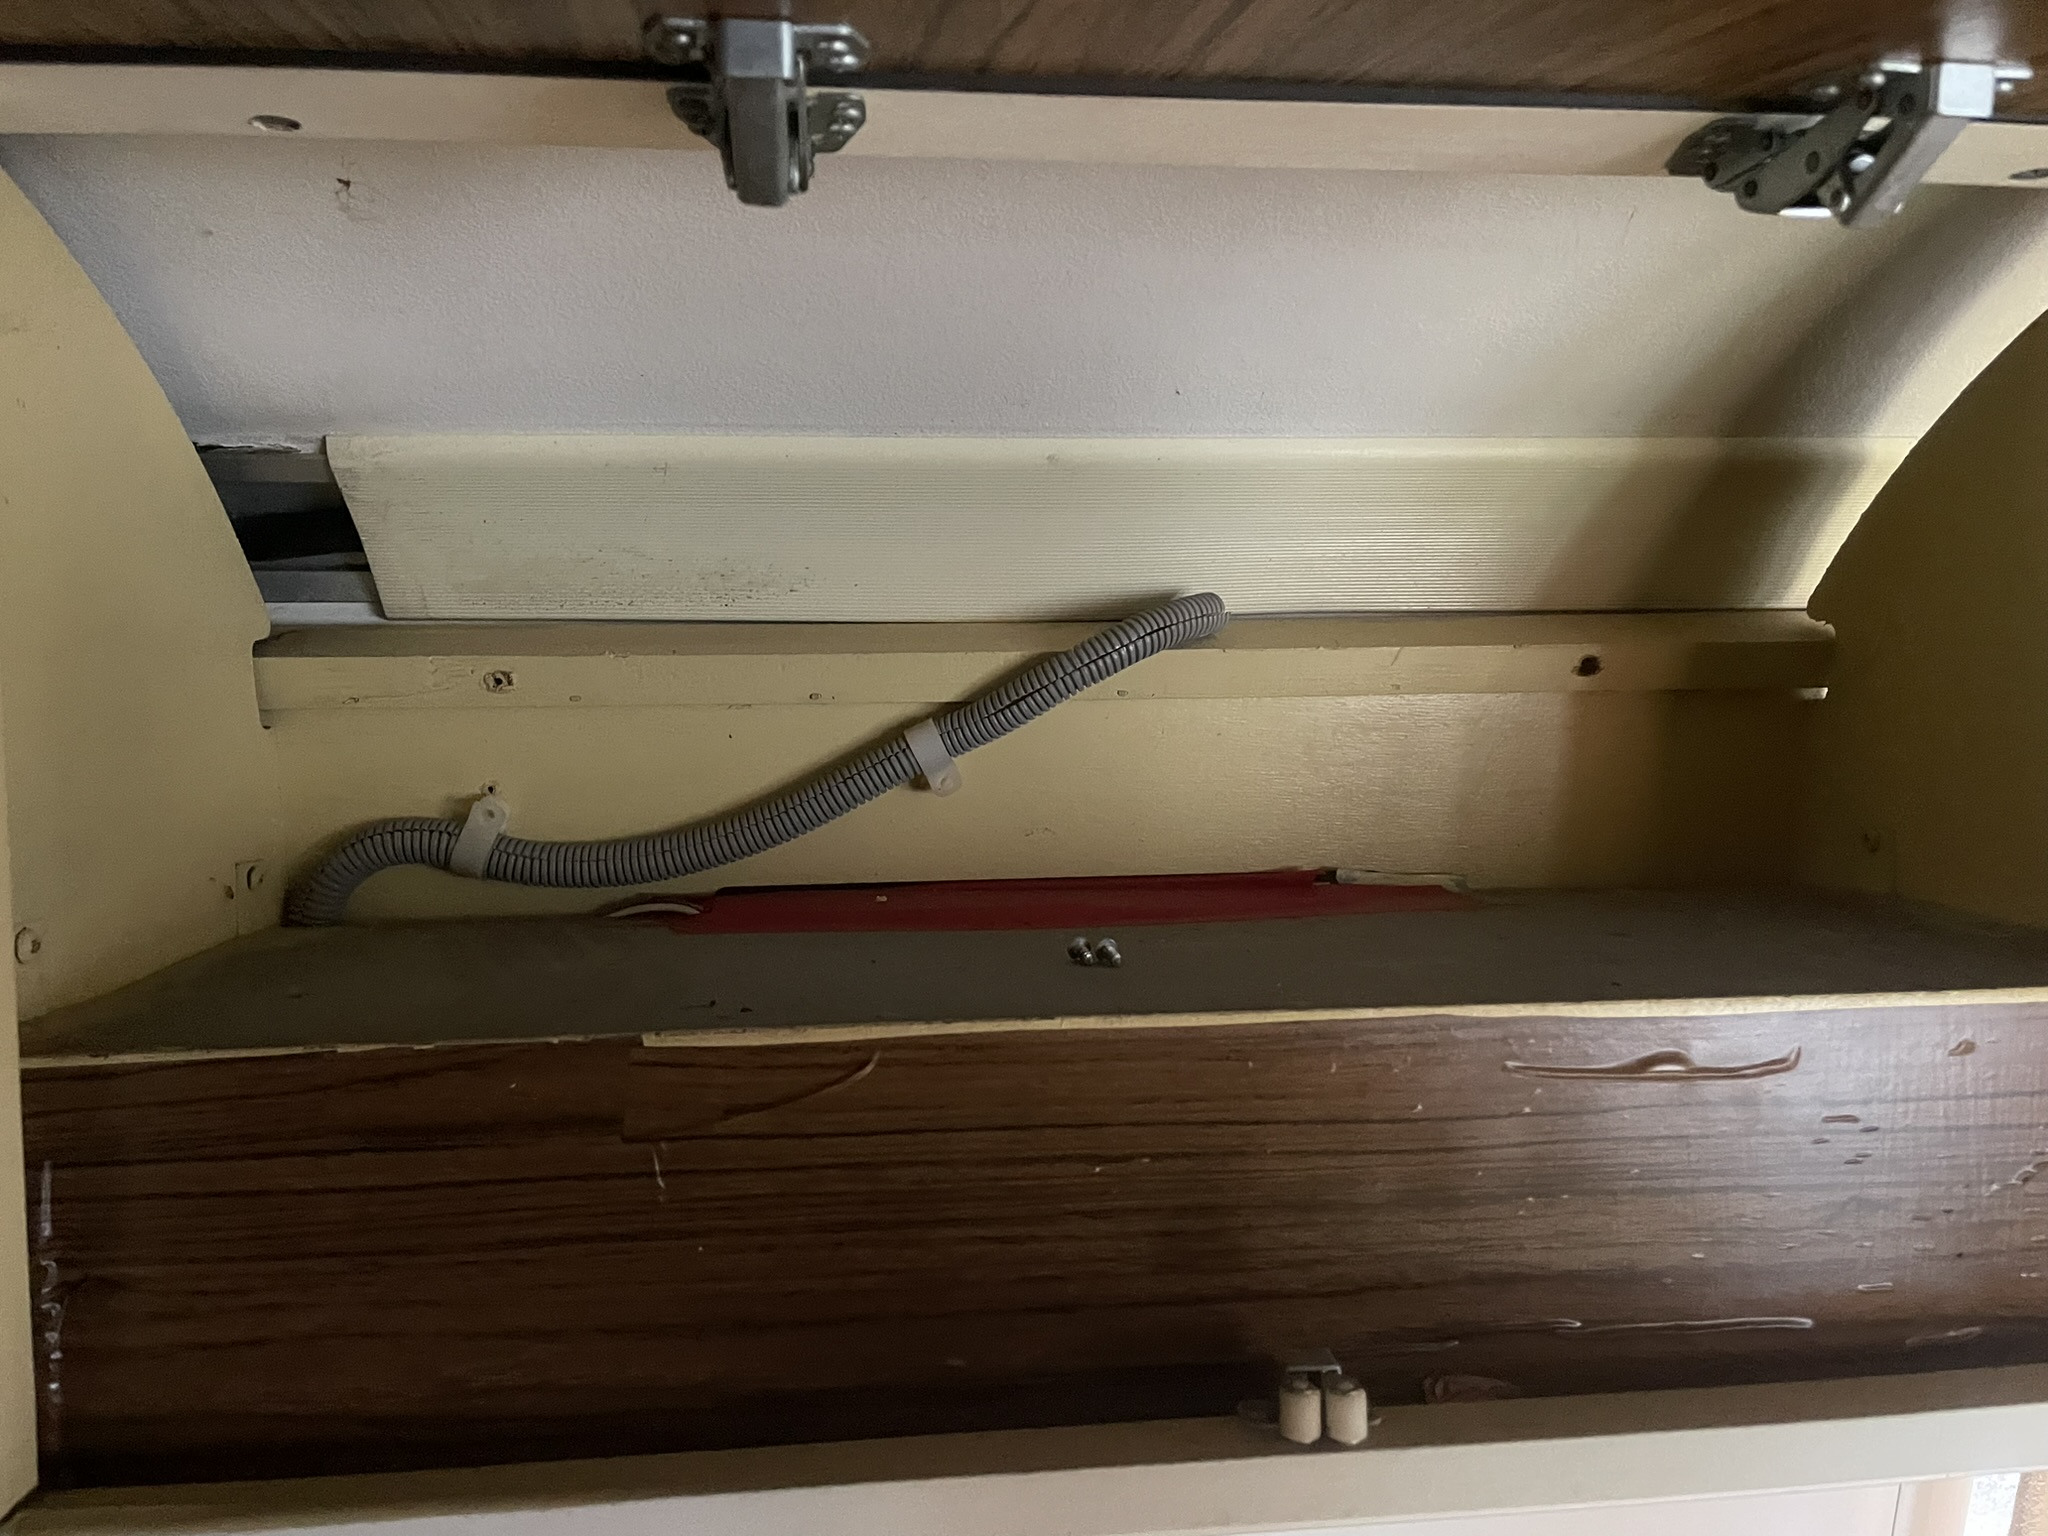 Make sure to disconnect and unscrew cable clips securing any wiring to the cabinet. Pictured here is the powered vent fan in the kitchenette overhead cabinet
The wiring for the cabinets is generally routed through the plastic-clad overhead wiring runways (aka the inner drip rails).
All of the fasteners for the overhead cabinet are fairly obvious. Make sure to have an assistant nearby to help lower the cabinet as you remove the last screw.
Step 2: Removing Window/Wall Trim
With the overhead cabinets out of the way, you have a lot more room to work with! If you’re doing a full teardown/parts harvesting like I am, you can now remove some of the window/wall trim.
Each major piece of trim will be covered in a subsection below.
Curtain “Rods”
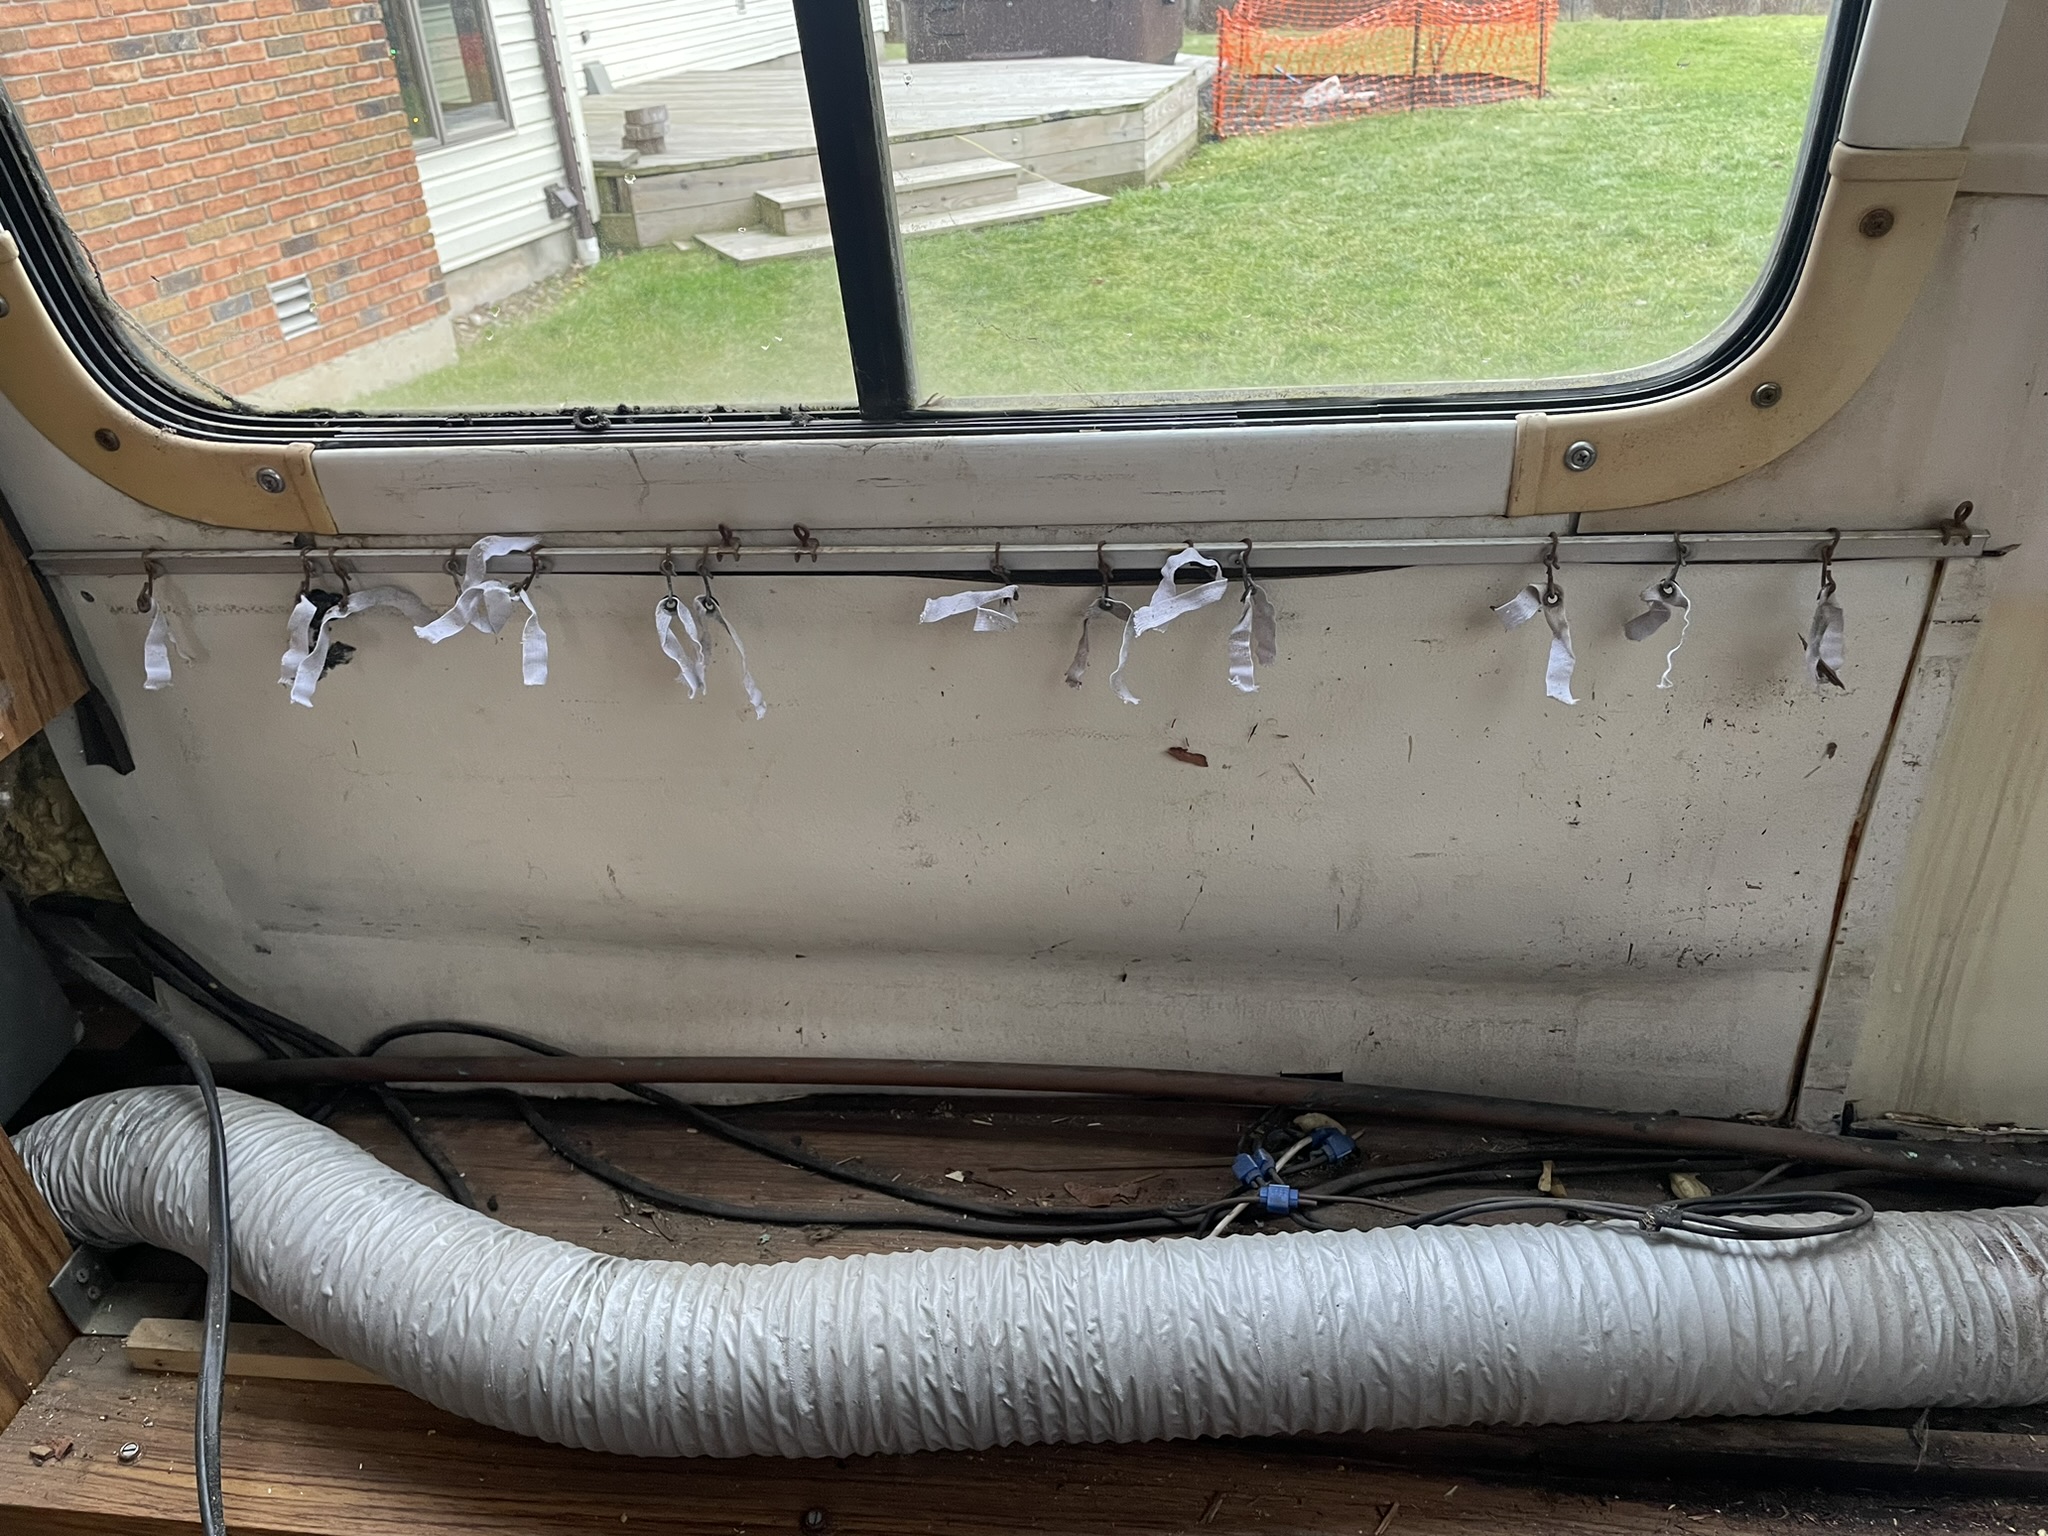
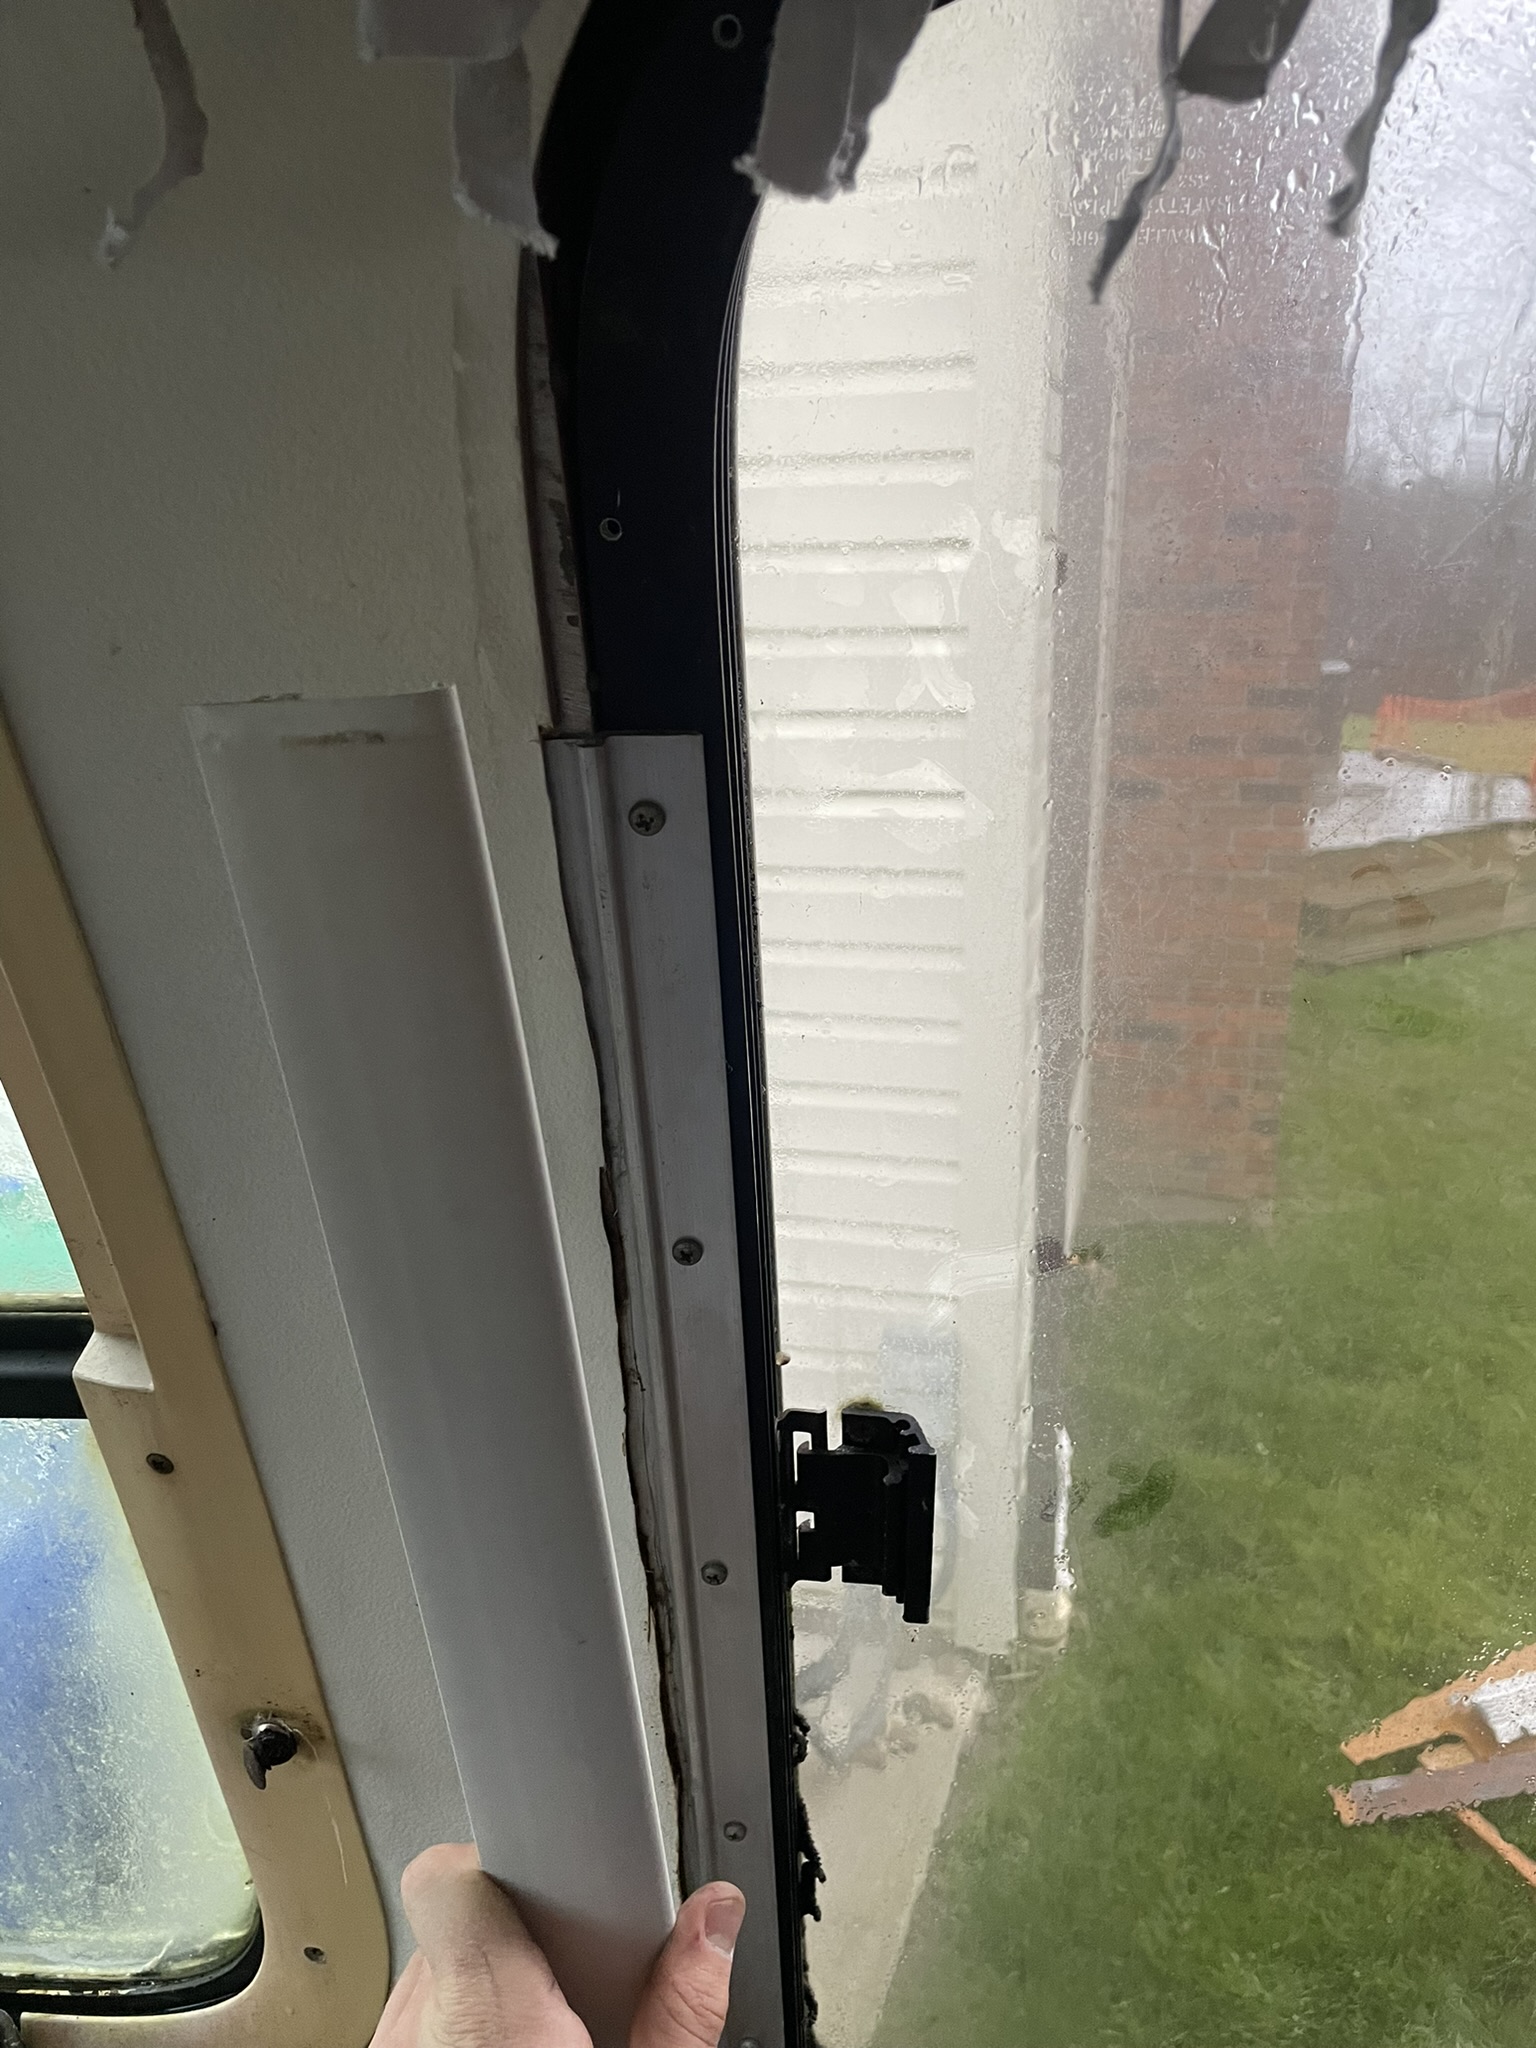
The curtain rods aren’t technically rods, per se, they are strips of extruded aluminum that act as tracks for the curtain rollers. They are simply secured with rivets. Get a suitably-sized drill bit and drill them out. Avoid nicking the aluminum while doing so. Once the rivets are removed, you can slide the curtain tracks out from behind adjacent trim.
 The curtain tracks are simply rivetted on
Make sure to label everything as you remove it; some tracks are longer than others to account for both window size and wall panels that extend behind other furniture.
 Note the unncessarily long bottom track that extends behind where the closet module would be – it is simply used to support the wall panel inside the closet.
You will need a rivet gun to reinstall the tracks (or use sheet metal screws).
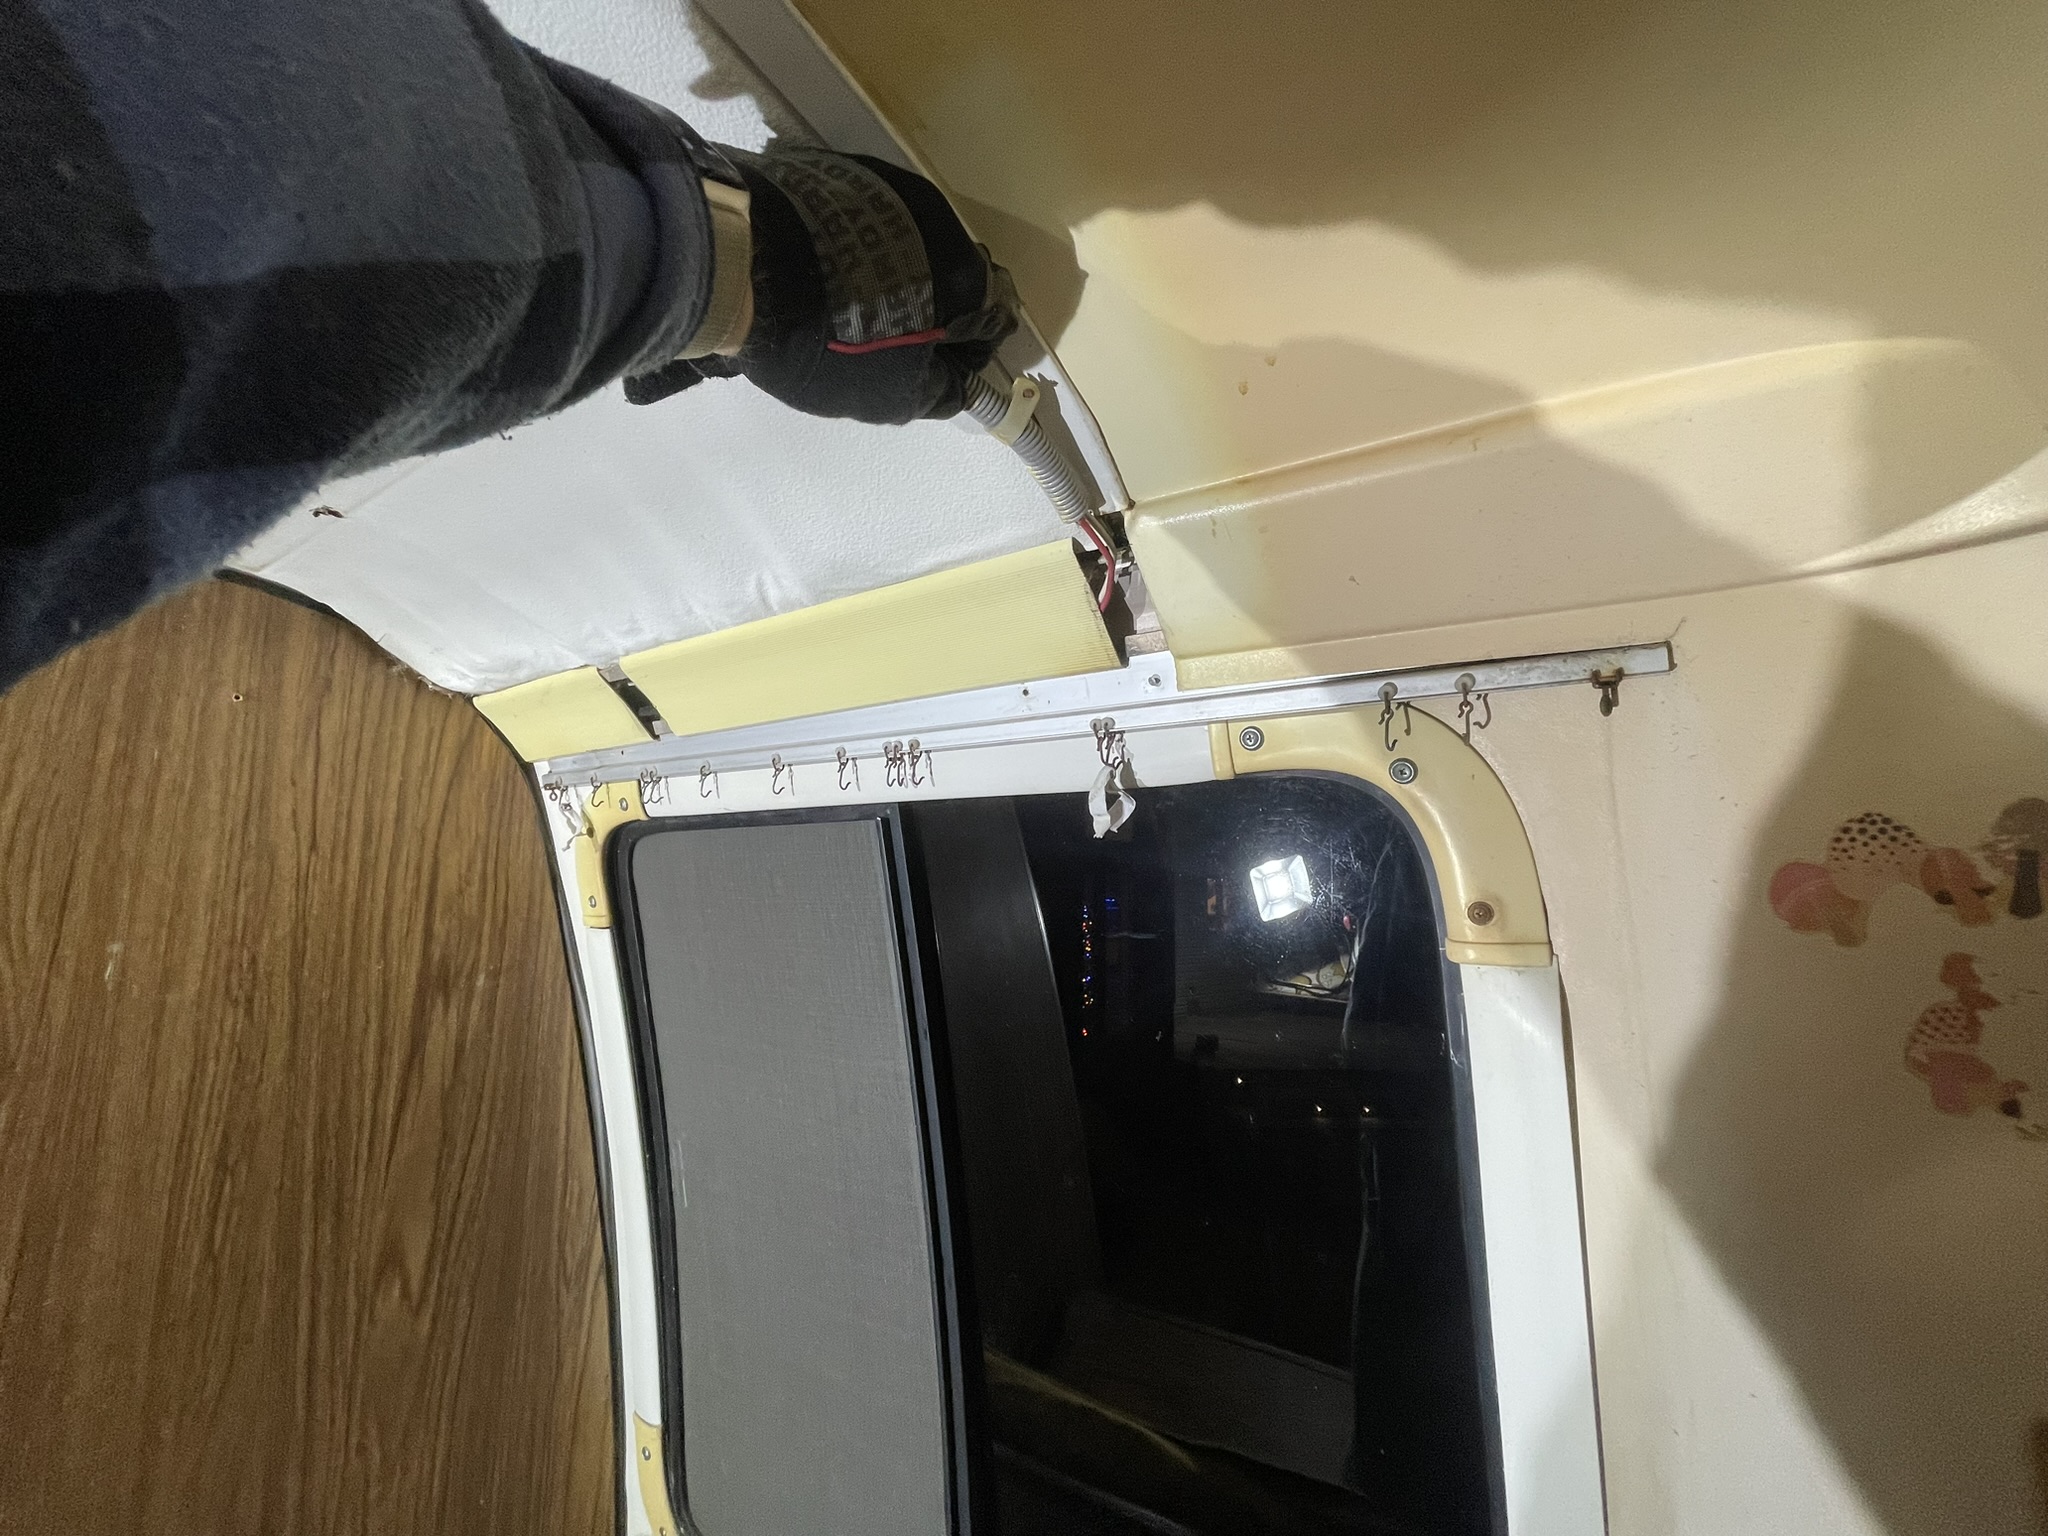
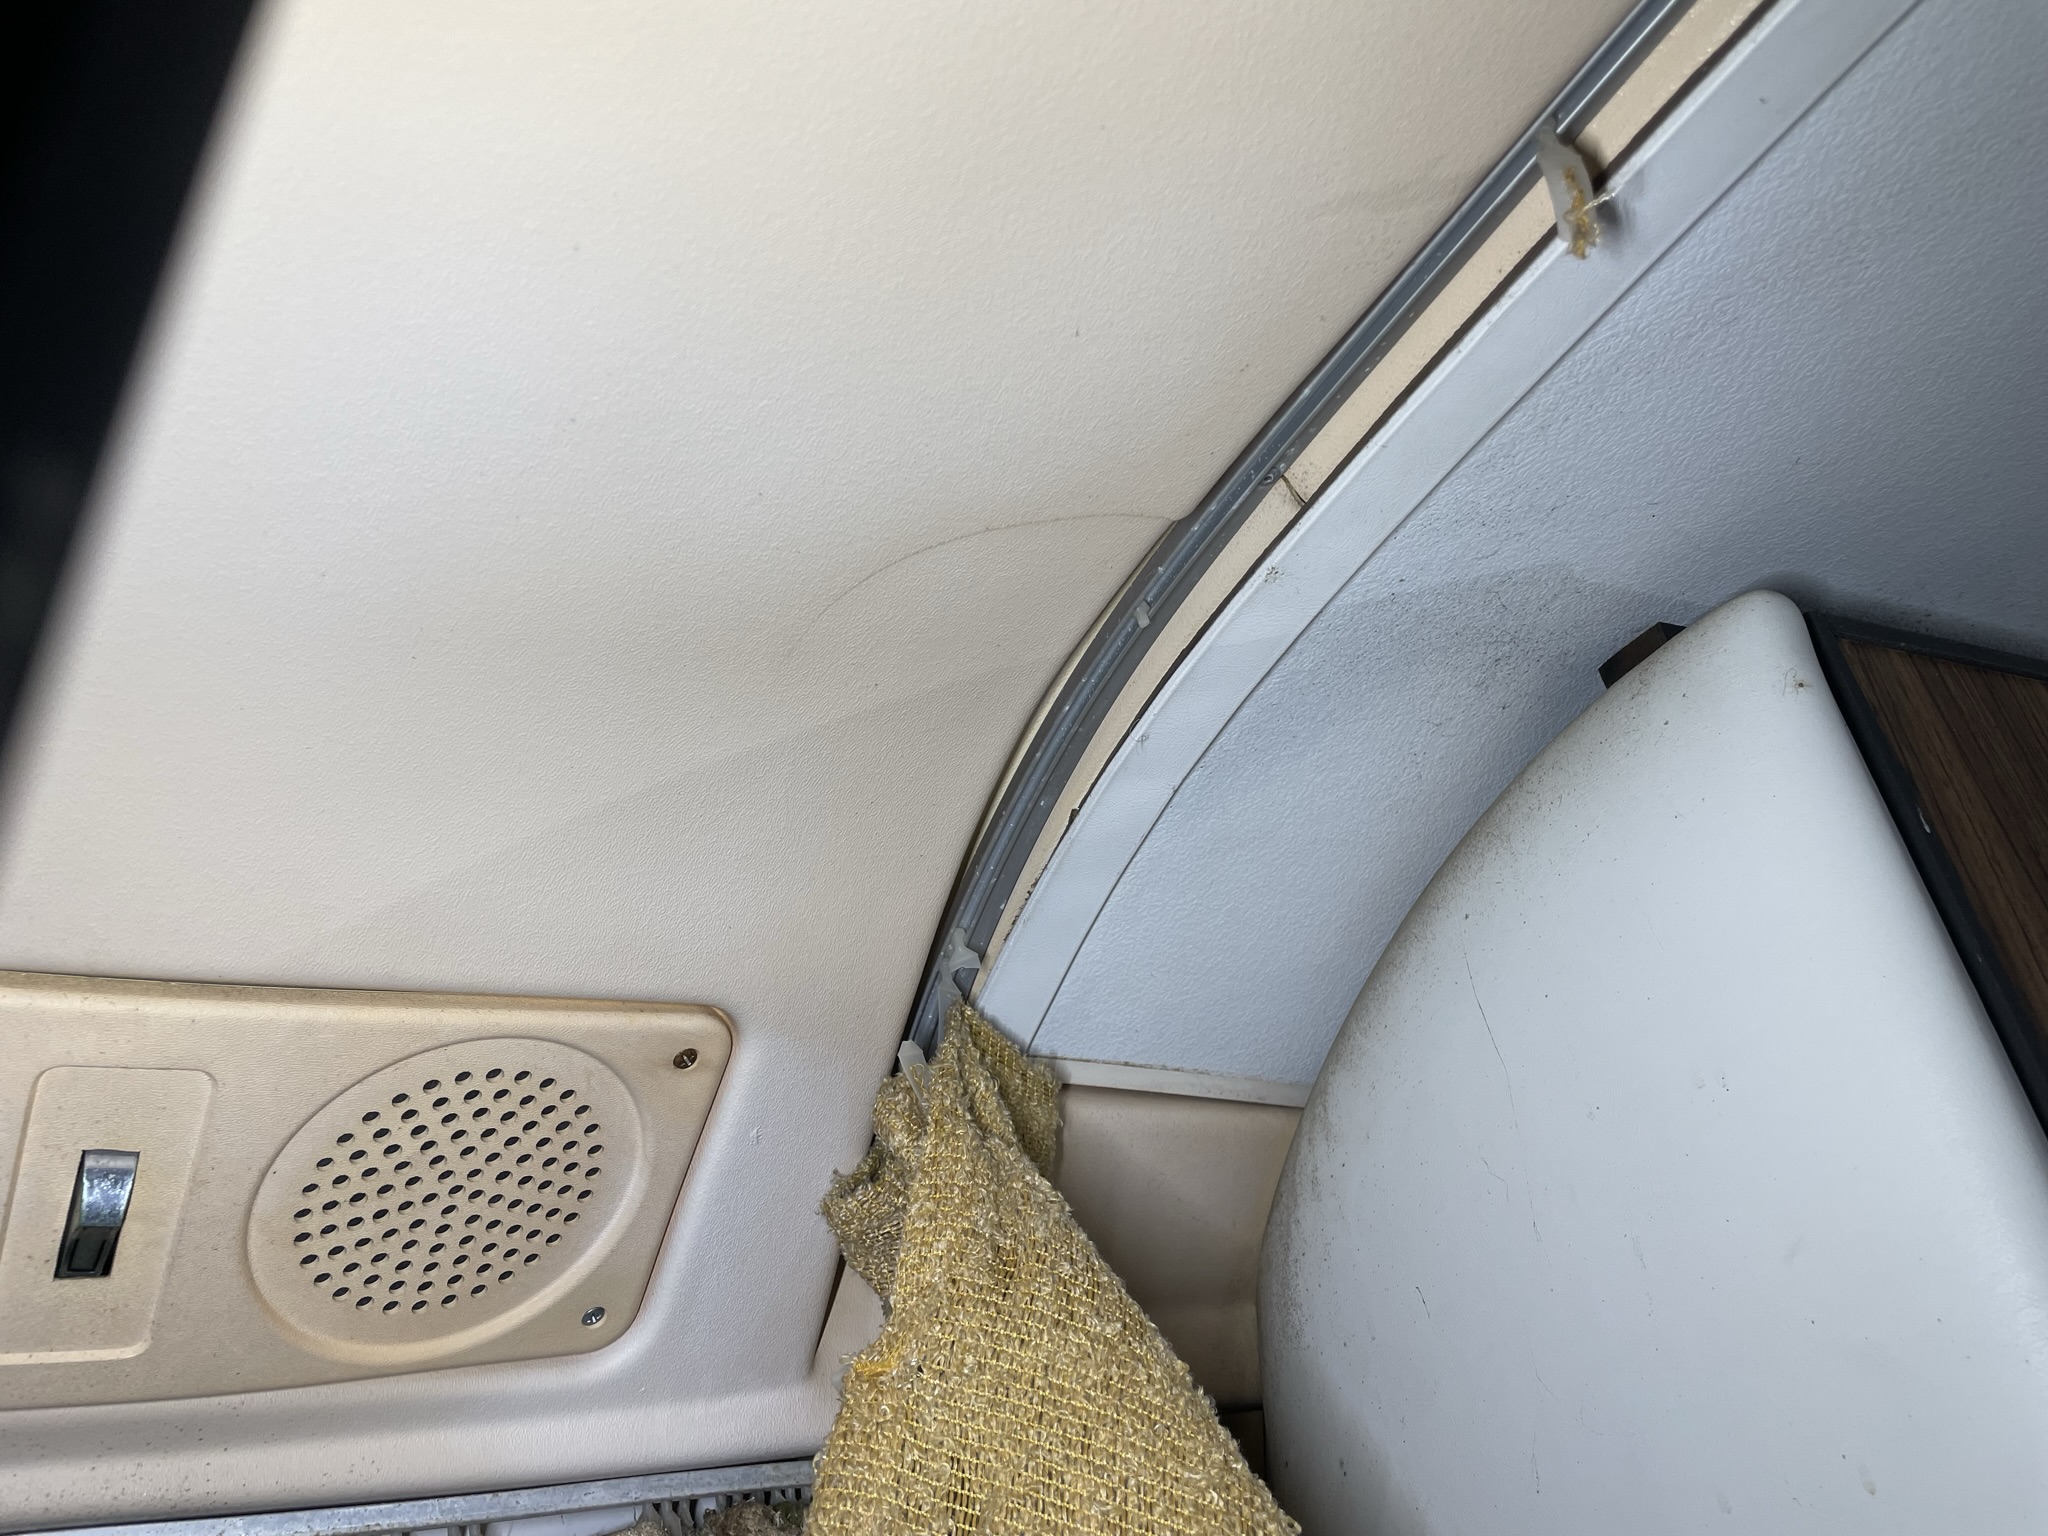
The rear side curtain rods fit through a slot in the plastic interior roof end cap as shown below:
 Make sure to slot the curtain rod into the end cap when replacing.
To remove the lower tracks, you may have to remove the plastic window trim first, which is outlined in the next section.
 The plastic window trim overlaps the bottom curtain rail and must be removed to access the securing rivets.
Plastic Window Trim
 Make sure to slot the curtain rod into the end cap when replacing.
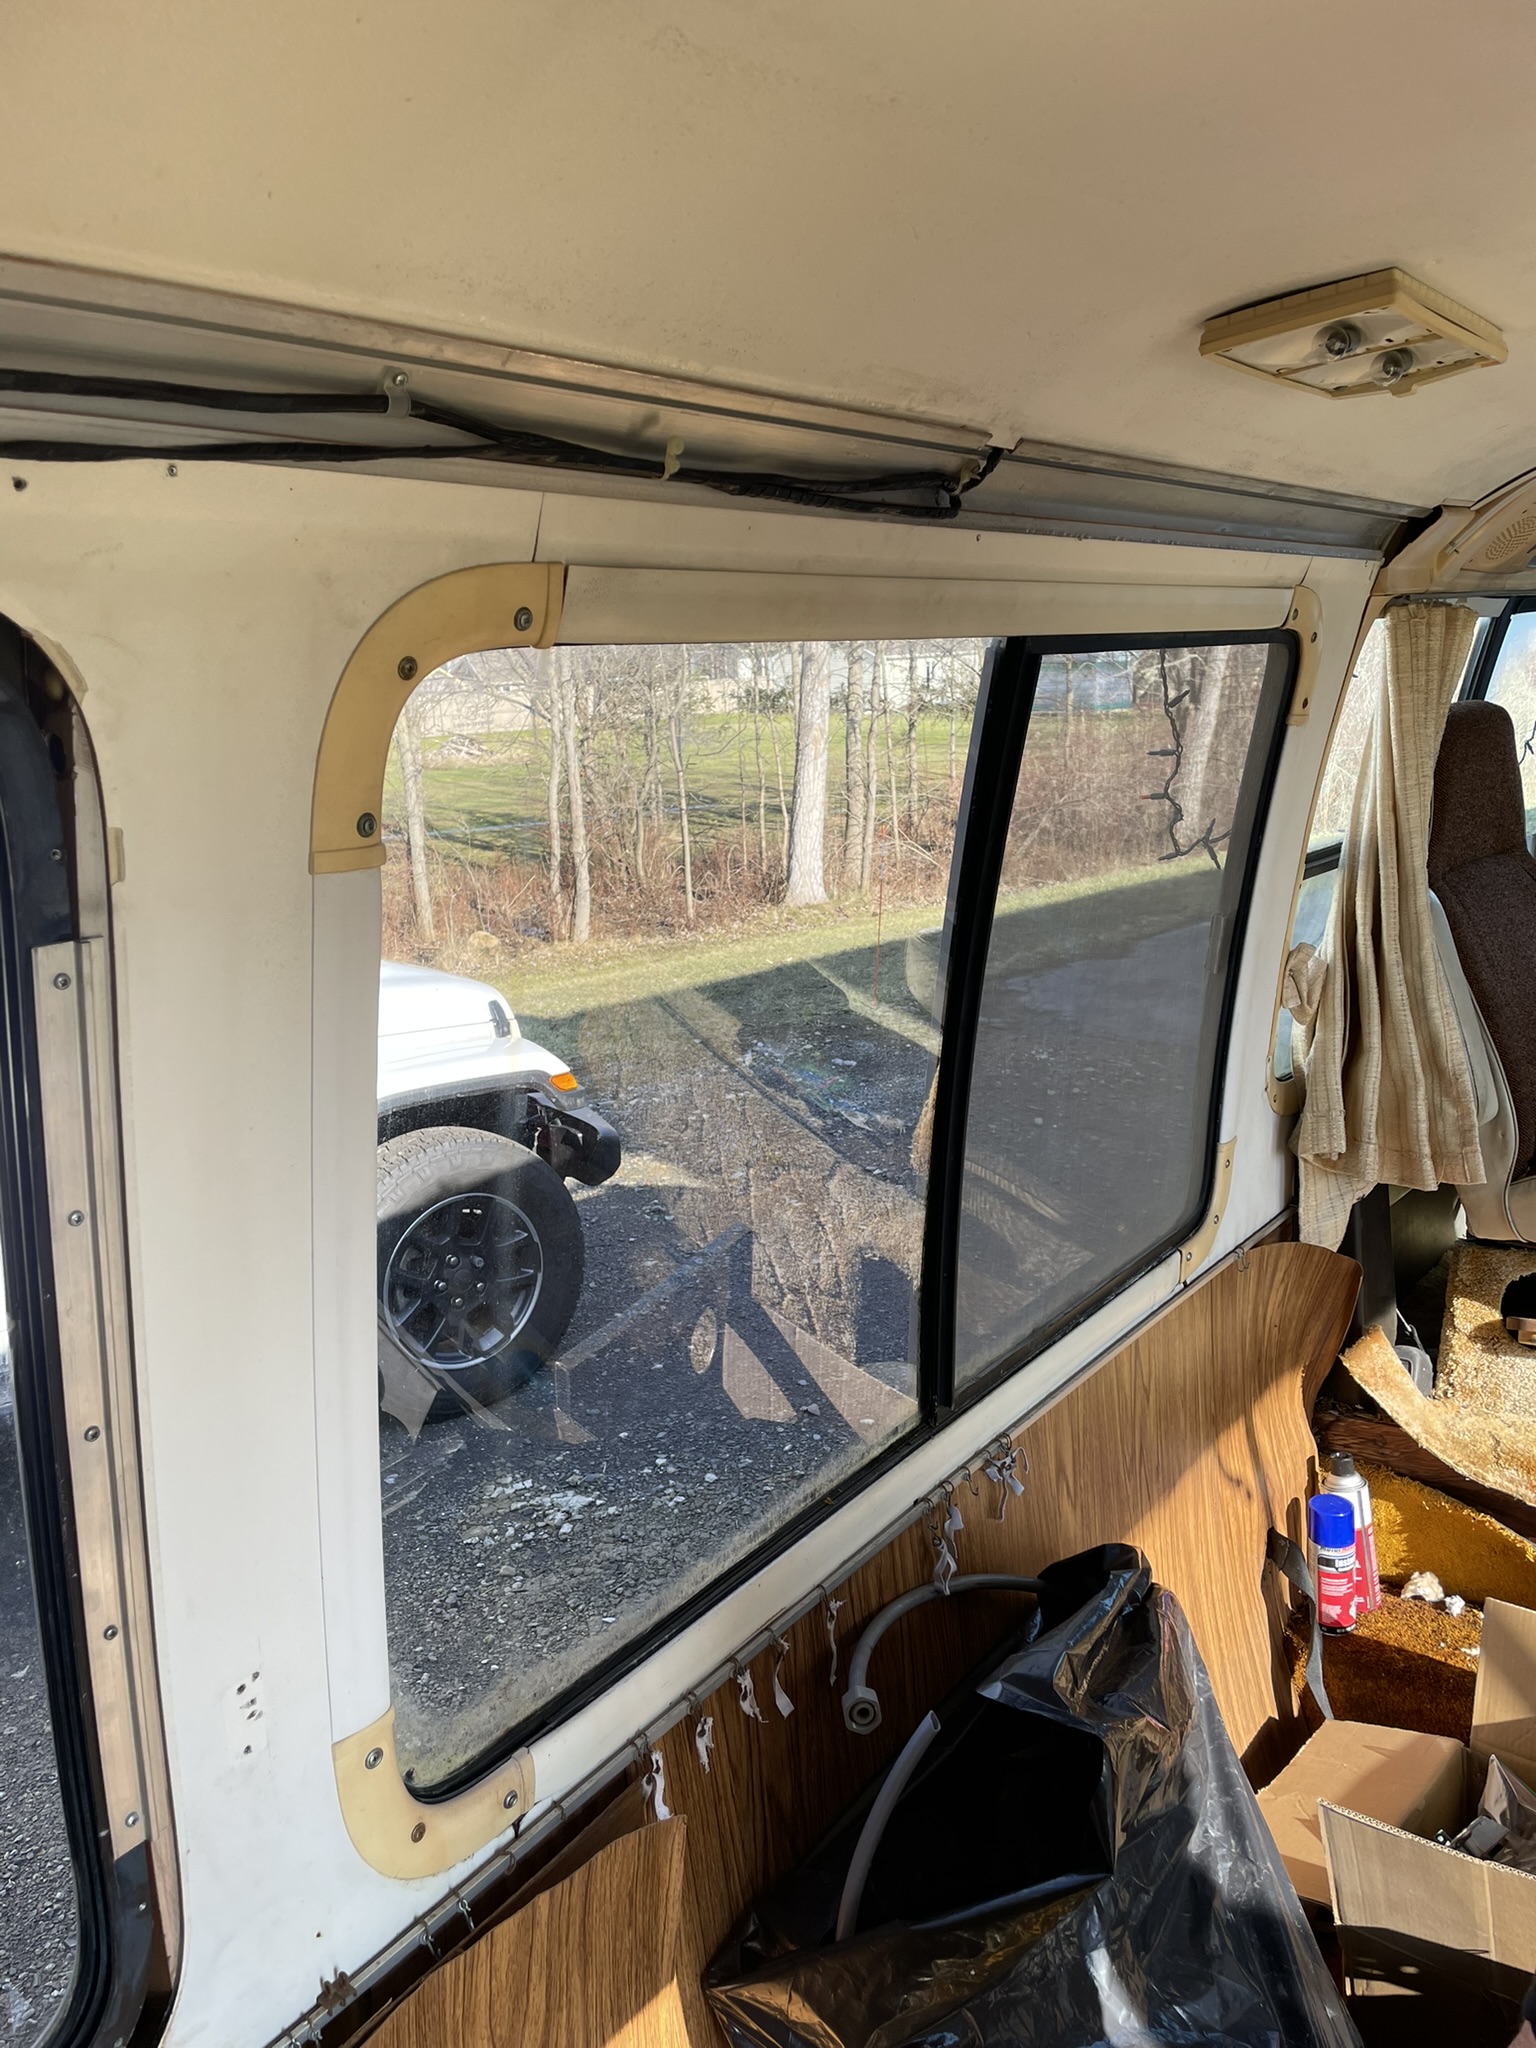
The plastic window trim can be deceivingly difficult to remove. The most obvious starting point is the four corner pieces – these are simply secured with some chrome screws and decorative cup washers. Remove these first; save the screws so you can find identical shiny new ones.
The next part is somewhat difficult: removing the vertical and horizontal trim strips. These strips can be stuck in place. They are somewhat flexible, but can easily crack if handled too roughly. These pieces are held on by two interlocking fingers slid together – one on the aluminum strips that secure the windows in place, and one molded into the back side of the plastic trim pieces.
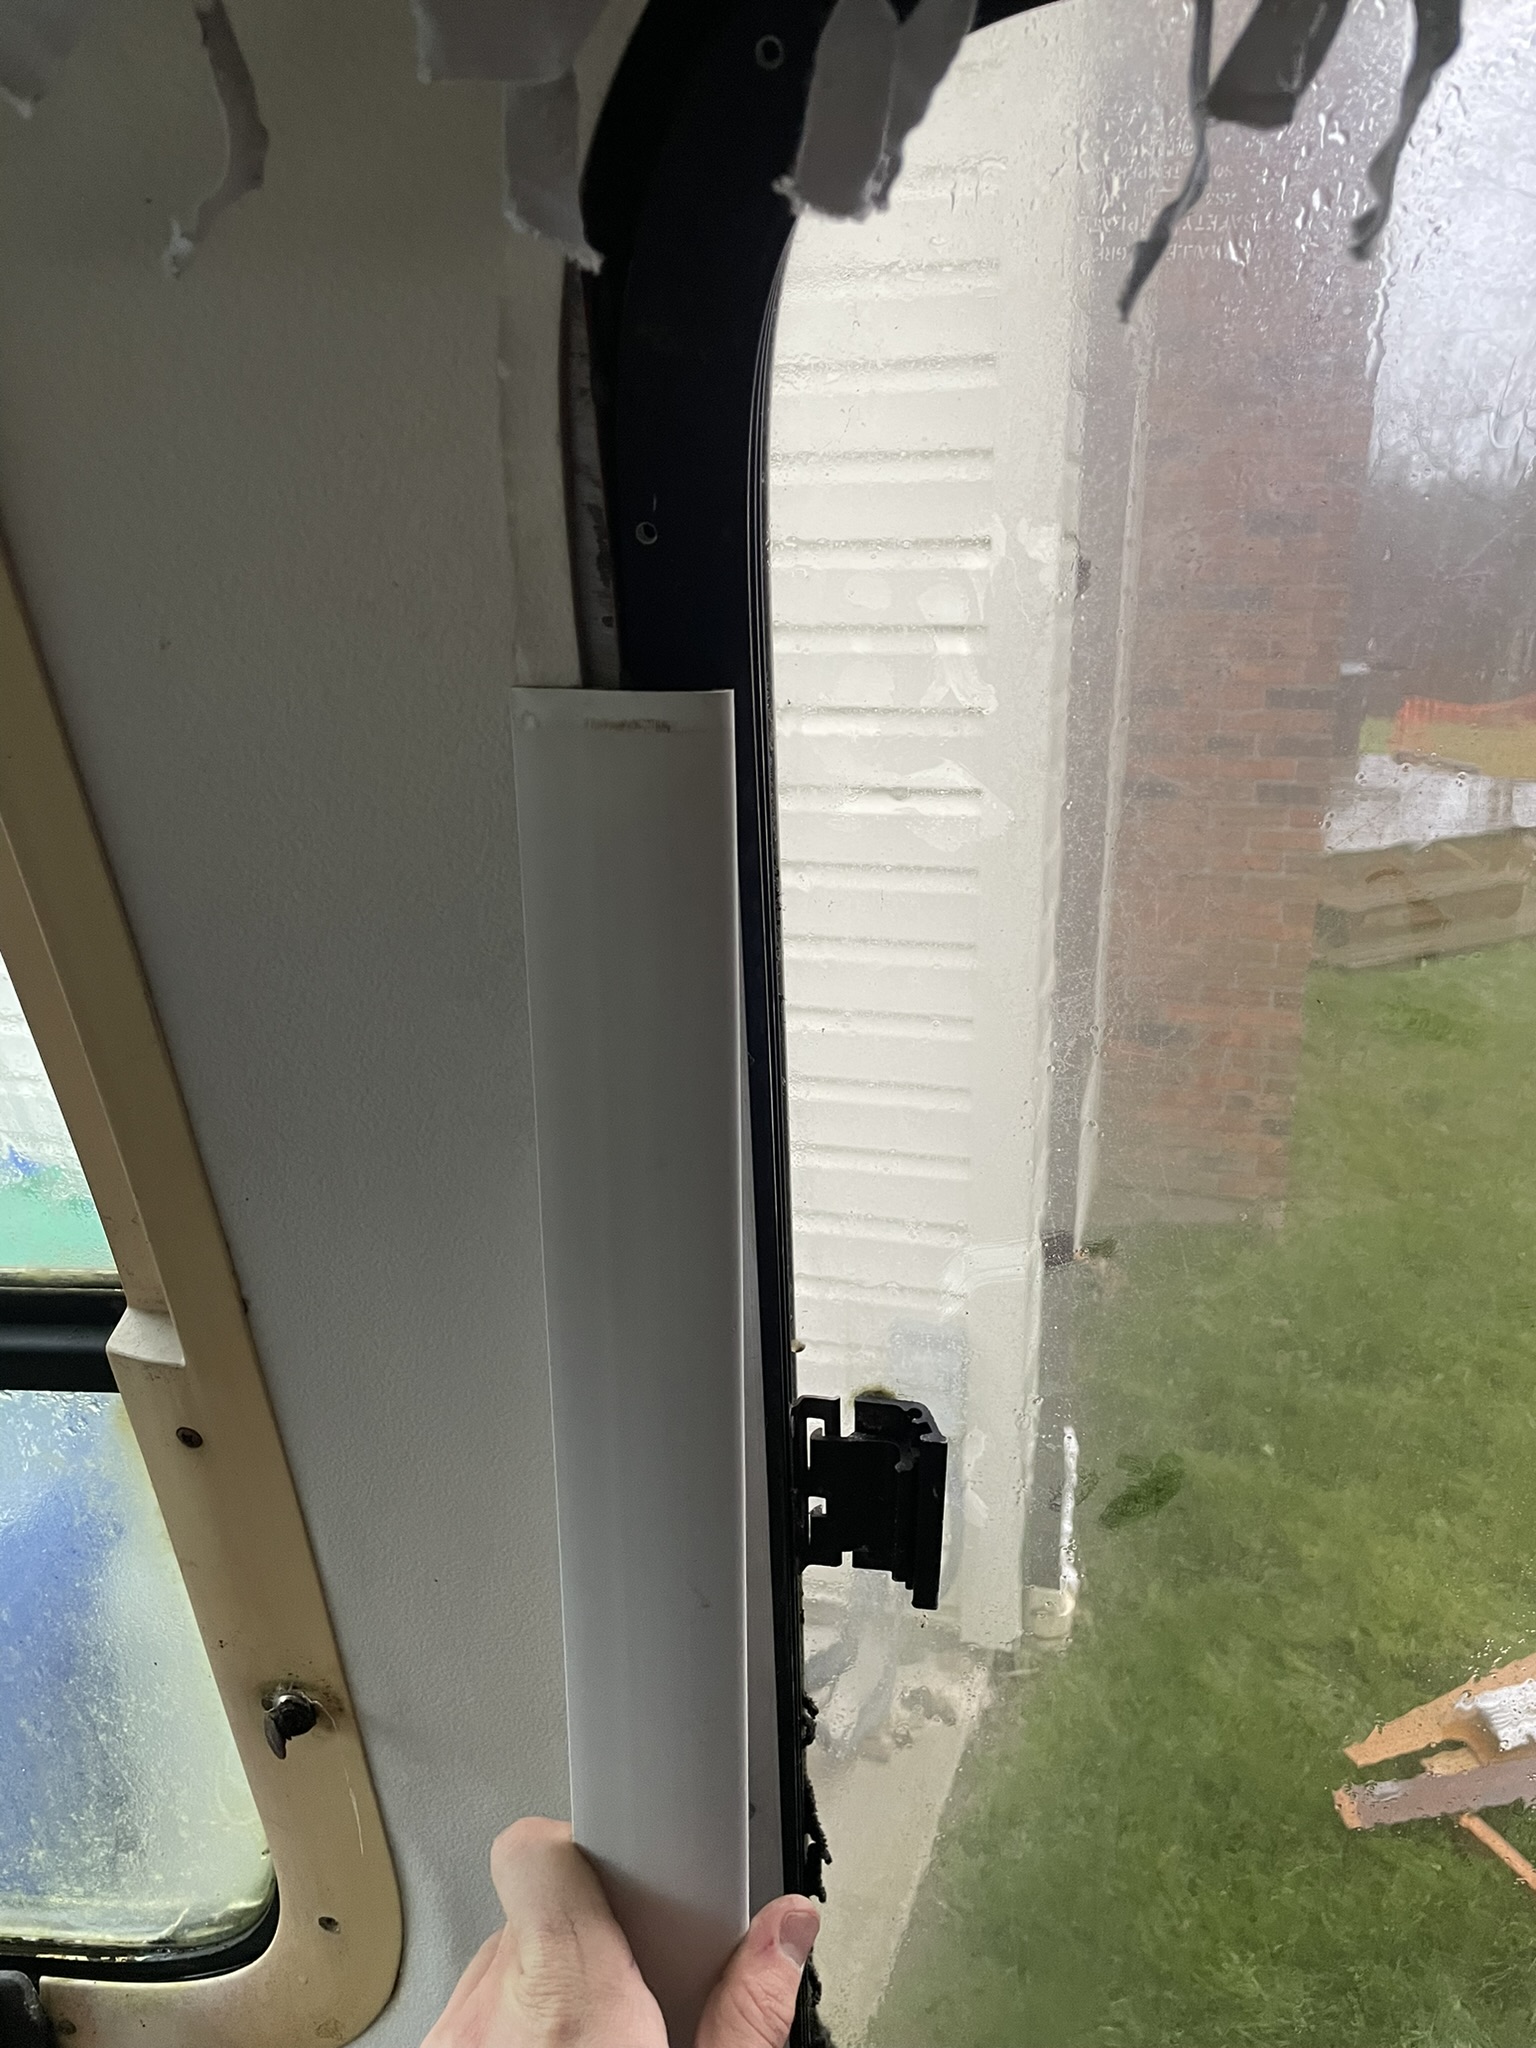 If you’re having trouble sliding the trim off, you can try gently prying it off to disengage the retaining fingers.
My recommended way of removing is to simply slide the plastic trim off the aluminum. You may need a soft dead blow mallet to coerce the strips into sliding.
It is also possible to get the fingers undone slightly at one edge and work it out the rest of the way, but this carries a greater risk of cracking the strip.
Fortunately, I have multiple sets so I didn’t worry so much about breaking a couple of them.
 You can kind of see the “fingers” I refer to throughout this section here. The plastic has a mating feature that secures it to the aluminum window retainer strips.
The trim strips also serve as transition covers for the window-to-wall-trim edges. Some of these wall panels can be removed once the window trim and curtain rods are gone. Some will have to wait until other furniture is removed first.
Cockpit Curtain Track
The cockpit has three curtain tracks: one to cover the driver-side windshield, one to cover the passenger-side windshield, and one to separate the cockpit and cabin area. The cockpit curtains are slightly different from the side curtains – they use a different curtain carrier shape.
 This picture shows the cockpit/cabin privacy curtain track – it sits in a groove in the plastic headliner panel.
Remove the curtains by any means necessary. Mine appeared to be original, and they were showing their age (and exposure to water damage!) So I simply cut mine out, saving the remnants as a template for later. The carriers are retained simply by a machine screw and nut that slots into the curtain track. You can undo this and slide the curtains out. Either way…
Fortunately, most, if not all, of the curtain hardware is available new. On Amazon, with two-day shipping, no less. Some products I’m saving for later:
- Front Cockpit Sew-In Curtain Carriers
- Side Curtain End Stops, replace those rusty old ones!
- Wheeled Side Curtain Carriers
- Curtain-to-Wall Snaps
The cockpit tracks are secured in much the same way as the side curtains – rivets and screws.
Drill out the rivets and remove the screws, the tracks should come off easily.
Cockpit Window Trim
The cockpit window trim seems to be an afterthought in how it was secured. There are random screws everywhere. There is also a snap connector to secure the curtains to the wall.
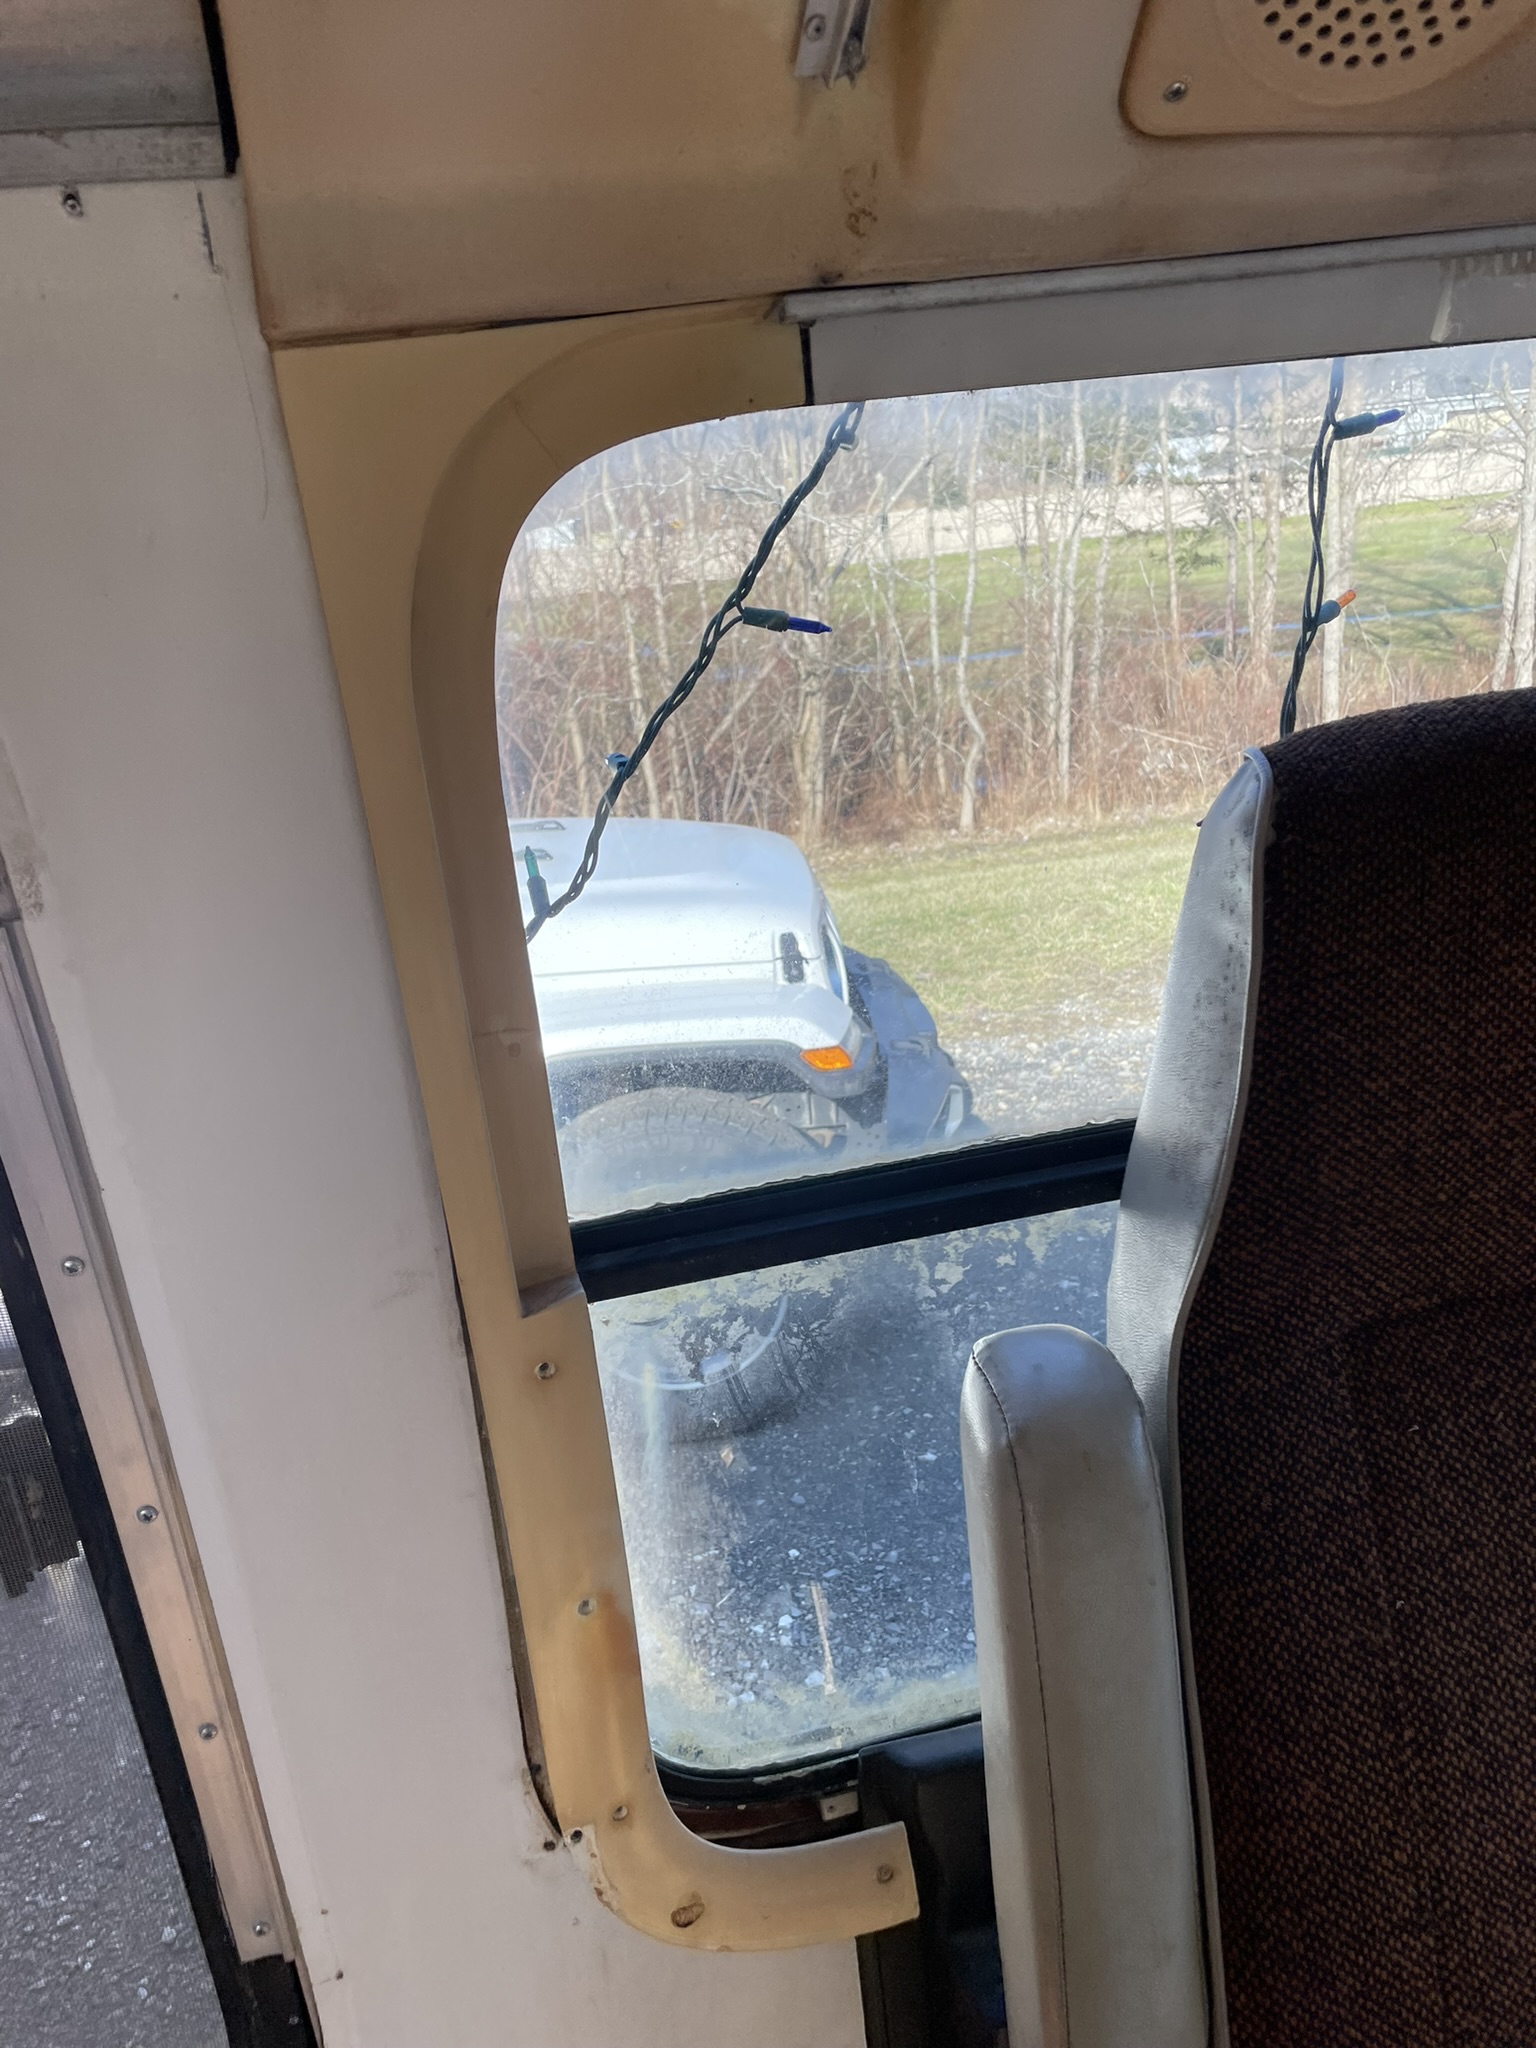 Notice where the bunk bed support arm covered the cockpit window trim a bit – GMC quality 😁
Most of these cockpit window trim pieces will be cracked just from UV exposure and age. Fiberglass replacements are available, they’re a bit pricey at $100 for a set, so try to save the originals if they’re in good shape. A quick coat of spray paint and they’re good as new.
Wall Trim - Upper
The upper wall trim (above the waistline of the coach) seems to be made of some sort of embossed paper adhered to a wax-coated cardboard backing. Unfortunately, this material doesn’t fare too well when exposed to moisture for a long period from leaky windows. If yours have mold, they should be replaced. Keep the old panels in one piece as much as possible, they will serve as great templates for cutting your own new panels.
The wall panels simply slot into the curtain rails at the bottom and into the inner drip rail at the top. You can either slide them out, or try to get one edge out. They are fairly flexible, but again, they’re 50 years old – be gentle. You wouldn’t bend very much without cracking either at that age.
 My dinette wall trim was in sad shape from a roof rail leak. Notice how the bottom edge simply slots into the lower curtain track.
The larger wall panels are on either side of the windows and extend behind the closet and kitchenette. There are also two small off-cut strips for each window, one above and one below.
The wall panel behind the kitchenette is smoother than the rest – probably to make cleaning easier and prevent grease from building up in the grooves of the texture.
I haven’t decided what I’m going to use as a replacement material. I’m considering a more water-proof material, like FRP, that is then covered with a laminate or something. This would give me plenty of options on finish.
Wall Trim - Lower
The lower wall trim is thin plywood covered with the same woodgrain laminate used on the furniture. There are plastic T-molding strips also laminated with this material to hide transitions between the lower wall panels.
Before removing the lower wall trim, remove any wiring, outlets, etc, from the panel. The lower wall trim is secured similarly to the upper wall trim: it simply slots into the upper curtain track and into a slot near the floor.
The outlets are generally secured with plywood spacers glued to the wall panel. This provides something solid for the outlet to screw to. These can be hard to save, so expect to reinvent them when reinstalling the wall panels.
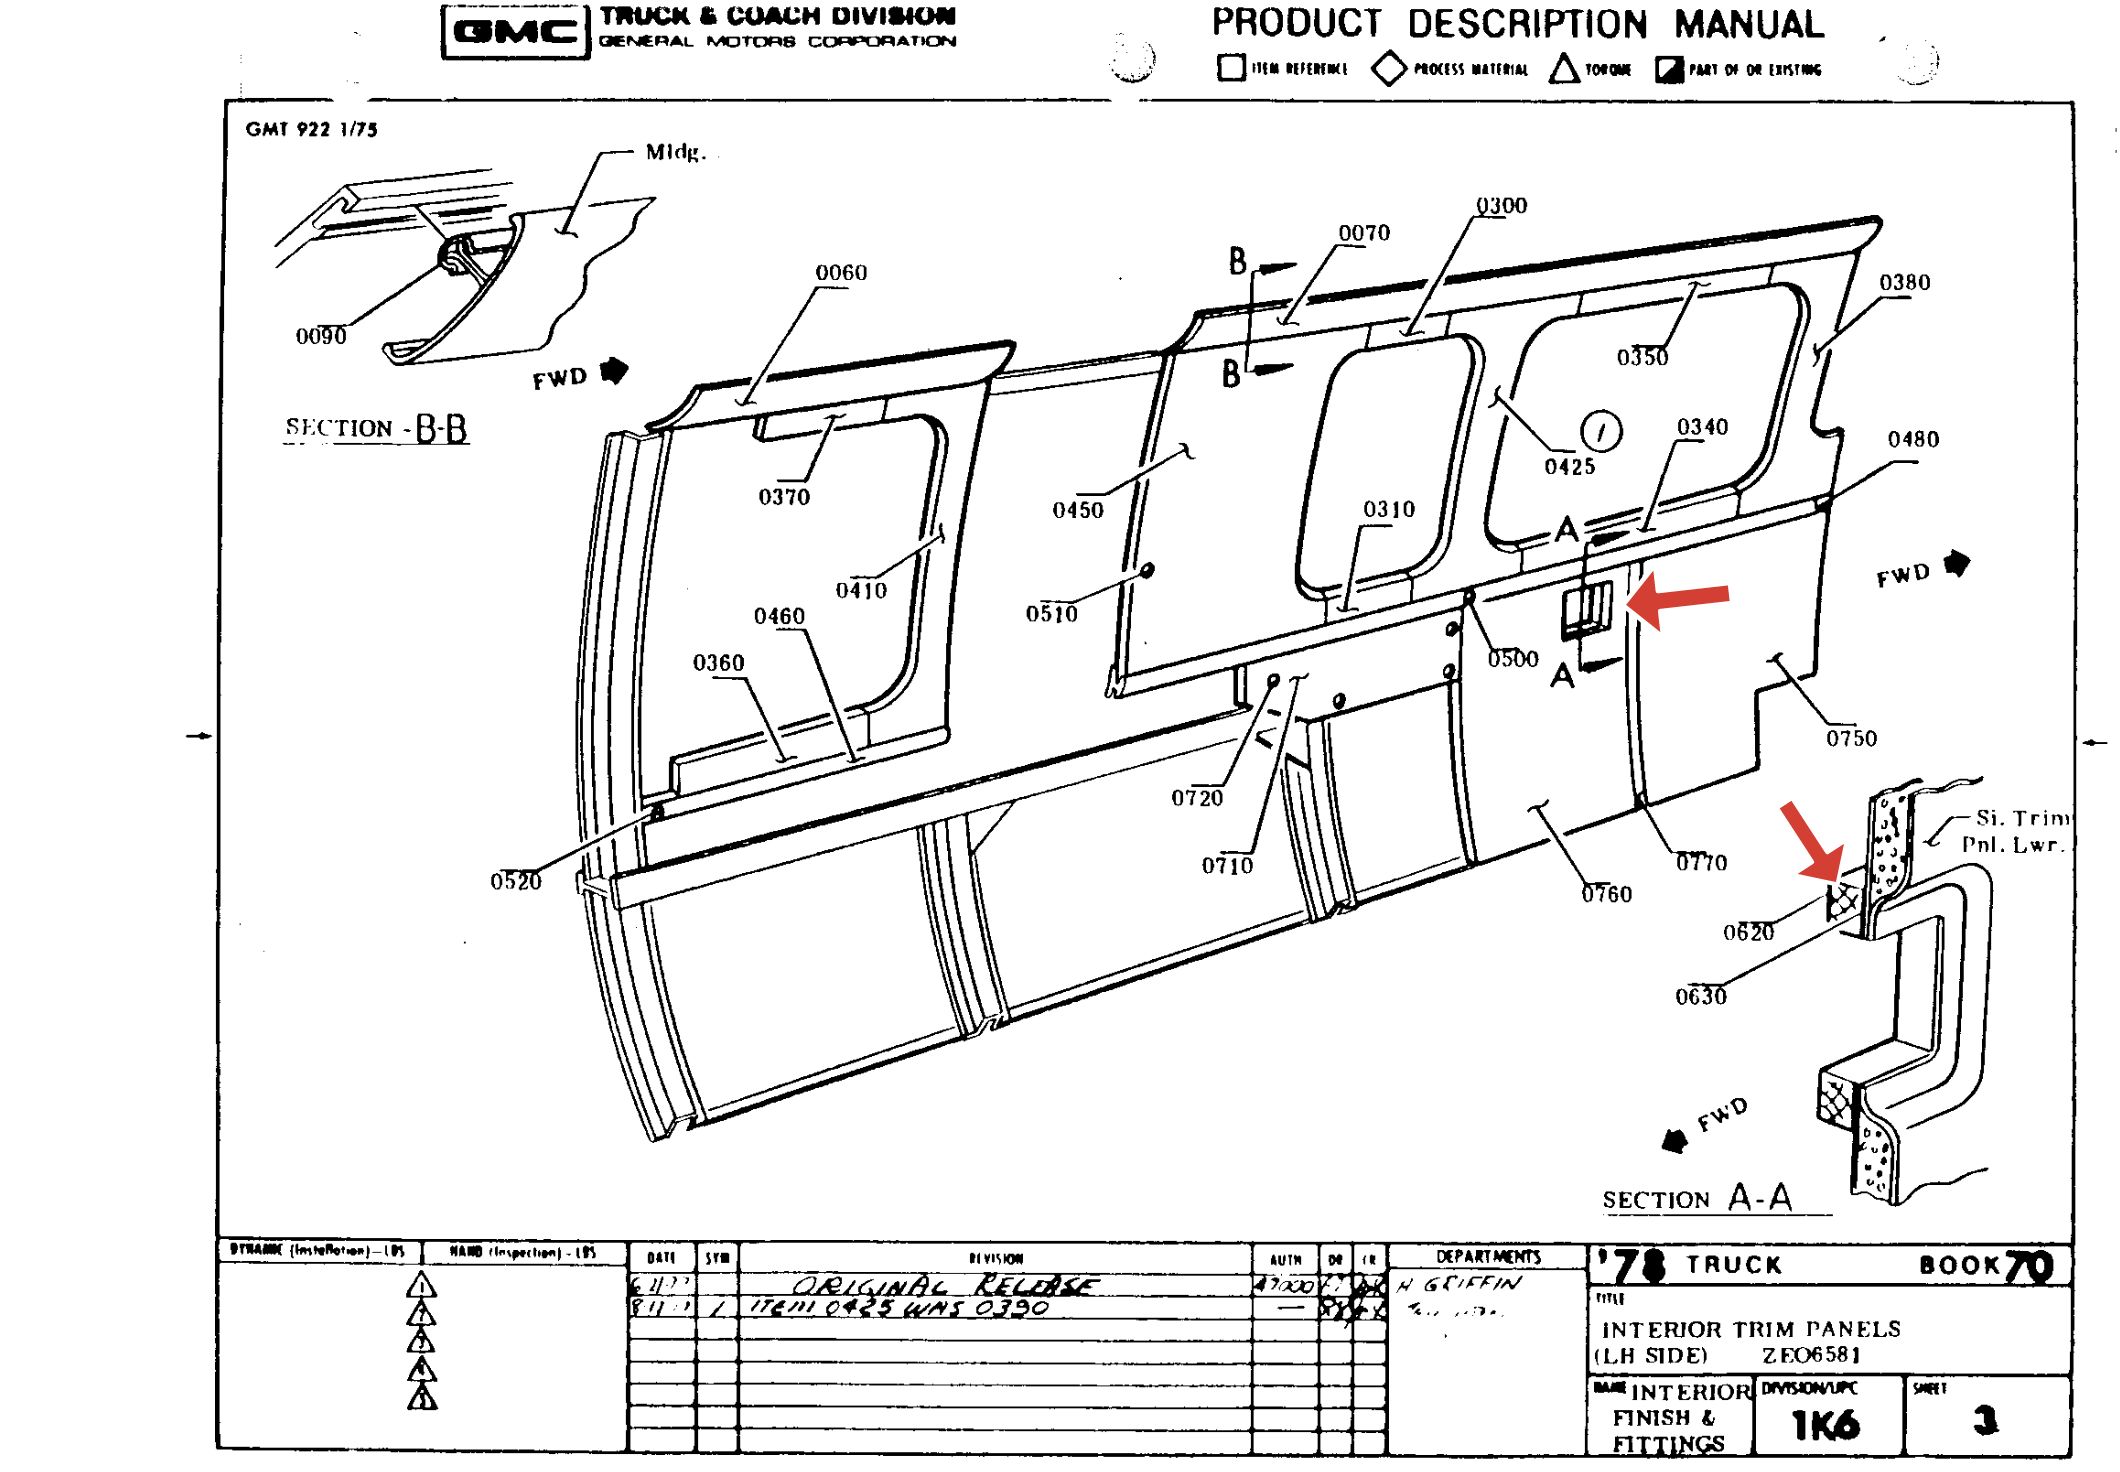 The plywood outlet spacer for the dinette is pictured here in the factory assembly manual.
That’s It For Now
In the next post, I will begin detailing more substantial removal operations: the rear setee, the davo, the dinette, and the kitchen module. Stay tuned!